Panasonic NV-GS400 Operating Instructions - Page 30
Manual, Focus, Adjustment
 |
View all Panasonic NV-GS400 manuals
Add to My Manuals
Save this manual to your list of manuals |
Page 30 highlights
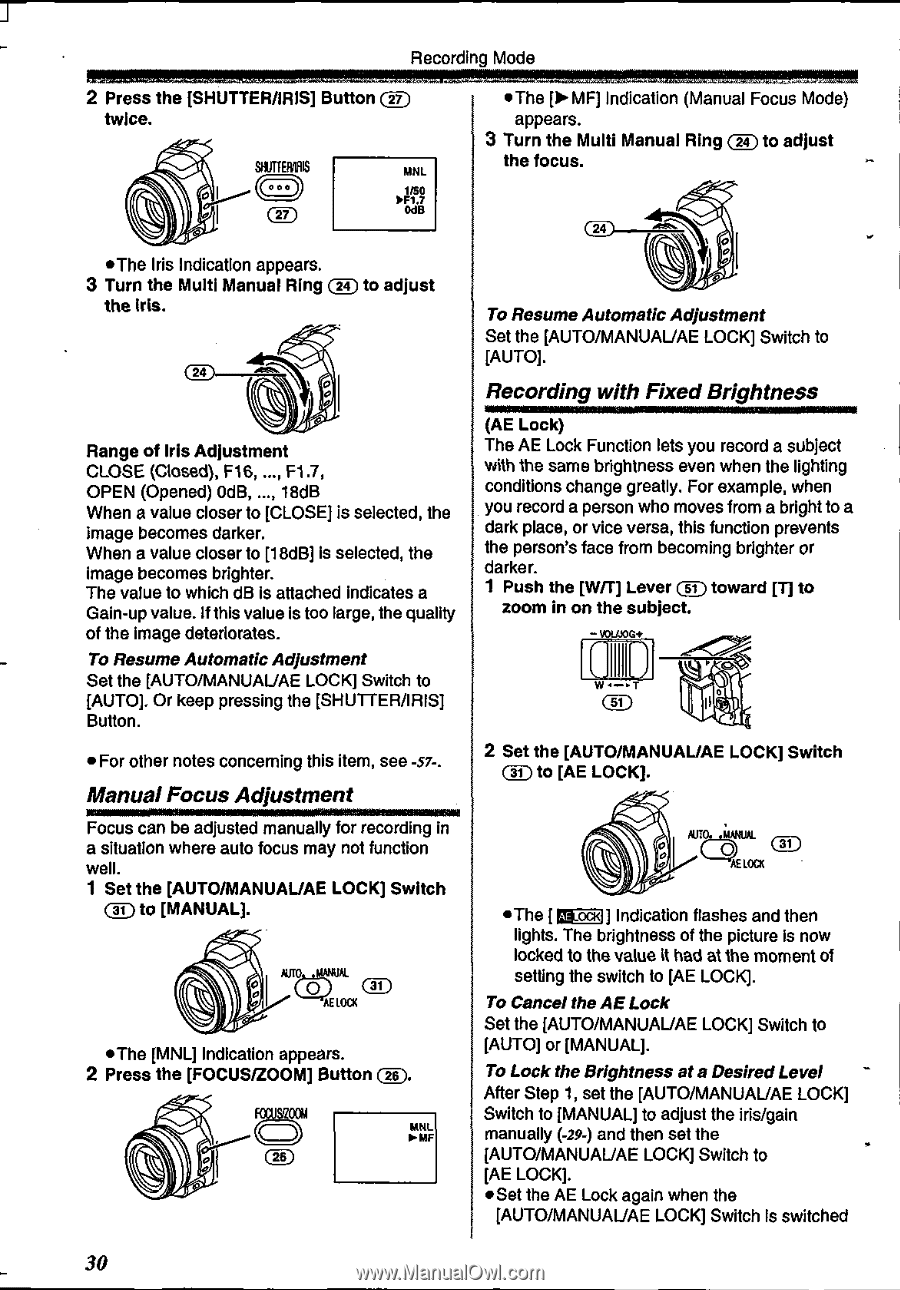
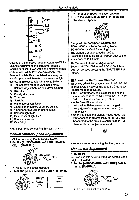
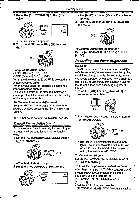
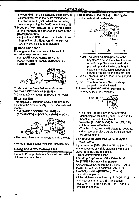
Recording Mode 2 Press the [SHUTTER/IRIS] Button (g) twice. &CHM CZ.) UNL 150 ) F1.7 OdB •The Iris Indication appears. 3 Turn the Multi Manual Ring (24) to adjust the Iris. 24 0 0 Range of Iris Adjustment CLOSE (Closed), F16, F1.7, OPEN (Opened) 0dB, ..., 18dB When a value closer to [CLOSE] is selected, the image becomes darker. When a value closer to [18dB] is selected, the Image becomes brighter. The value to which dB is attached Indicates a Gain-up value. If this value is too large, the quality of the Image deteriorates. To Resume Automatic Adjustment Set the [AUTO/MANUAUAE LOCK] Switch to [AUTO]. Or keep pressing the [SHUTTER/IRIS] Button. • For other notes concerning this item, see -57-. ManualFocus Adjustment Focus can be adjusted manually for recording in a situation where auto focus may not function well. 1 Set the [AUTO/MANUALJAE LOCK] Switch (31) to [MANUAL]. AUTO IAAAIAL AE 100( *The [MNL] Indication appears. 2 Press the [FOCUS/ZOOM] Button (1). UNL ►RIF •The MF] Indication (Manual Focus Mode) appears. 3 Turn the Multi Manual Ring (A) to adjust the focus. ll 00 0 To Resume Automatic Adjustment Set the [AUTO/MANUAUAE LOCK] Switch to [AUTO]. Recording with Fixed Brightness (AE Lock) The AE Lock Function lets you record a subject with the same brightness even when the lighting conditions change greatly. For example, when you record a person who moves from a bright to a dark place, or vice versa, this function prevents the person's face from becoming brighter or darker. 1 Push the [W/T] Lever 3D toward [T] to zoom in on the subject. 2 Set the [AUTO/MANUAL/AE LOCK] Switch (-1--) to [AE LOCK]. 0 0 Ago, .4uAL (_!)) 31 AE Loa •The [ [mock]] Indication flashes and then lights. The brightness of the picture Is now locked to the value It had at the moment of setting the switch to [AE LOCK]. To Cancel the AE Lock Set the [AUTO/MANUAUAE LOCK] Switch to [AUTO] or [MANUAL]. To Lock the Brightness at a Desired Level After Step 1, set the [AUTO/MANUAUAE LOCK] Switch to [MANUAL] to adjust the iris/gain manually (-29-) and then set the [AUTO/MANUAUAE LOCK] Switch to [AE LOCK]. •Set the AE Lock again when the [AUTO/MANUAUAE LOCK] Switch is switched 30
-
 1
1 -
2
-
3
-
4
-
5
-
6
-
7
-
8
-
9
-
10
-
11
-
12
-
13
-
14
-
15
-
16
-
17
-
18
-
19
-
20
-
21
-
22
-
23
-
24
-
 25
25 -
 26
26 -
 27
27 -
 28
28 -
 29
29 -
 30
30 -
 31
31 -
 32
32 -
 33
33 -
 34
34 -
 35
35 -
36
-
37
-
38
-
39
-
40
-
41
-
42
-
43
-
44
-
45
-
46
-
47
-
48
-
49
-
50
-
51
-
52
-
53
-
54
-
55
-
56
-
57
-
58
-
59
-
60
-
61
-
62
-
63
-
64
-
65
-
66
-
67
-
68
-
69
-
70
 |
 |