Samsung SCH R500 User Manual (ENGLISH) - Page 90
Options, Self Timer, Multi Shot, Series Shot, Divided Shot, Manual, Select to Save, Erase
 |
View all Samsung SCH R500 manuals
Add to My Manuals
Save this manual to your list of manuals |
Page 90 highlights
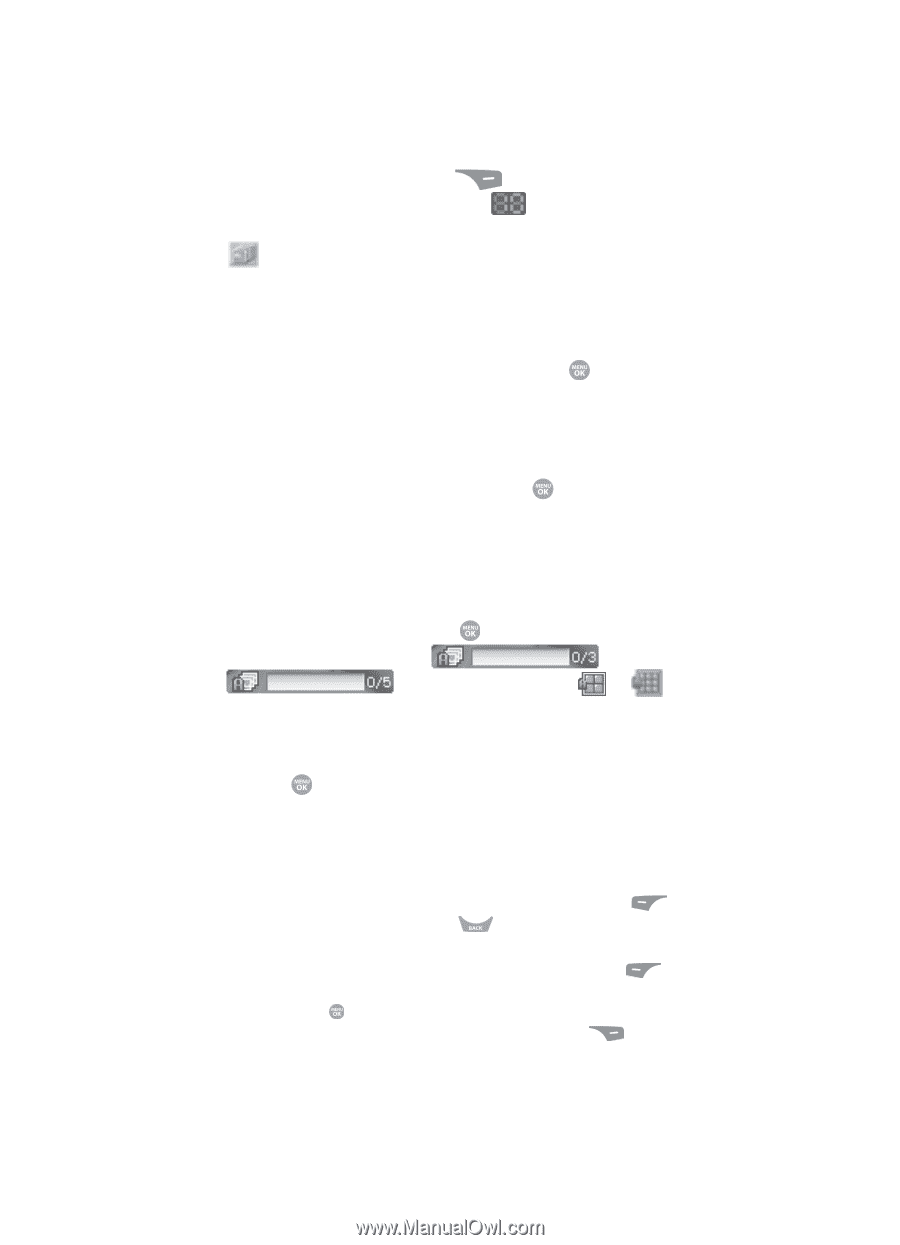
2. Press the Options (right) soft key ( ). The options menu bar appears in the display with the Self Timer icon ( ) highlighted. 3. Use the Left and Right navigation keys to highlight the Multi Shot icon ( ). The following Multi Shot options appear in the display: • Series Shot - Lets you take a series of 3 or 5 photos. • Divided Shot - Lets you take a mozaic of 4 or 9 photos. • Auto/Manual - Lets you select to take the multiple photos automatically (in quick succession) or to take each successive photo manually. 4. When you select Series Shot option and press the key. The following options appear in the display: • Off •3 •5 When you select Divided Shot and press the key, the following options appear in the display: • Off •4 •9 5. Use the Up and Down navigation keys to highlight 3 or 5 (Series Shot) or 4 or 9 (Divided Shot), then press the key. The Series Shot progress bar ( or ) or the Divided Shot icon ( or ) (which acts as a progress bar while pictures are being take) appears in the display. 6. Using the display as a viewfinder, point the camera lens at your subject. 7. Press the key when the image that you wish to capture appears in the display. The camera takes one picture (Manual) or multiple pictures in quick succession (Auto), then the Series Shot Select to Save screen or the Divided Shot multiple-photo screen appears in the display. • Series Shot: - To save the pictures to memory, press the Done (left) soft key ( ). - To discard the pictures, press the key. • Divided Shot: - To save the pictures to memory, press the Save (left) soft key ( ). - To send the picture to AxcessMyPics.com or in a picture message, press the Send key ( ). - To discard the pictures, press the Erase (right) soft key ( ). 90
-
 1
1 -
2
-
3
-
4
-
5
-
6
-
7
-
8
-
9
-
10
-
11
-
12
-
13
-
14
-
15
-
16
-
17
-
18
-
19
-
20
-
21
-
22
-
23
-
24
-
25
-
26
-
27
-
28
-
29
-
30
-
31
-
32
-
33
-
34
-
35
-
36
-
37
-
38
-
39
-
40
-
41
-
42
-
43
-
44
-
45
-
46
-
47
-
48
-
49
-
50
-
51
-
52
-
53
-
54
-
55
-
56
-
57
-
58
-
59
-
60
-
61
-
62
-
63
-
64
-
65
-
66
-
67
-
68
-
69
-
70
-
71
-
72
-
73
-
74
-
75
-
76
-
77
-
78
-
79
-
80
-
81
-
82
-
83
-
84
-
 85
85 -
 86
86 -
 87
87 -
 88
88 -
 89
89 -
 90
90 -
 91
91 -
 92
92 -
 93
93 -
 94
94 -
 95
95 -
96
-
97
-
98
-
99
-
100
-
101
-
102
-
103
-
104
-
105
-
106
-
107
-
108
-
109
-
110
-
111
-
112
-
113
-
114
-
115
-
116
-
117
-
118
-
119
-
120
-
121
-
122
-
123
-
124
-
125
-
126
-
127
-
128
-
129
-
130
-
131
-
132
-
133
-
134
-
135
-
136
-
137
-
138
-
139
-
140
-
141
-
142
-
143
-
144
-
145
-
146
-
147
-
148
-
149
-
150
-
151
-
152
-
153
-
154
-
155
-
156
-
157
-
158
-
159
-
160
-
161
-
162
-
163
-
164
-
165
-
166
-
167
-
168
-
169
-
170
-
171
-
172
-
173
-
174
-
175
-
176
-
177
-
178
-
179
-
180
-
181
-
182
-
183
-
184
-
185
-
186
-
187
-
188
-
189
-
190
-
191
-
192
-
193
-
194
-
195
-
196
 |
 |