Sony DPPFP67 Operating Instructions - Page 34
Printing from a PictBridge camera
 |
UPC - 027242766822
View all Sony DPPFP67 manuals
Add to My Manuals
Save this manual to your list of manuals |
Page 34 highlights
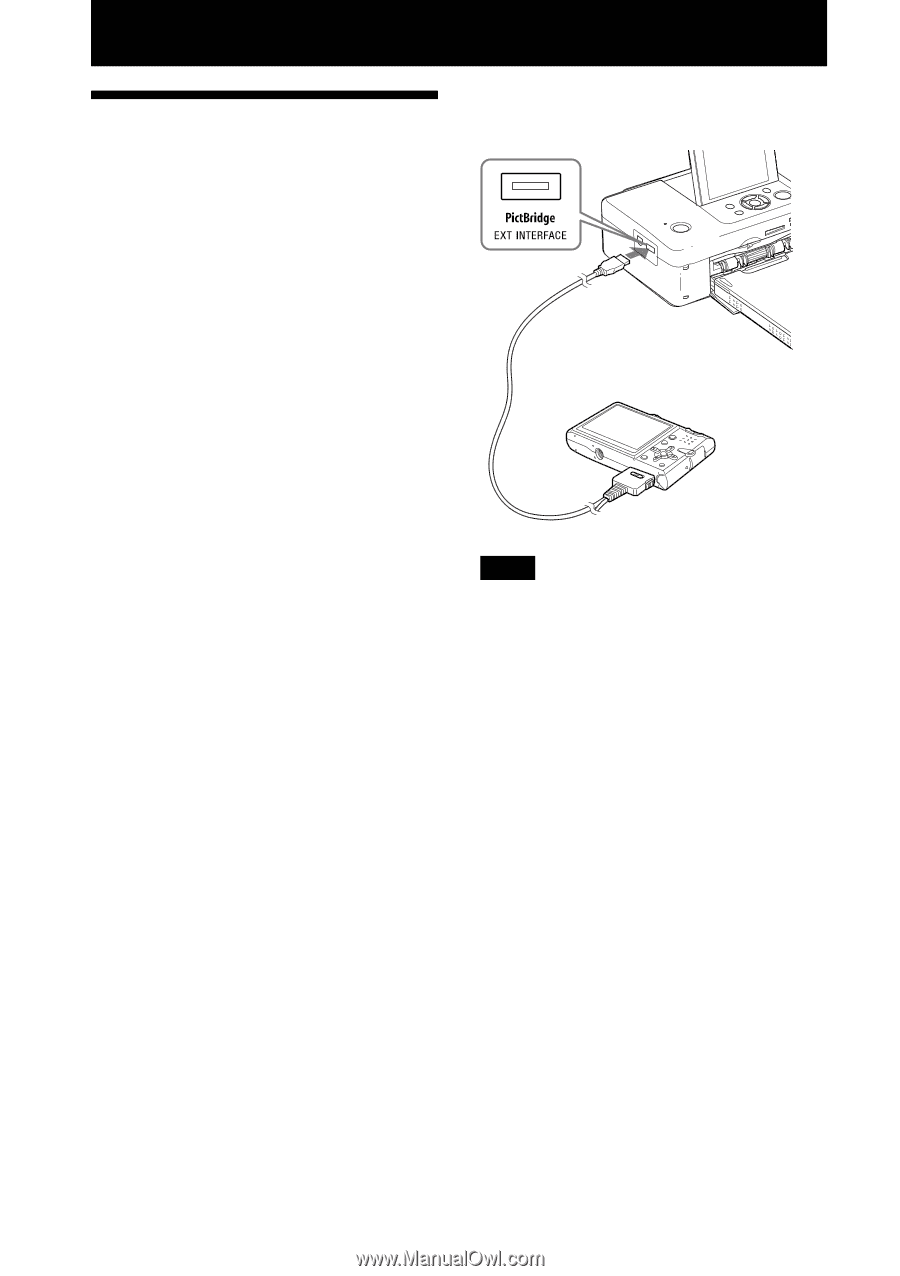
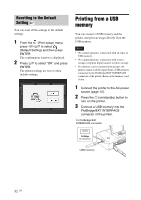
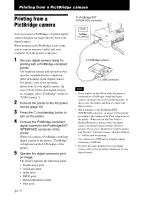
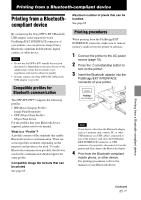
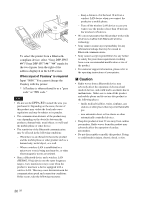
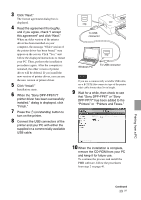
Printing from a PictBridge camera Printing from a PictBridge camera You can connect a PictBridge-compliant digital camera and print an image directly from your digital camera. When printing in the PictBridge mode, make sure to remove memory card(s) and your computer from the printer in advance. 1 Set your digital camera ready for printing with a PictBridge-compliant printer. The required settings and operations that must be completed before connection differ depending on the digital camera. For details, refer to the operating instructions of your digital camera. (In case of Sony Cyber-shot digital camera, for example, select "PictBridge" mode for "USB Connect.") 2 Connect the printer to the AC power source (page 12). 3 Press the 1 (on/standby) button to turn on the printer. 4 Connect the PictBridge-compliant digital camera to the PictBridge/EXT INTERFACE connector of the printer. When you connect a PictBridge-compliant digital camera to the printer, "PictBridge" is displayed on the LCD display of the printer. 5 Operate the digital camera to print an image. The printer supports the following prints: • Single-image print • All images print • Index print • DPOF print • Borders/Borderless print • Date print 34 GB To PictBridge/EXT INTERFACE connector A PictBridge camera To USB connector Notes • If you replace an ink ribbon while the printer is connected to a PictBridge-compliant digital camera, an image may not be printed properly. If this occurs, disconnect and then re-connect the digital camera. • When printing via the PictBridge/EXT INTERFACE connector, an image will be printed according to the settings of the Print setup menu of the printer. When you set the Date Print or Borders/Borderless options with your digital camera, the digital camera settings will have priority. If you select "Borderless" with the printer and "Borders" with your camera, "Borders (Pattern 1)" will be used for printing. • You cannot use a USB hub or a digital camera containing a USB hub. • For error messages displayed on your digital camera, refer to the operating instructions of your digital camera.
-
 1
1 -
2
-
3
-
4
-
5
-
6
-
7
-
8
-
9
-
10
-
11
-
12
-
13
-
14
-
15
-
16
-
17
-
18
-
19
-
20
-
21
-
22
-
23
-
24
-
25
-
26
-
27
-
28
-
 29
29 -
 30
30 -
 31
31 -
 32
32 -
 33
33 -
 34
34 -
 35
35 -
 36
36 -
 37
37 -
 38
38 -
 39
39 -
40
-
41
-
42
-
43
-
44
-
45
-
46
-
47
-
48
-
49
-
50
-
51
-
52
-
53
-
54
-
55
-
56
-
57
-
58
-
59
-
60
-
61
-
62
-
63
-
64
-
65
-
66
-
67
-
68
-
69
-
70
-
71
-
72
 |
 |