Sony DPPFP67 Operating Instructions - Page 39
that Sony DPP-FP67 or Sony, When the Sony DPP-FP67/77 - software
 |
UPC - 027242766822
View all Sony DPPFP67 manuals
Add to My Manuals
Save this manual to your list of manuals |
Page 39 highlights
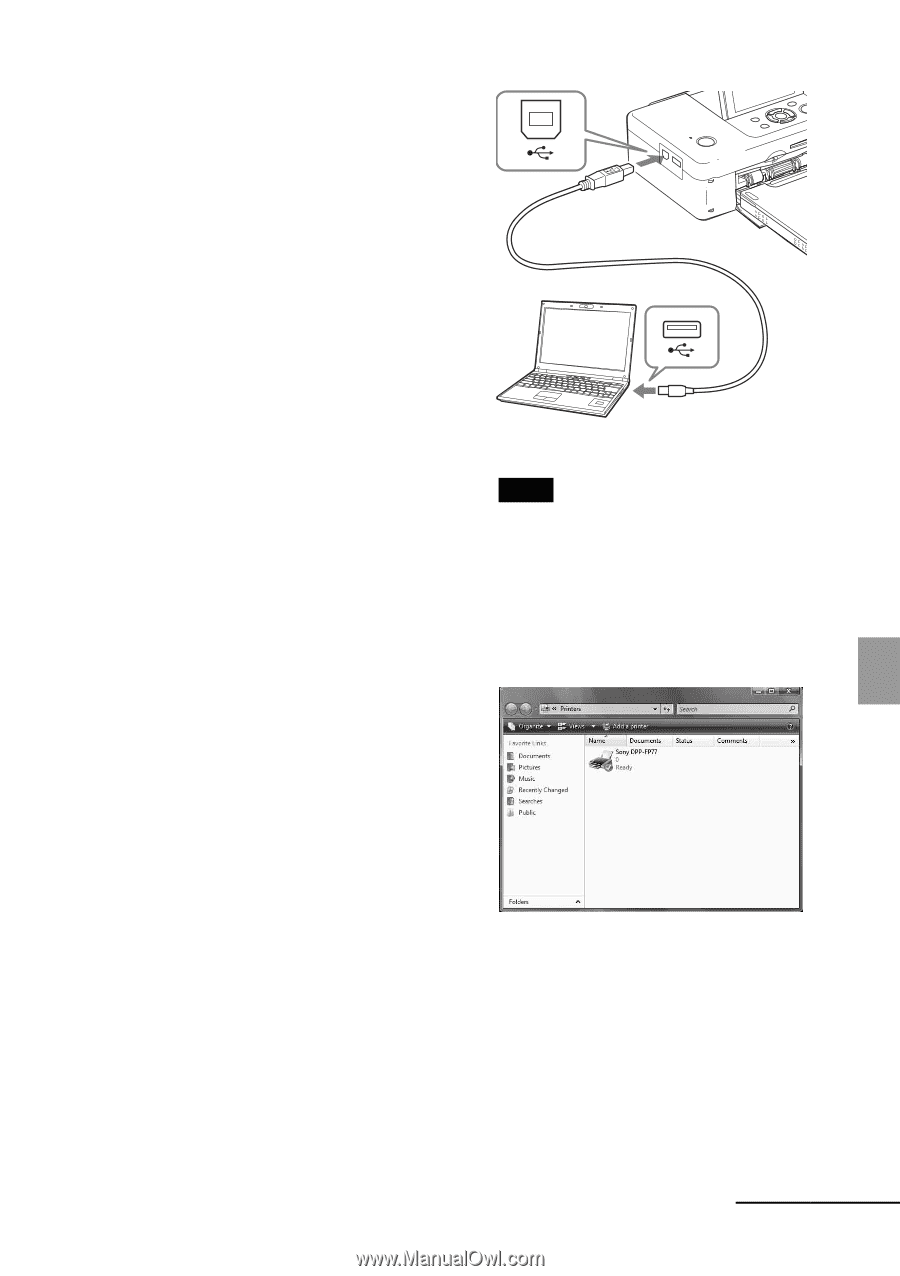
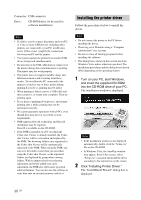
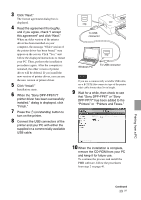
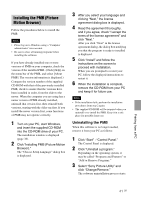
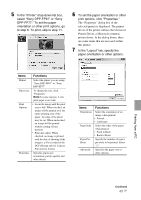
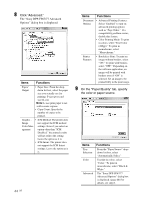
3 Click "Next." The license agreement dialog box is displayed. 4 Read the agreement thoroughly, and if you agree, check "I accept this agreement" and click "Next." When an older version of the printer driver has been installed on your computer, the message "Older version of the printer driver has been found." may appear on the screen. Click "Yes," and follow the displayed instructions to restart your PC. Then, perform the installation procedures again. After the computer is restarted, the older version of printer driver will be deleted. If you install the new version of printer driver, you can use the new version of printer driver. 5 Click "Install." Installation starts. 6 When the "Sony DPP-FP67/77 printer driver has been successfully installed." dialog is displayed, click "Finish." 7 Press the 1 (on/standby) button to turn on the printer. 8 Connect the USB connectors of the printer and your PC with either the supplied or a commercially available USB cable. To USB connector Windows PC To USB connector Note If you use a commercially available USB cable, use a B-TYPE (the connector type of the printer side) cable shorter than 3m in length. 9 Wait for a while, then check to see that "Sony DPP-FP67" or "Sony DPP-FP77" has been added to the "Printers" or "Printers and Faxes." 10 When the installation is complete, remove the CD-ROM from your PC and keep it for future use. To continue the process and install the PMB software, follow the procedures from step 2 on page 41. Printing from a PC Continued 39 GB
-
 1
1 -
2
-
3
-
4
-
5
-
6
-
7
-
8
-
9
-
10
-
11
-
12
-
13
-
14
-
15
-
16
-
17
-
18
-
19
-
20
-
21
-
22
-
23
-
24
-
25
-
26
-
27
-
28
-
29
-
30
-
31
-
32
-
33
-
 34
34 -
 35
35 -
 36
36 -
 37
37 -
 38
38 -
 39
39 -
 40
40 -
 41
41 -
 42
42 -
 43
43 -
 44
44 -
45
-
46
-
47
-
48
-
49
-
50
-
51
-
52
-
53
-
54
-
55
-
56
-
57
-
58
-
59
-
60
-
61
-
62
-
63
-
64
-
65
-
66
-
67
-
68
-
69
-
70
-
71
-
72
 |
 |