Xerox F110 User Manual - Page 40
Scanning, PC Connection - drivers
 |
UPC - 095205004762
View all Xerox F110 manuals
Add to My Manuals
Save this manual to your list of manuals |
Page 40 highlights
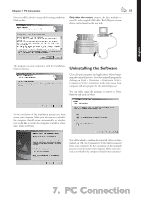
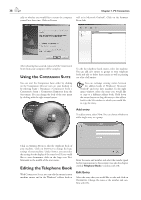
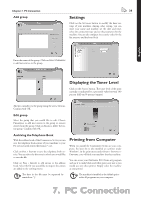
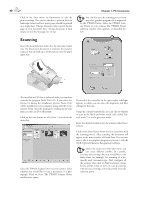
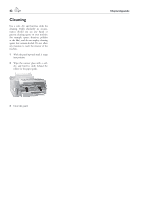
40 Chapter 7. PC Connection Click in the Print menu on P to edit the printer settings. You can set whether to print in letter or landscape format and how many pages should be printed on a single sheet. Change the print order to print the last page of your document first. A long document is then output sorted; the first page lies on top. ¡You can also start the scanning process from any other graphics program if it is supported by the TWAIN Driver. Select the TWAIN Scanner Driver as your scanner. e TWAIN Driver selection window then appears, as described below. Scanning Insert the document face down into the document input tray. e lower most document is read into the memory scanned. You can load up to 20 documents into the paper input tray. e installation CD that is delivered with your machine contains the program P P 8.0. If you select A P during the installation process, P P will be installed on your computer along with the C S Start the program by clicking in the start menu on the icon D M Click on the scan button or select F > S from the menu bar. If you select the controller on the upper right, a dialogue appears in which you can select the alignment and filter settings for the scan. Using the controls beneath this, you can choose whether to scan in the black-and-white mode (also called "barcode mode") or in the grey tone mode. Enter the desired resolution for the scanner under R Select the TWAIN Scanner Driver as your scanner. Select whether you would like to scan a document or a photograph. Click on S e TWAIN Scanner Driver window now opens. Click on the lower button S S to commence with the scanning process. After scanning, the document will appear in the main window of P Pt. You can now save it, edit it in a graphics program or process it with the OCR (Optical Character Recognition) software. ¡Under the menu item P you can create different profiles. In a profile, you may save settings that you would like to use fairly often, for example, for scanning of a frequently-used document-type. First configure all the settings. en click on N and enter a name for the profile. Click on S. To scan documents with the saved settings, select this profile from the selection menu.
-
 1
1 -
2
-
3
-
4
-
5
-
6
-
7
-
8
-
9
-
10
-
11
-
12
-
13
-
14
-
15
-
16
-
17
-
18
-
19
-
20
-
21
-
22
-
23
-
24
-
25
-
26
-
27
-
28
-
29
-
30
-
31
-
32
-
33
-
34
-
 35
35 -
 36
36 -
 37
37 -
 38
38 -
 39
39 -
 40
40 -
 41
41 -
 42
42 -
 43
43 -
 44
44 -
 45
45 -
46
-
47
-
48
-
49
-
50
-
51
-
52
-
53
-
54
-
55
-
56
-
57
-
58
-
59
-
60
-
61
-
62
-
63
-
64
-
65
-
66
-
67
-
68
-
69
-
70
-
71
-
72
-
73
-
74
-
75
-
76
-
77
-
78
-
79
-
80
-
81
-
82
-
83
-
84
-
85
-
86
-
87
-
88
-
89
-
90
-
91
-
92
-
93
-
94
-
95
-
96
-
97
-
98
-
99
-
100
-
101
-
102
-
103
-
104
-
105
-
106
-
107
-
108
-
109
-
110
-
111
-
112
-
113
-
114
-
115
-
116
-
117
-
118
-
119
-
120
-
121
-
122
-
123
-
124
-
125
-
126
-
127
-
128
-
129
-
130
-
131
-
132
-
133
-
134
-
135
-
136
-
137
-
138
-
139
-
140
-
141
-
142
-
143
-
144
-
145
-
146
-
147
-
148
 |
 |
