Yamaha DTX502 Owner's Manual - Page 20
Building Your Own Unique Kits
 |
View all Yamaha DTX502 manuals
Add to My Manuals
Save this manual to your list of manuals |
Page 20 highlights
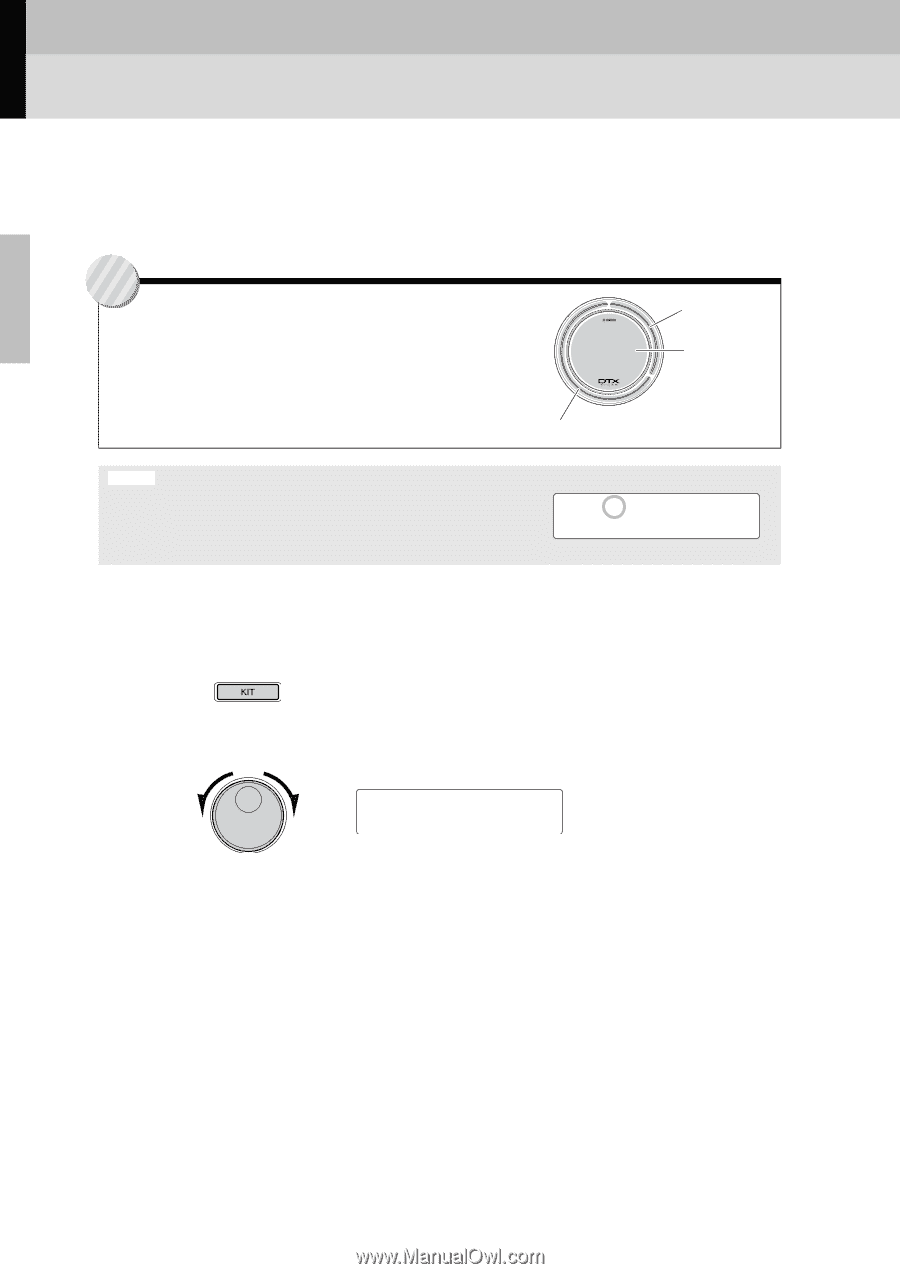
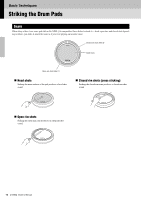
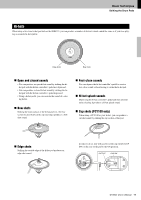
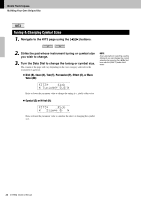
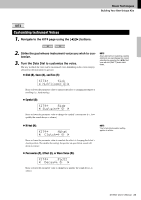
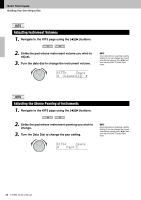
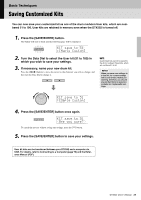
Basic Techniques Building Your Own Unique Kits It's easy to build your own unique drum kits with the DTX502-simply change the drum sounds assigned to the individual pads on pages KIT2 to KIT6 as described below. NOTE The KIT1 page is used only for selecting different kits. Tip Voices, instruments, and kits Pads such as the snare, hi-hat, and cymbals (pages 16 to 18) have been designed to trigger different voices (or sounds) depending on the zone of the pad that is struck (see Input Sources on page 29). In terms of the DTX502, an "instrument" is a collection of the voices assigned to the various zones of a specific pad. A kit comprises a full set of instruments-one for each pad. Open rim shots Closed rim shots Head shots NOTICE When any of a kit's parameters have been changed but not yet saved, an asterisk (*) will appear beside the page name at the top-left of the screen. The asterisk will disappear when you save your settings. (See page 25.) If you select another kit without saving your changes, they will be lost. KIt2* Snare "S01:MapleCustm, To edit a kit, you must first carry out the following two steps. 1. Press the [KIT] button to access the Kit area. 2. Turn the Data Dial to select the kit you wish to edit. KIt1 01:Maple Custom, The changes that can be made on each of pages KIT2 to KIT6 are described below. 20 DTX502 Owner's Manual
-
 1
1 -
2
-
3
-
4
-
5
-
6
-
7
-
8
-
9
-
10
-
11
-
12
-
13
-
14
-
 15
15 -
 16
16 -
 17
17 -
 18
18 -
 19
19 -
 20
20 -
 21
21 -
 22
22 -
 23
23 -
 24
24 -
 25
25 -
26
-
27
-
28
-
29
-
30
-
31
-
32
-
33
-
34
-
35
-
36
-
37
-
38
-
39
-
40
-
41
-
42
-
43
-
44
-
45
-
46
-
47
-
48
-
49
-
50
-
51
-
52
-
53
-
54
-
55
-
56
-
57
-
58
-
59
-
60
-
61
-
62
-
63
-
64
-
65
-
66
-
67
-
68
-
69
-
70
-
71
-
72
-
73
-
74
-
75
-
76
-
77
-
78
-
79
-
80
-
81
-
82
-
83
-
84
-
85
-
86
-
87
-
88
-
89
-
90
-
91
-
92
 |
 |