Yamaha DTX502 Owner's Manual - Page 32
Customizing the Metronome, Selecting a Click Set
 |
View all Yamaha DTX502 manuals
Add to My Manuals
Save this manual to your list of manuals |
Page 32 highlights
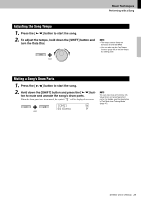
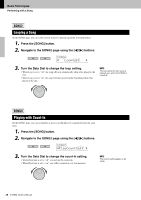
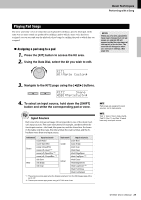
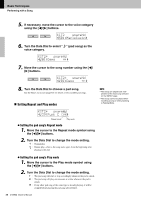
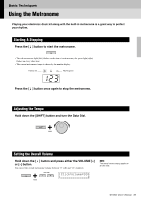
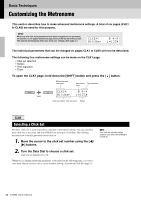
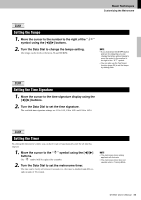
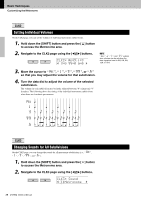
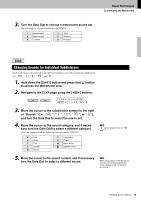
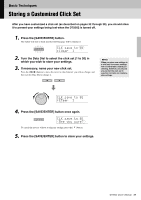
Basic Techniques Customizing the Metronome This section describes how to make advanced metronome settings. A total of six pages (CLK1 to CLK6) are used for this purpose. NOTICE When any of a click set's parameters have been changed but not yet stored, an asterisk (*) will appear beside the page name at the top-left of the screen. The asterisk will disappear when you store your settings. (See page 37.) CLK1* ∫ 4/4 01:User ⁄=123, The individual parameters that can be changed on pages CLK1 to CLK6 will now be described. The following four metronome settings can be made on the CLK1 page. • Click set selection • Tempo • Time signature • Timer To open the CLK1 page, hold down the [SHIFT] button and press the [ ] button. Metronome area (first page) Metronome Time signature timer CLK1* ∫ 4/4 01:User ⁄=123, Hold Click set number: Click set name Tempo CLK1 Selecting a Click Set The term "click set" is used to describe a collection of metronome settings. You can customize these click sets as necessary, and your DTX502 can store up to 30 of them. The following describes how to recall a previously stored click set. 1. Move the cursor to the click set number using the [] buttons. 2. Turn the Data Dial to choose a click set. Click sets are numbered 1 to 30. Whenever you change metronome parameters as described on the following pages, it is wise to store them. Details on how to do so can be found in Storing a Customized Click Set (page 37). NOTE Your click-set selection will be retained even when the DTX502 is turned off. 32 DTX502 Owner's Manual
-
 1
1 -
2
-
3
-
4
-
5
-
6
-
7
-
8
-
9
-
10
-
11
-
12
-
13
-
14
-
15
-
16
-
17
-
18
-
19
-
20
-
21
-
22
-
23
-
24
-
25
-
26
-
 27
27 -
 28
28 -
 29
29 -
 30
30 -
 31
31 -
 32
32 -
 33
33 -
 34
34 -
 35
35 -
 36
36 -
 37
37 -
38
-
39
-
40
-
41
-
42
-
43
-
44
-
45
-
46
-
47
-
48
-
49
-
50
-
51
-
52
-
53
-
54
-
55
-
56
-
57
-
58
-
59
-
60
-
61
-
62
-
63
-
64
-
65
-
66
-
67
-
68
-
69
-
70
-
71
-
72
-
73
-
74
-
75
-
76
-
77
-
78
-
79
-
80
-
81
-
82
-
83
-
84
-
85
-
86
-
87
-
88
-
89
-
90
-
91
-
92
 |
 |
