Yamaha DTX502 Owner's Manual - Page 21
Assigning Voices to Instruments, Navigate to the KIT2 using
 |
View all Yamaha DTX502 manuals
Add to My Manuals
Save this manual to your list of manuals |
Page 21 highlights
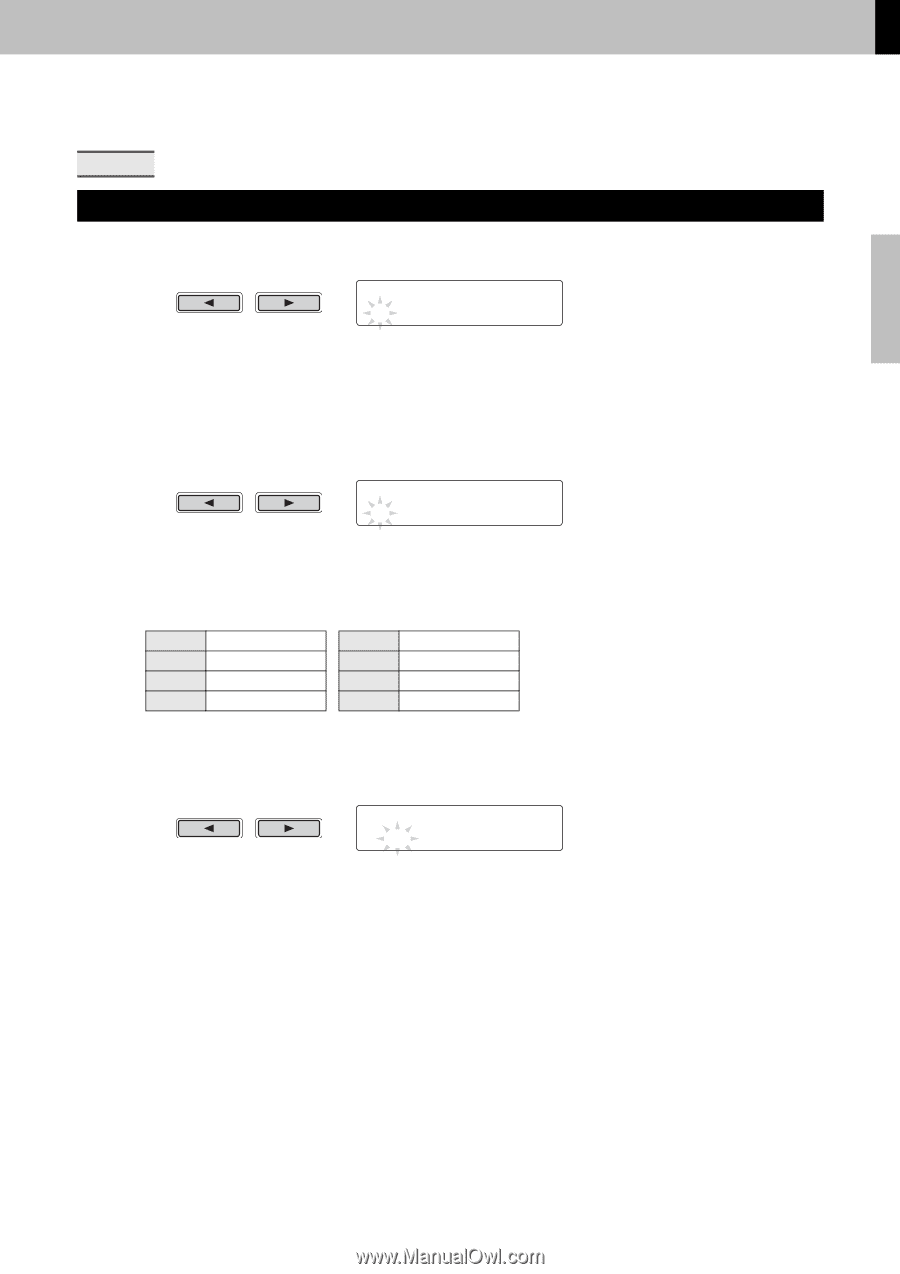
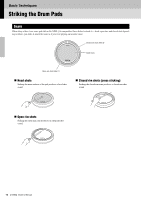
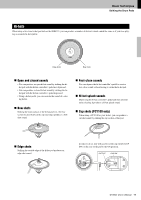
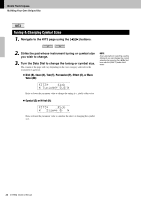
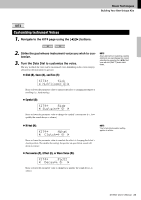
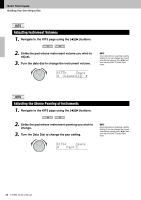
Basic Techniques Building Your Own Unique Kits KIT2 Assigning Voices to Instruments 1. Navigate to the KIT2 page using the [] buttons. KIt2 Snare "S01:MapleCustm, 2. Strike the pad whose instrument voice you wish to change. 3. If necessary, move the cursor to the voice category using the [] buttons. KIt2 Snare "S01:MapleCustm, NOTE As an alternative to selecting a pad by striking it, you can change the current selection by pressing the [] buttons with the [SHIFT] button held down. 4. If necessary, turn the Data Dial to select a different voice category. Voices are organized into the following categories on the DTX502. K Kick S Snare T Tom C Cymbal H Hi-hat P Percussion E Effect W Wave Voice NOTE The term "Wave Voice" refers to an audio file transferred from a computer to your DTX502 via USB (page 79). 5. Move the cursor to the voice number using the [] buttons. KIt2* Snare "S01:MapleCustm, 6. Turn the Data Dial to select a different voice. NOTE • When voice number 0 ("No Assign") is selected for an instrument, it will not produce any sound when struck. • To assign a voice to a specific zone, strike the zone while holding down the [SHIFT] button. For details, see Tip: Input Sources on page 29. • Two different voices can be simultaneously assigned to each pad or zone. For details, see the description of the Layers page from Menu Mode (page 57). DTX502 Owner's Manual 21
-
 1
1 -
2
-
3
-
4
-
5
-
6
-
7
-
8
-
9
-
10
-
11
-
12
-
13
-
14
-
15
-
 16
16 -
 17
17 -
 18
18 -
 19
19 -
 20
20 -
 21
21 -
 22
22 -
 23
23 -
 24
24 -
 25
25 -
 26
26 -
27
-
28
-
29
-
30
-
31
-
32
-
33
-
34
-
35
-
36
-
37
-
38
-
39
-
40
-
41
-
42
-
43
-
44
-
45
-
46
-
47
-
48
-
49
-
50
-
51
-
52
-
53
-
54
-
55
-
56
-
57
-
58
-
59
-
60
-
61
-
62
-
63
-
64
-
65
-
66
-
67
-
68
-
69
-
70
-
71
-
72
-
73
-
74
-
75
-
76
-
77
-
78
-
79
-
80
-
81
-
82
-
83
-
84
-
85
-
86
-
87
-
88
-
89
-
90
-
91
-
92
 |
 |