Canon imageCLASS D880 imageCLASS D880 Fax Guide - Page 23
Coded Speed Dialing
 |
View all Canon imageCLASS D880 manuals
Add to My Manuals
Save this manual to your list of manuals |
Page 23 highlights
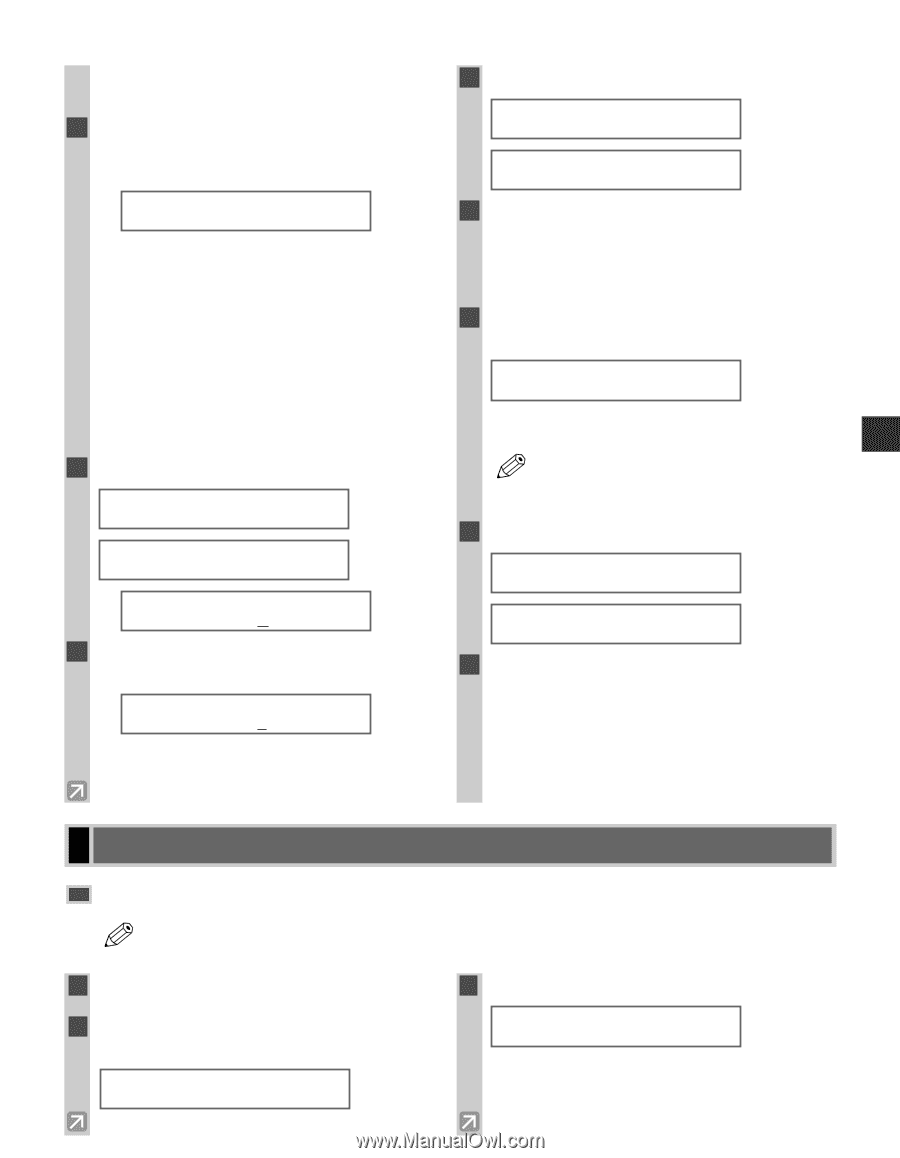
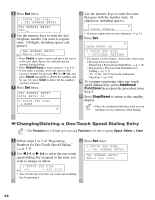
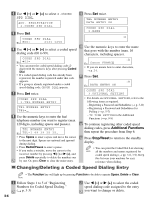
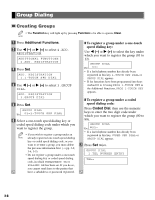
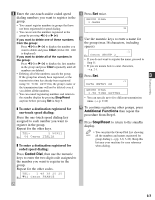
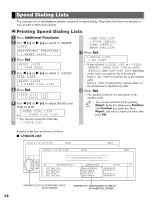
❚ To Change a One-Touch Speed Dialing Entry: 4 Press Function, then Clear to delete the previous entry, then re-enter the fax/telephone number. 7 Press Set. :A DATA ENTRY OK 1-TOUCH SPD DIAL 3.OPTIONAL SETTING TEL NUMBER ENTRY Ex: T E L = 1 4 3 2 2 0 6 0 _ • If you do not want to change the fax/telephone 8 Press Stop/Reset to return to the standby display. number, proceed to Step 6. • Press Space to enter a space and move the cursor to the next digit. Spaces are optional and are ignored during dialing. • Press Redial/Pause to enter a pause. ❚ To Delete a One-Touch Speed Dialing Entry: 4 Press Function, then Clear to delete the fax/telephone number. • If you make a mistake, move the cursor to the TEL NUMBER ENTRY incorrect number by pressing 4 (-) or e (+), and TEL= press Delete repeatedly to delete the numbers one by one. Or, press Clear to delete all the numbers you have entered. • If you do not want to delete the fax/telephone number, proceed to Step 6. 3 Speed Dialing 5 Press Set twice. TEL NUMBER ENTRY DATA ENTRY OK 1-TOUCH SPD DIAL 2.NAME • If you delete the number by mistake, press NOTE Stop/Reset before you press Set, so that the number is not deleted. 5 Press Set. TEL NUMBER ENTRY ERASING END :A Ex: C a n o n O P T I X 6 Press Clear to delete the previous entry, then re-enter the name. :A Ex: C a n o n O P T I C S • If you do not want to change the name, proceed to Step 7. • If you are unsure how to enter characters, → p. 2-1. 1-TOUCH SPD DIAL 2.NAME 6 Press Stop/Reset to return to the standby display. • The registered name is automatically cleared when you clear the fax/telephone number. Coded Speed Dialing Registering Numbers for Coded Speed Dialing • The Function key will light up by pressing Function to be able to operate Space, Delete or Clear. NOTE 1 Press Additional Functions. 3 Press Set. 2 Use 4 (-) or e (+) to select 4.ADD. REGISTRATION. ADD. REGISTRATION 1.1-TOUCH SPD DIAL ADDITIONAL FUNCTIONS 4.ADD. REGISTRATION 3-3
-
 1
1 -
2
-
3
-
4
-
5
-
6
-
7
-
8
-
9
-
10
-
11
-
12
-
13
-
14
-
15
-
16
-
17
-
 18
18 -
 19
19 -
 20
20 -
 21
21 -
 22
22 -
 23
23 -
 24
24 -
 25
25 -
 26
26 -
 27
27 -
 28
28 -
29
-
30
-
31
-
32
-
33
-
34
-
35
-
36
-
37
-
38
-
39
-
40
-
41
-
42
-
43
-
44
-
45
-
46
-
47
-
48
-
49
-
50
-
51
-
52
-
53
-
54
-
55
-
56
-
57
-
58
-
59
-
60
-
61
-
62
-
63
-
64
-
65
-
66
-
67
-
68
-
69
-
70
-
71
-
72
-
73
-
74
-
75
-
76
-
77
-
78
-
79
-
80
-
81
-
82
-
83
-
84
-
85
 |
 |