Dell PowerVault 130T DLT Service Manual - Page 64
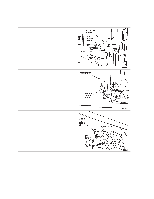
near the reach motor using a Torx driver, located on the end of the hand assembly
 |
View all Dell PowerVault 130T DLT manuals
Add to My Manuals
Save this manual to your list of manuals |
Page 64 highlights
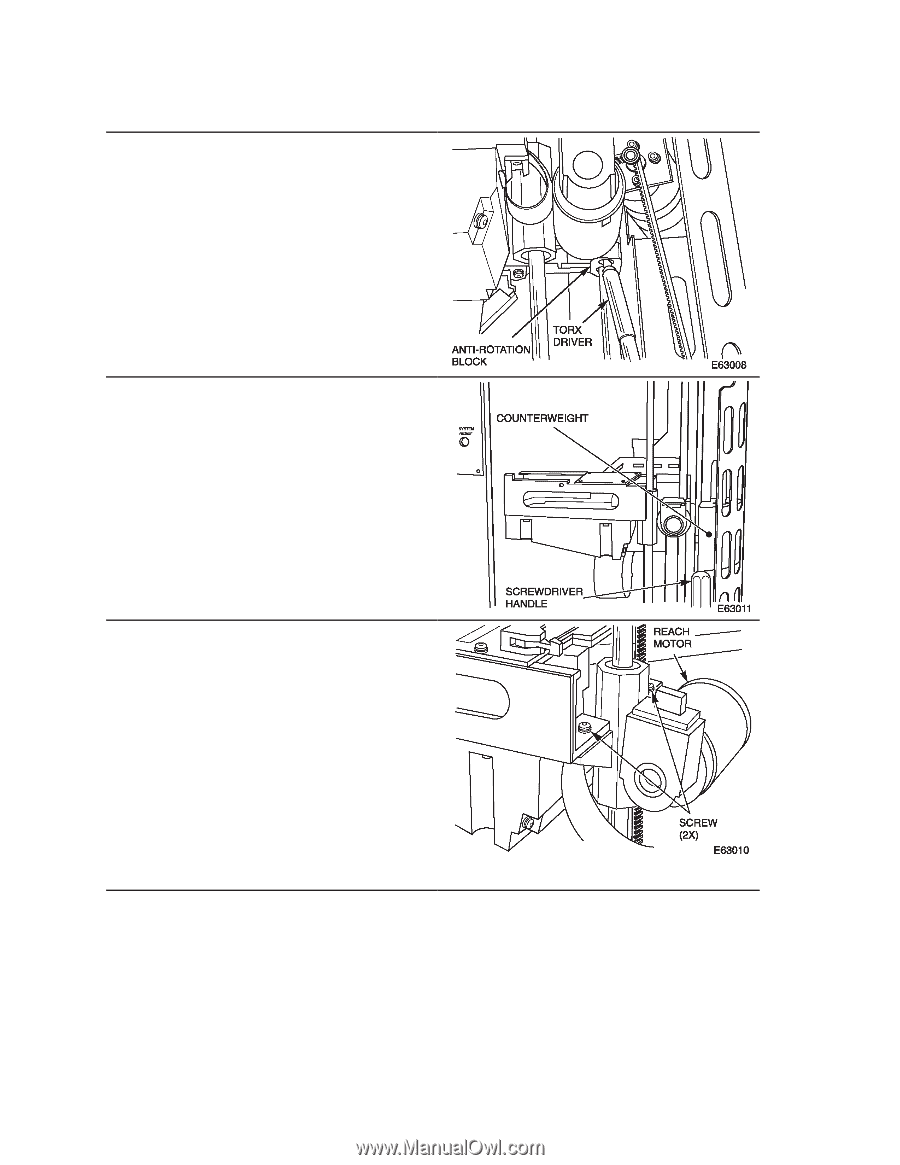
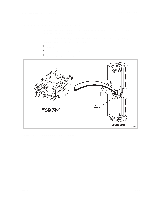
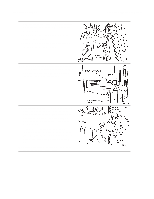
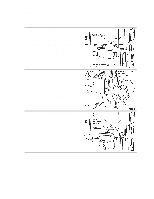
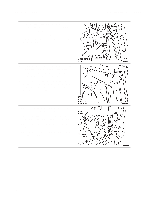
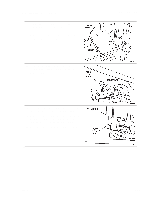
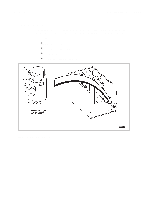
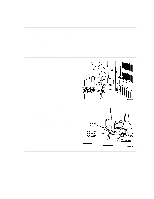
Hand/Camera Assembly 17. Remove the screw securing the anti-rotation block (under the hand) using a Torx driver with a T-15 bit. 18. Slide the anti-rotation block down to the base of the Z column. 19. Carefully lower the hand/camera assembly to the bottom of the Z column. 20. Prop up the counterweight using something like an eight-inch screwdriver and placing it between the counterweight and the base of the robot. (Optional but easier.) 21. Supporting the hand assembly with your left hand, remove the two screws securing the hand/camera assembly to the bearing block (located on the end of the hand assembly near the reach motor) using a Torx driver with a T-15 bit. 22. Carefully lift and remove the hand by rotating it so the card side (top) of the hand faces the front of the library, making sure the hand motor clears the Z column and the Z belt. 23. Pull the hand/camera assembly out through the front opening of the library. PowerVault 130T Service Manual 3-28 4473D
-
 1
1 -
2
-
3
-
4
-
5
-
6
-
7
-
8
-
9
-
10
-
11
-
12
-
13
-
14
-
15
-
16
-
17
-
18
-
19
-
20
-
21
-
22
-
23
-
24
-
25
-
26
-
27
-
28
-
29
-
30
-
31
-
32
-
33
-
34
-
35
-
36
-
37
-
38
-
39
-
40
-
41
-
42
-
43
-
44
-
45
-
46
-
47
-
48
-
49
-
50
-
51
-
52
-
53
-
54
-
55
-
56
-
57
-
58
-
 59
59 -
 60
60 -
 61
61 -
 62
62 -
 63
63 -
 64
64 -
 65
65 -
 66
66 -
 67
67 -
 68
68 -
 69
69 -
70
-
71
-
72
-
73
-
74
-
75
-
76
-
77
-
78
-
79
-
80
-
81
-
82
-
83
-
84
-
85
-
86
-
87
-
88
-
89
-
90
-
91
-
92
-
93
-
94
-
95
-
96
 |
 |