Dell PowerVault 130T DLT Service Manual - Page 70
Rotate the robot so that the hand extends, beyond the front opening of the library.
 |
View all Dell PowerVault 130T DLT manuals
Add to My Manuals
Save this manual to your list of manuals |
Page 70 highlights
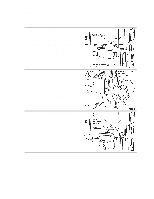
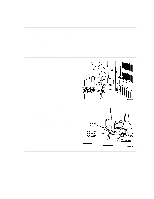
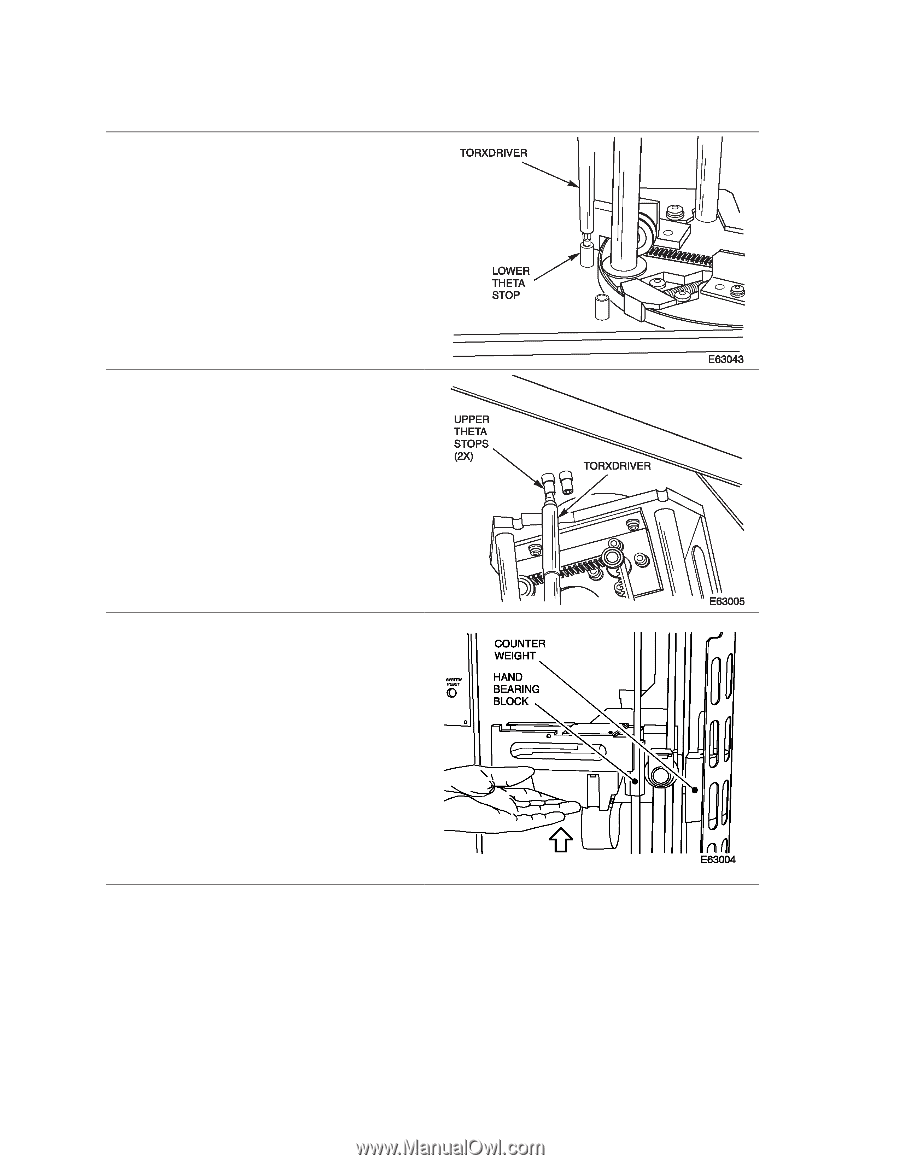
Theta Motor 7. Remove the lower theta stop from the floor of the library using a Torx driver with a T-15 bit. 8. Remove both theta stops from the ceiling of the library using a Torx driver with a T-15 bit. 9. Carefully move the hand to the top of the Z column. 10. Rotate the robot so that the hand extends beyond the front opening of the library. This allows access to the screw at the right rear of the theta motor mount. PowerVault 130T Service Manual 3-34 4473D
-
 1
1 -
2
-
3
-
4
-
5
-
6
-
7
-
8
-
9
-
10
-
11
-
12
-
13
-
14
-
15
-
16
-
17
-
18
-
19
-
20
-
21
-
22
-
23
-
24
-
25
-
26
-
27
-
28
-
29
-
30
-
31
-
32
-
33
-
34
-
35
-
36
-
37
-
38
-
39
-
40
-
41
-
42
-
43
-
44
-
45
-
46
-
47
-
48
-
49
-
50
-
51
-
52
-
53
-
54
-
55
-
56
-
57
-
58
-
59
-
60
-
61
-
62
-
63
-
64
-
 65
65 -
 66
66 -
 67
67 -
 68
68 -
 69
69 -
 70
70 -
 71
71 -
 72
72 -
 73
73 -
 74
74 -
 75
75 -
76
-
77
-
78
-
79
-
80
-
81
-
82
-
83
-
84
-
85
-
86
-
87
-
88
-
89
-
90
-
91
-
92
-
93
-
94
-
95
-
96
 |
 |
Theta Motor
PowerVault 130T Service Manual
3–34
4473D
7.
Remove the lower theta stop from the
floor of the library using a Torx driver
with a T-15 bit.
8.
Remove both theta stops from the ceiling
of the library using a Torx driver with a
T-15 bit.
9.
Carefully move the hand to the top of the
Z column.
10. Rotate the robot so that the hand extends
beyond the front opening of the library.
This allows access to the screw at the right
rear of the theta motor mount.