HP CM3530 HP Color LaserJet CM3530 MFP Series - Analog Fax Accessory 500 Fax G - Page 29
Receive fax settings, Set rings-to-answer, Stamp received faxes (incoming faxes), Set fit-to-
 |
UPC - 884420196501
View all HP CM3530 manuals
Add to My Manuals
Save this manual to your list of manuals |
Page 29 highlights
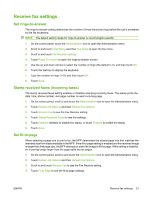
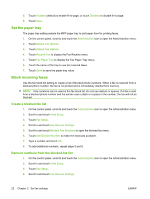
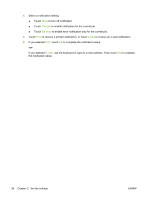
Receive fax settings Set rings-to-answer The rings-to-answer setting determines the number of times the phone rings before the call is answered by the fax accessory. NOTE: The default setting range for rings-to-answer is country/region-specific. 1. On the control panel, touch the Administration icon to open the Administration menu. 2. Scroll to and touch Initial Setup and then Fax Setup to open the fax menu. 3. Scroll to and touch Fax Receive Settings. 4. Touch Rings To Answer to open the rings-to-answer screen. 5. Use the up and down arrows to select the number of rings (the default is 2), and then touch OK. 6. Touch the text box to display the keyboard. 7. Type the number of rings (1-9), and then touch OK. 8. Touch Save. Stamp received faxes (incoming faxes) The stamp received faxes setting enables or disables stamping incoming faxes. The stamp prints the date, time, phone number, and page number on each incoming page. 1. On the control panel, scroll to and touch the Administration icon to open the Administration menu. 2. Touch Default Job Options and then Default Fax Options. 3. Touch Receive Fax to see the Fax Receive setting. 4. Touch Stamp Received Faxes to see the settings. 5. Touch Disabled (default) to disable the stamp, or touch Enabled to enable the stamp. 6. Touch Save. Set fit-to-page When selecting a page size to print a fax, the MFP determines the closest page size that matches the intended size from sizes available in the MFP. If the fit-to-page setting is enabled and the received image is larger than that page size, the MFP attempts to scale the image to fit the page. If this setting is disabled, an incoming image larger than the page splits across pages. 1. On the control panel, scroll to and touch the Administration icon to open the Administration menu. 2. Touch Default Job Options and then Default Fax Options. 3. Scroll to and touch Receive Fax to see the Fax Receive setting. 4. Touch Fit to Page to see the fit-to-page settings. ENWW Receive fax settings 21
-
 1
1 -
2
-
3
-
4
-
5
-
6
-
7
-
8
-
9
-
10
-
11
-
12
-
13
-
14
-
15
-
16
-
17
-
18
-
19
-
20
-
21
-
22
-
23
-
 24
24 -
 25
25 -
 26
26 -
 27
27 -
 28
28 -
 29
29 -
 30
30 -
 31
31 -
 32
32 -
 33
33 -
 34
34 -
35
-
36
-
37
-
38
-
39
-
40
-
41
-
42
-
43
-
44
-
45
-
46
-
47
-
48
-
49
-
50
-
51
-
52
-
53
-
54
-
55
-
56
-
57
-
58
-
59
-
60
-
61
-
62
-
63
-
64
-
65
-
66
-
67
-
68
-
69
-
70
-
71
-
72
-
73
-
74
-
75
-
76
-
77
-
78
-
79
-
80
-
81
-
82
-
83
-
84
-
85
-
86
-
87
-
88
-
89
-
90
-
91
-
92
-
93
-
94
-
95
-
96
 |
 |