HP Photosmart 618 HP Photosmart 618 digital camera - (English) User Guide - Page 100
Format Dialog, Setting the Image Counter
 |
View all HP Photosmart 618 manuals
Add to My Manuals
Save this manual to your list of manuals |
Page 100 highlights
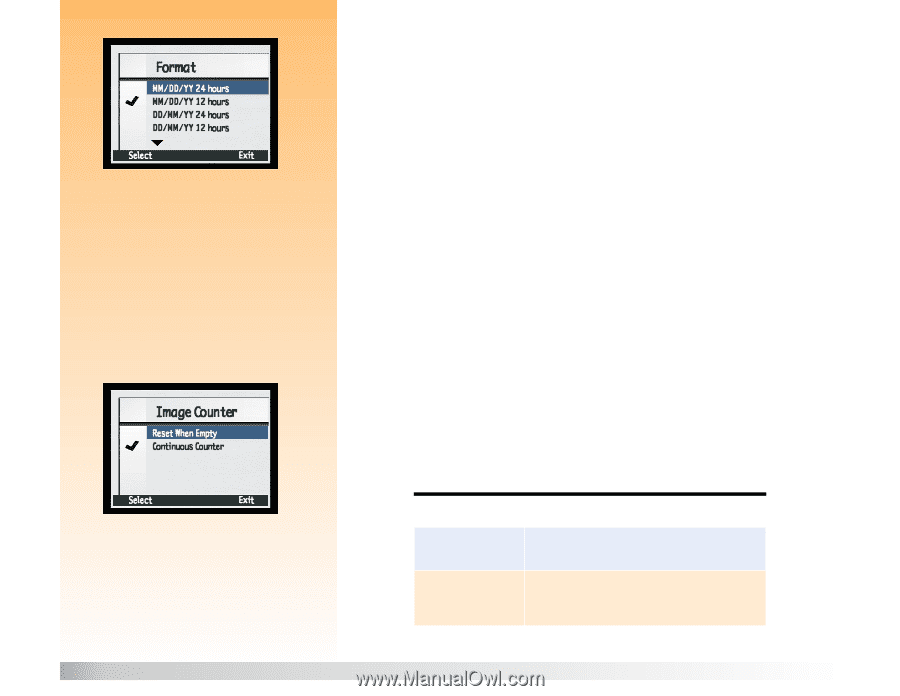
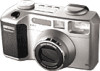
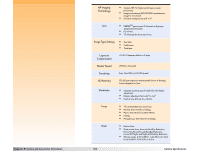
Figure 77: Format Dialog Figure 78: Image Counter Submenu Appendix A: Using the Preferences Menu Format Dialog When you press the left (Format) soft key in the Set Date & Time submenu, you see the Format dialog, which allows you to select from a list of six, predefined date and time formats. There are three formats which use the 24-hour clock format, and three formats which use the 12-hour clock format. The default format for the date and time is MM/DD/YY 12 hr, which means the date is in the Month/ Day/Year format, and the time is in the 12-hour clock format. For example, to set your camera to the MM/DD/YY 24 hour format (so that the date will be in the Month/Day/Year format, and the time will be in the 24-hour clock format), follow these steps: 1 Press the left (Format) soft key in the Set Date & Time submenu to move to the Format dialog. 2 Press the up or down arrow on the 4-way controller to highlight the MM/DD/YY 24 hours format in the Format dialog. 3 Press the left (Select) softkey, The checkmark moves to the highlighted date and time format, and you return to the Set Date & Time submenu. The camera is now set to the date and time format you just selected. Setting the Image Counter Use the Image Counter submenu to set how the image counter works. You can set the camera either to restart numbering at 1 (one) each time you delete all the images from your camera, or to keep a continuous count of images from the beginning of the camera's use. Table 64 explains the Image Counter settings and their functions. The currently selected setting is indicated by the checkmark to the left of it. The default setting is Continuous Counter. Table 64: Image Counter Submenu Setting Reset When Empty Continuous Counter (default) Function Each time you delete all of the images on your camera, the counter restarts the first image captured at number 1. The images are counted according to the history of the camera's use. For example: image #400 is the 400th image to be captured with this camera. 100 Setting the Image Counter
-
 1
1 -
2
-
3
-
4
-
5
-
6
-
7
-
8
-
9
-
10
-
11
-
12
-
13
-
14
-
15
-
16
-
17
-
18
-
19
-
20
-
21
-
22
-
23
-
24
-
25
-
26
-
27
-
28
-
29
-
30
-
31
-
32
-
33
-
34
-
35
-
36
-
37
-
38
-
39
-
40
-
41
-
42
-
43
-
44
-
45
-
46
-
47
-
48
-
49
-
50
-
51
-
52
-
53
-
54
-
55
-
56
-
57
-
58
-
59
-
60
-
61
-
62
-
63
-
64
-
65
-
66
-
67
-
68
-
69
-
70
-
71
-
72
-
73
-
74
-
75
-
76
-
77
-
78
-
79
-
80
-
81
-
82
-
83
-
84
-
85
-
86
-
87
-
88
-
89
-
90
-
91
-
92
-
93
-
94
-
 95
95 -
 96
96 -
 97
97 -
 98
98 -
 99
99 -
 100
100 -
 101
101 -
 102
102 -
 103
103 -
 104
104 -
 105
105 -
106
-
107
-
108
-
109
-
110
-
111
-
112
-
113
-
114
-
115
-
116
-
117
-
118
-
119
-
120
-
121
-
122
-
123
-
124
-
125
-
126
-
127
-
128
-
129
 |
 |