HP Photosmart Premium TouchSmart Web All-in-One Printer - C309 User Guide - Page 33
Print on specialty media, Printer Setup
 |
View all HP Photosmart Premium TouchSmart Web All-in-One Printer - C309 manuals
Add to My Manuals
Save this manual to your list of manuals |
Page 33 highlights
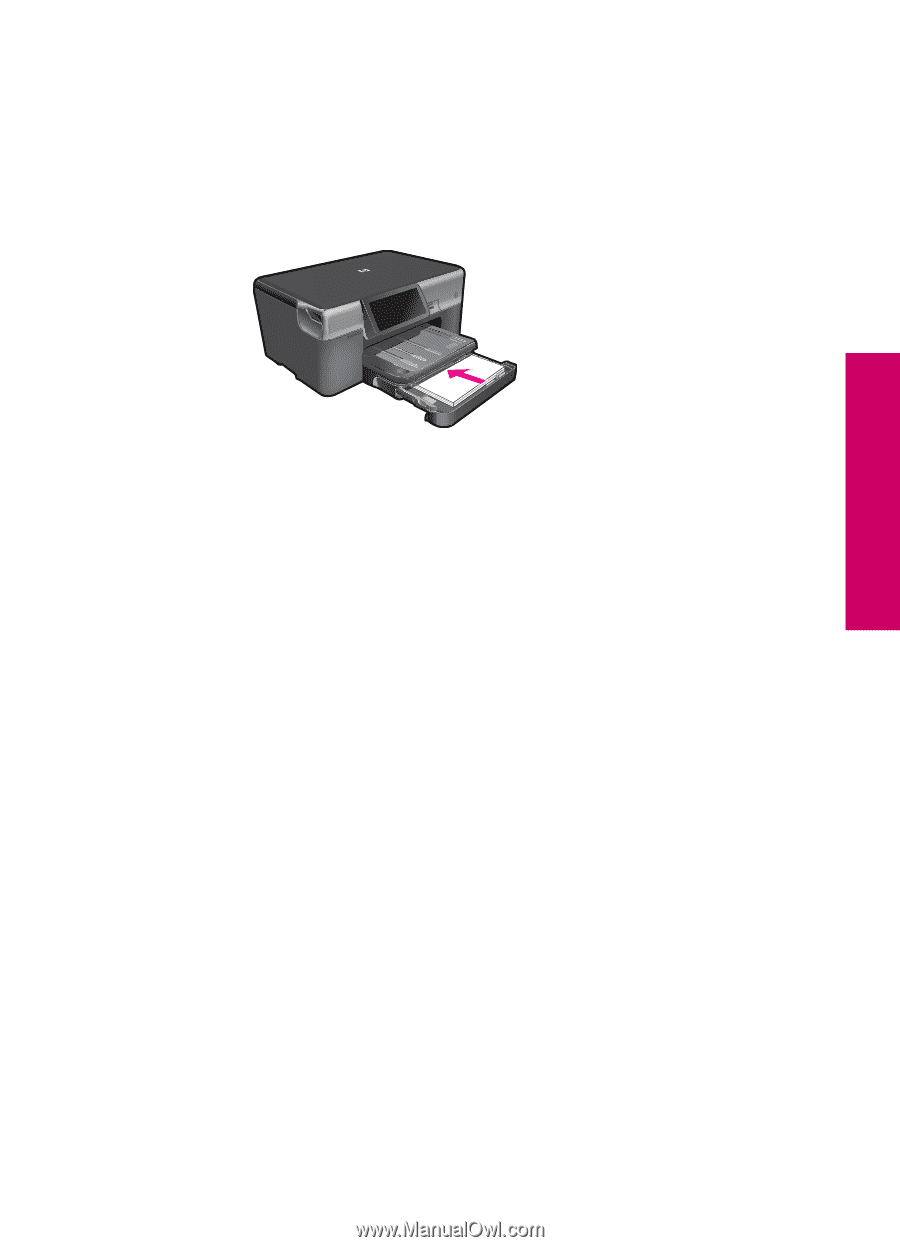
Print multiple photos on full-size paper a. Set up Internet connection. ❑ Make sure that the HP Photosmart is connected to a network that has Internet access. b. Load paper. ❑ Load full-size paper in the main input tray. Print c. Log in to Snapfish. ❑ Touch Photo on the Home screen. ❑ Touch View & Print. ❑ Touch Snapfish. ❑ Log in using the keypad and touch Done. d. Select photo. ❑ Select album. ❑ Touch photo you want to print. ❑ Touch photo to select it. ❑ Touch up arrow to increase number of copies. e. Change page layout. ❑ Touch Print to preview print job. ❑ Touch Settings to change print settings. ❑ Touch Layout. ❑ Touch 4x6 on 8.5x11. f. Print photo. ❑ Touch Print. 2. View the animation for this topic. Print on specialty media To reverse an image for iron-on transfers 1. On the File menu in your software application, click Print. 2. Make sure the product is the selected printer. 3. Click the button that opens the Properties dialog box. Depending on your software application, this button might be called Properties, Options, Printer Setup, Printer, or Preferences. 4. Click the Features tab. Print on specialty media 31
-
 1
1 -
2
-
3
-
4
-
5
-
6
-
7
-
8
-
9
-
10
-
11
-
12
-
13
-
14
-
15
-
16
-
17
-
18
-
19
-
20
-
21
-
22
-
23
-
24
-
25
-
26
-
27
-
 28
28 -
 29
29 -
 30
30 -
 31
31 -
 32
32 -
 33
33 -
 34
34 -
 35
35 -
 36
36 -
 37
37 -
 38
38 -
39
-
40
-
41
-
42
-
43
-
44
-
45
-
46
-
47
-
48
-
49
-
50
-
51
-
52
-
53
-
54
-
55
-
56
-
57
-
58
-
59
-
60
-
61
-
62
-
63
-
64
-
65
-
66
-
67
-
68
-
69
-
70
-
71
-
72
-
73
-
74
-
75
-
76
-
77
-
78
-
79
-
80
-
81
-
82
-
83
-
84
-
85
-
86
-
87
-
88
-
89
-
90
-
91
-
92
-
93
-
94
-
95
-
96
-
97
-
98
-
99
-
100
-
101
-
102
-
103
-
104
-
105
-
106
-
107
-
108
-
109
-
110
-
111
-
112
-
113
-
114
-
115
-
116
-
117
-
118
-
119
-
120
-
121
-
122
-
123
-
124
-
125
-
126
-
127
-
128
-
129
-
130
-
131
-
132
-
133
-
134
-
135
-
136
-
137
-
138
-
139
-
140
-
141
-
142
-
143
-
144
-
145
-
146
-
147
-
148
-
149
-
150
-
151
-
152
-
153
-
154
-
155
-
156
-
157
-
158
-
159
-
160
-
161
-
162
-
163
-
164
-
165
-
166
-
167
-
168
-
169
-
170
-
171
-
172
-
173
-
174
-
175
-
176
-
177
-
178
-
179
-
180
-
181
-
182
-
183
-
184
-
185
-
186
-
187
-
188
-
189
-
190
-
191
-
192
-
193
-
194
-
195
-
196
-
197
-
198
-
199
-
200
-
201
-
202
-
203
-
204
-
205
-
206
-
207
-
208
-
209
-
210
-
211
-
212
 |
 |