Nikon VAA109EA User Manual - Page 34
Take a photograph
 |
View all Nikon VAA109EA manuals
Add to My Manuals
Save this manual to your list of manuals |
Page 34 highlights
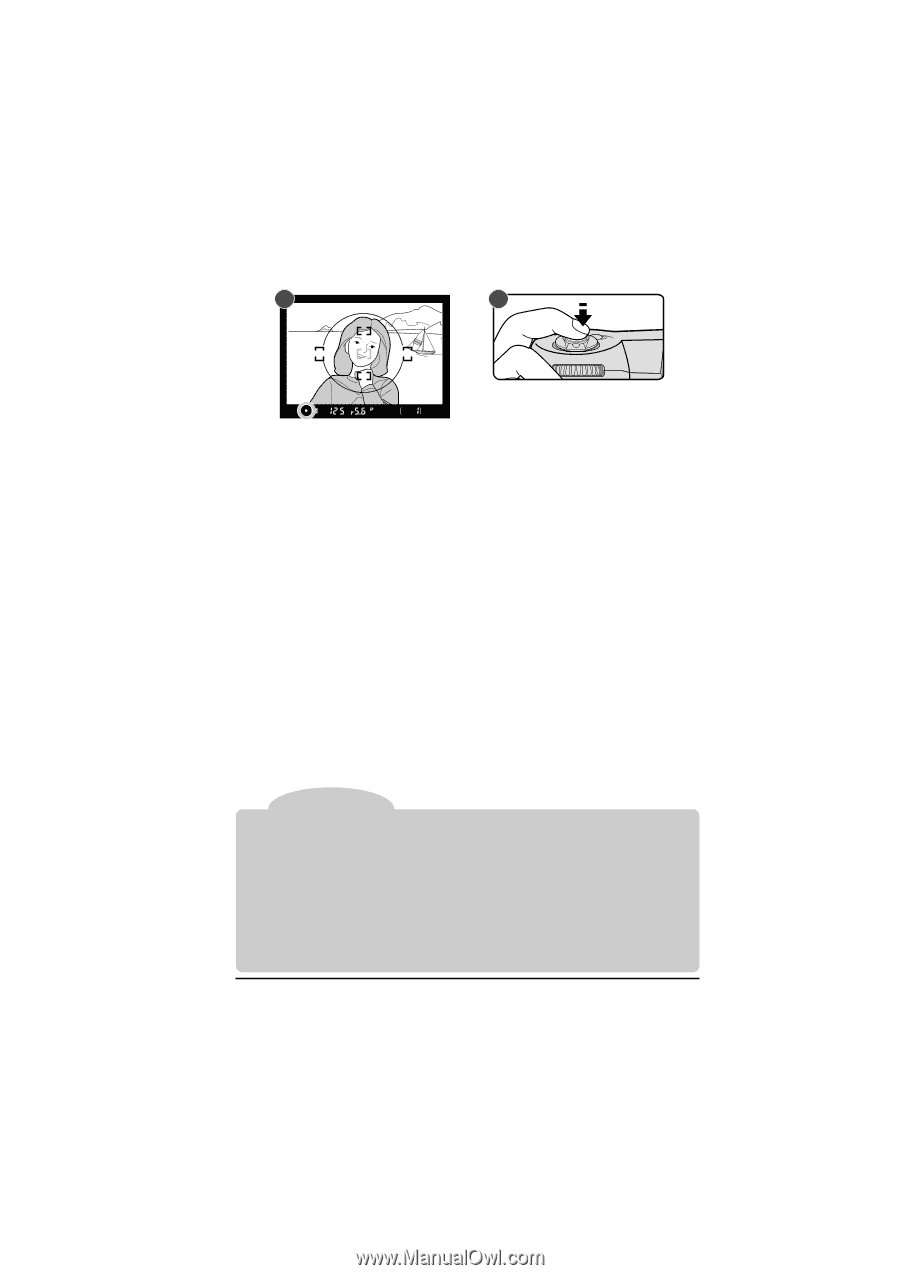
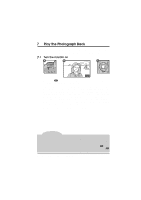
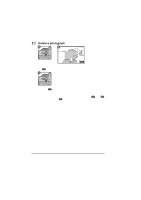
6.13 Take a photograph A B With the shutter-release button held halfway down, check the focus indicator in the viewfinder one final time (A) to confirm that the q indicator is showing and the camera is in focus (if your subject has moved since the photograph was composed, autofocus will automatically track the subject so that it stays in focus). Then carefully press the shutter-release button the rest of the way to take a photograph (B). By default, the photograph will automatically be recorded on the compact flash-memory card when the shutter-release button is pressed all the way down. You can, however, set the camera to "capturepreview mode" to preview the photograph in the viewfinder before it is recorded on the memory card. See "Camera Settings: Capture Preview Mode." Notes If the subject in the viewfinder appears to be out of focus even when the in-focus indicator (q) appears in the viewfinder, adjust viewfinder diopter as described in "Camera Settings: Diopter Adjustment." Avoid taking photographs with the camera focused on the sun or another strong light source, as excessive light may cause deterioration in the camera's charge-coupled device (CCD). It may also produce a white blur effect in the final photograph. The D1 is equipped with a combined electronic (CCD) and mechanical shutter. This shutter operates differently from the mechanical shutters found in film cameras, with the result that the interval between the sound made by the shutter and that made by the mirror will not decrease past a certain point, even at high shutter speeds. First Steps: Take a Photograph 21
-
 1
1 -
2
-
3
-
4
-
5
-
6
-
7
-
8
-
9
-
10
-
11
-
12
-
13
-
14
-
15
-
16
-
17
-
18
-
19
-
20
-
21
-
22
-
23
-
24
-
25
-
26
-
27
-
28
-
 29
29 -
 30
30 -
 31
31 -
 32
32 -
 33
33 -
 34
34 -
 35
35 -
 36
36 -
 37
37 -
 38
38 -
 39
39 -
40
-
41
-
42
-
43
-
44
-
45
-
46
-
47
-
48
-
49
-
50
-
51
-
52
-
53
-
54
-
55
-
56
-
57
-
58
-
59
-
60
-
61
-
62
-
63
-
64
-
65
-
66
-
67
-
68
-
69
-
70
-
71
-
72
-
73
-
74
-
75
-
76
-
77
-
78
-
79
-
80
-
81
-
82
-
83
-
84
-
85
-
86
-
87
-
88
-
89
-
90
-
91
-
92
-
93
-
94
-
95
-
96
-
97
-
98
-
99
-
100
-
101
-
102
-
103
-
104
-
105
-
106
-
107
-
108
-
109
-
110
-
111
-
112
-
113
-
114
-
115
-
116
-
117
-
118
-
119
-
120
-
121
-
122
-
123
-
124
-
125
-
126
-
127
-
128
-
129
-
130
-
131
-
132
-
133
-
134
-
135
-
136
-
137
-
138
-
139
-
140
-
141
-
142
-
143
-
144
 |
 |