Singer XL-580 FUTURA Instruction Manual - Page 120
Embroider an Endless Design
 |
View all Singer XL-580 FUTURA manuals
Add to My Manuals
Save this manual to your list of manuals |
Page 120 highlights
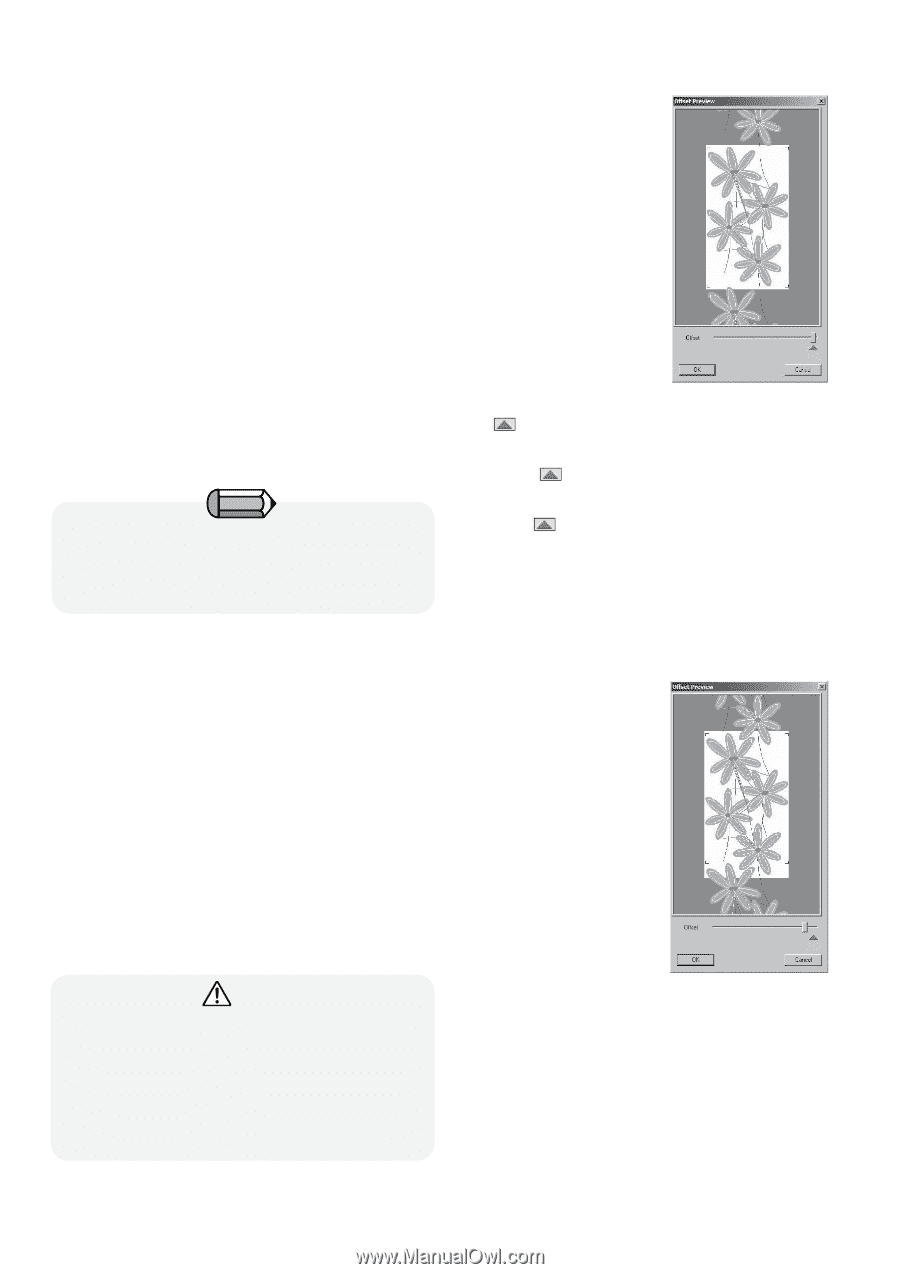
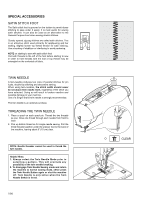
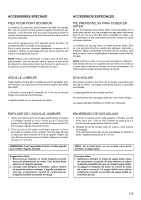
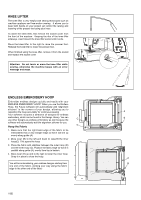
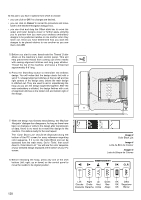
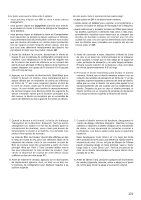
Embroider an Endless Design 1. Before attaching the Endless Embroidery Hoop, turn on the power switch to move the carriage to the embroidery standby position. Place a full bobbin in the bobbin case, then replace the bobbin case cover. 2. With the Futura program open, attach the Endless Embroidery Hoop. From the main menu, select 'File', then scroll down to 'New'. The screen will display a likeness of the endless hoop and the sewing feld. It will be necessary to have the Endless Embroidery Hoop on the machine in order to use the endless embroidery function. If this hoop is not on the machine, you will instead see an image of your machine's large hoop on the PC screen. 3. Select the desired endless embroidery design. The selected design appears in "ghost form". Right click outside the hoop area on screen. When the pop-up menu appears, left click on Apply. You can load one of the Endless Hoop designs that come with the 'Design Library'. From the main menu select 'Create' and then 'Design Library'. Select 'for Endless Hoop' category and choose a design of your liking. Image 1 Design displayed with Endless Hoop in the software. Image 1 Dessin affiché avec Cerceau en Continu dans le logiciel. Imagen 1 Diseño desplegado con el Aro Continuo en el software. The symbol on the slide bar marks the default position with no offset applied. Le symbole sur la barre du curseur indique la position par défaut lorsqu'aucune compensation n'est appliquée. El símbolo en la barra de desplazamiento indica la posición predeterminada sin desfase aplicado. 4. From the main menu, click on 'File', then scroll down and click on 'Transmit to Futura machine' to transfer the data to the machine. Once you have transferred the data to the machine, a dialogue box appears called 'Offset Preview'. You will see your selected design in the center within a white background area, with the alignment stitches above and below the design. You will also see images of the same design both above and below the center design. The 'Offset Preview' function allows you to change the offset distance, while previewing how the result will look even before you stitch out the segments. Altering the offset will allow you to have the endless hoop segments intersect by decreasing the distance between them, or leave a gap between the segments by increasing the distance between them. Attention! Offset distance can only be applied within the boundaries of the Endless Hoop embroidery area (the white background display area). The movement of the slide bar moves the placement of the bottom L-shaped alignment stitches. These alignment stitches can only be within the Endless Hoop embroidery area. Image 2 'Offset Preview' window with slight offset applied Image 2 La fenêtre de 'Prévisualisation de Compensation' avec une légère compensation appliquée Imagen 2 'Previsualización del Balance' con un ligero balance aplicado 118
-
 1
1 -
2
-
3
-
4
-
5
-
6
-
7
-
8
-
9
-
10
-
11
-
12
-
13
-
14
-
15
-
16
-
17
-
18
-
19
-
20
-
21
-
22
-
23
-
24
-
25
-
26
-
27
-
28
-
29
-
30
-
31
-
32
-
33
-
34
-
35
-
36
-
37
-
38
-
39
-
40
-
41
-
42
-
43
-
44
-
45
-
46
-
47
-
48
-
49
-
50
-
51
-
52
-
53
-
54
-
55
-
56
-
57
-
58
-
59
-
60
-
61
-
62
-
63
-
64
-
65
-
66
-
67
-
68
-
69
-
70
-
71
-
72
-
73
-
74
-
75
-
76
-
77
-
78
-
79
-
80
-
81
-
82
-
83
-
84
-
85
-
86
-
87
-
88
-
89
-
90
-
91
-
92
-
93
-
94
-
95
-
96
-
97
-
98
-
99
-
100
-
101
-
102
-
103
-
104
-
105
-
106
-
107
-
108
-
109
-
110
-
111
-
112
-
113
-
114
-
 115
115 -
 116
116 -
 117
117 -
 118
118 -
 119
119 -
 120
120 -
 121
121 -
 122
122 -
 123
123 -
 124
124 -
 125
125 -
126
-
127
-
128
-
129
-
130
-
131
-
132
-
133
-
134
-
135
-
136
 |
 |