Canon LV-8225 LV-7290 User's Manual - Page 79
PJ Link Notice, Attaching the Filter Cover to the Projector
 |
View all Canon LV-8225 manuals
Add to My Manuals
Save this manual to your list of manuals |
Page 79 highlights
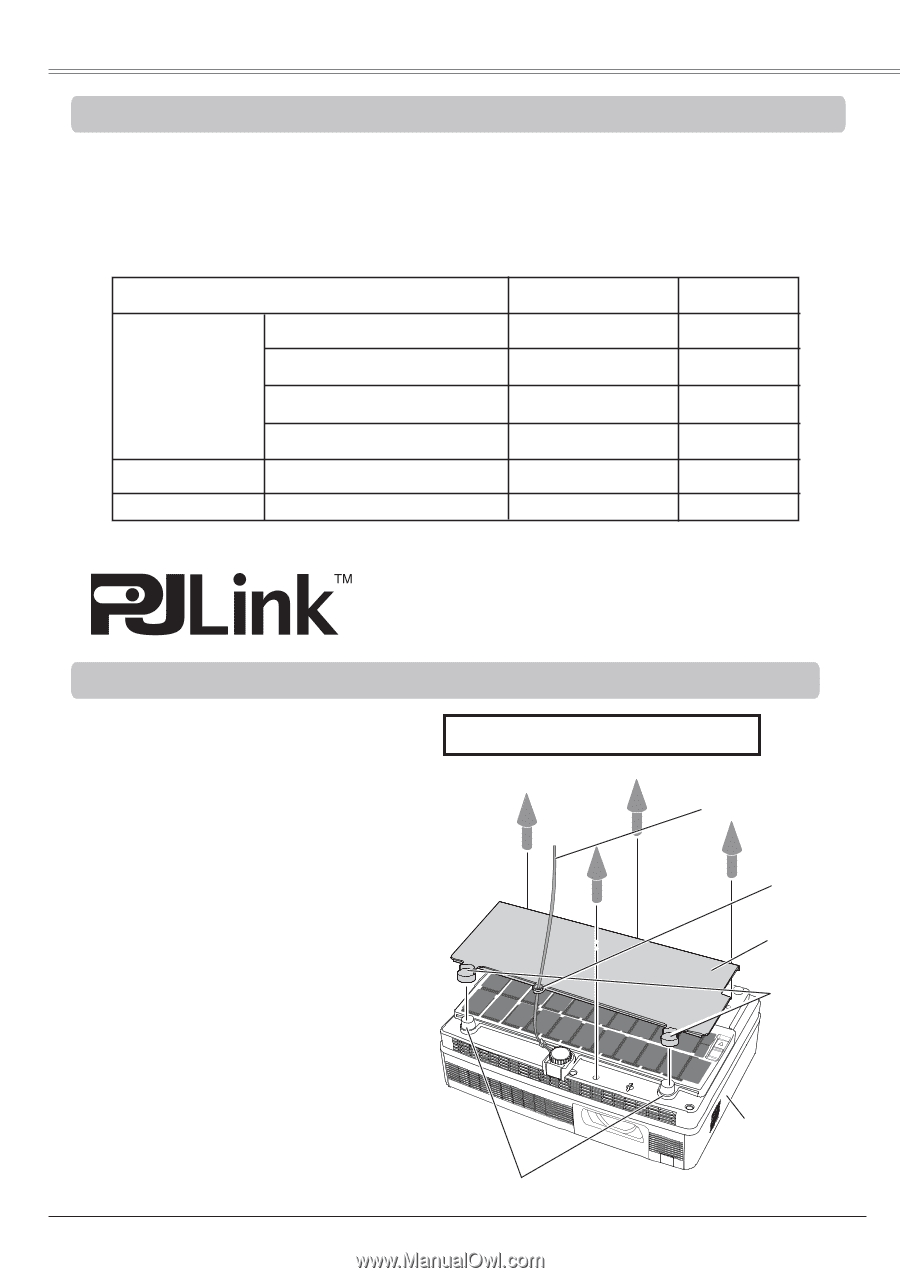
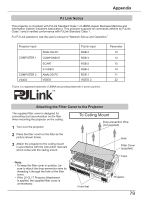
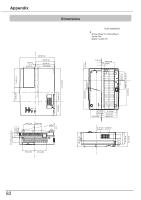
Appendix PJ Link Notice This projector is compliant with PJLink Standard Class 1 of JBMIA (Japan Business Machine and Information System Industries Association). This projector supports all commands defined by PJLink Class 1 and is verified conformance with PJLink Standard Class 1. For PJ Link password, see the user's manual of "Network Set-up and Operation." Projector Input COMPUTER 1 COMPUTER 2 VIDEO ANALOG PC COMPONENT SCART S-VIDEO ANALOG PC VIDEO PJLink Input RGB 2 RGB 3 RGB 5 RGB 4 RGB 1 VIDEO 2 PJLink is a registered trademark of JBMIA and pending trademark in some countries. Parameter 12 13 15 14 11 22 Attaching the Filter Cover to the Projector The supplied filter cover is designed for preventing dust accumulation on the filter when mounting the projector on the ceiling. 1 Turn over the projector. To Ceiling Mount Drop-prevention Wire (not supplied) 2 Place the filter cover on the filter as the picture shown below. 3 Attach the projector to the ceiling mount in accordance with the instruction manuals which come with the ceiling mount. Hole Filter Cover (supplied) Caps Note: • To keep the filter cover in position, be sure to attach the drop-prevention wire by threading it through the hole of the filter cover. • If the LV-CL17 Projector Attachment is applied, the supplied filter cover is unnecessary. Front feet Projector 79
-
 1
1 -
2
-
3
-
4
-
5
-
6
-
7
-
8
-
9
-
10
-
11
-
12
-
13
-
14
-
15
-
16
-
17
-
18
-
19
-
20
-
21
-
22
-
23
-
24
-
25
-
26
-
27
-
28
-
29
-
30
-
31
-
32
-
33
-
34
-
35
-
36
-
37
-
38
-
39
-
40
-
41
-
42
-
43
-
44
-
45
-
46
-
47
-
48
-
49
-
50
-
51
-
52
-
53
-
54
-
55
-
56
-
57
-
58
-
59
-
60
-
61
-
62
-
63
-
64
-
65
-
66
-
67
-
68
-
69
-
70
-
71
-
72
-
73
-
 74
74 -
 75
75 -
 76
76 -
 77
77 -
 78
78 -
 79
79 -
 80
80 -
 81
81 -
 82
82 -
 83
83
 |
 |