Canon VB-S800D Mark II Network Camera Operation Guide - Page 88
Receiving/Transmitting Audio, Receiving Audio, Transmitting Audio
 |
View all Canon VB-S800D Mark II manuals
Add to My Manuals
Save this manual to your list of manuals |
Page 88 highlights
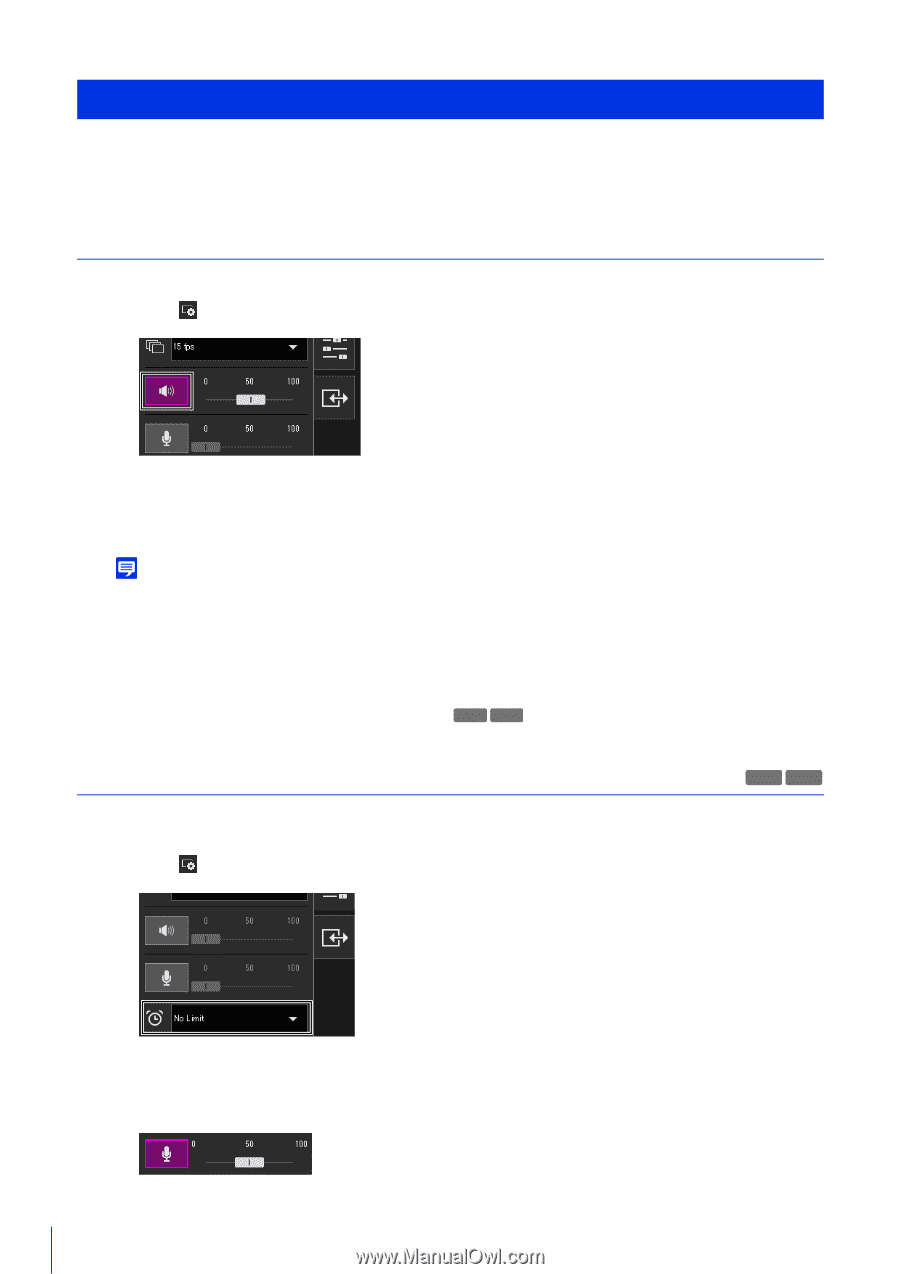
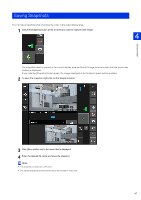
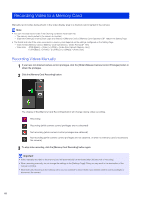
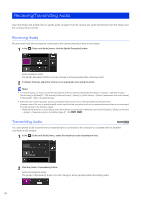
Receiving/Transmitting Audio Open the [Video and Audio] menu to set the audio reception from the camera, the audio transmission from the Viewer and the corresponding volumes. Receiving Audio Receive audio from the microphone connected to the camera and play it back in the Viewer. 1 In the [Video and Audio] menu, click the [Audio Reception] button. Audio reception starts. The [Audio Reception] button icon will change to active (purple) while receiving audio. 2 In [Output Volume], adjust the volume to an appropriate level using the slider. Note • To receive audio, you must connect the microphone to the camera and set [Video and Audio] > [Audio] > [General Audio] > [Audio Input] to [Enable] (P. 135) and set [Video and Audio] > [Audio] > [Audio Server] > [Audio Transmission from the Camera] to [Enable] (P. 136) on the Setting Page. • While the icon is active (purple), audio is constantly received even if you close the [Video and Audio] menu. However, even if the icon is active (purple), audio input from the microphone will not be received because there is no sound sent from the camera in the following cases. - While the administrator is transmitting audio when [Audio Communication Method] is set to [Half Duplex] in [Video and Audio] > [Audio] > [General Audio] on the Setting Page (P. 136) HM4x H730 Transmitting Audio HM4x H730 You can transmit audio received from an external device connected to the computer to a speaker with an amplifier connected to the camera. 1 In the [Video and Audio] menu, select the maximum audio transmission time. 2 Click the [Audio Transmission] button. Audio transmission starts. The [Audio Transmission] button icon will change to active (purple) while transmitting audio. 70
-
 1
1 -
2
-
3
-
4
-
5
-
6
-
7
-
8
-
9
-
10
-
11
-
12
-
13
-
14
-
15
-
16
-
17
-
18
-
19
-
20
-
21
-
22
-
23
-
24
-
25
-
26
-
27
-
28
-
29
-
30
-
31
-
32
-
33
-
34
-
35
-
36
-
37
-
38
-
39
-
40
-
41
-
42
-
43
-
44
-
45
-
46
-
47
-
48
-
49
-
50
-
51
-
52
-
53
-
54
-
55
-
56
-
57
-
58
-
59
-
60
-
61
-
62
-
63
-
64
-
65
-
66
-
67
-
68
-
69
-
70
-
71
-
72
-
73
-
74
-
75
-
76
-
77
-
78
-
79
-
80
-
81
-
82
-
 83
83 -
 84
84 -
 85
85 -
 86
86 -
 87
87 -
 88
88 -
 89
89 -
 90
90 -
 91
91 -
 92
92 -
 93
93 -
94
-
95
-
96
-
97
-
98
-
99
-
100
-
101
-
102
-
103
-
104
-
105
-
106
-
107
-
108
-
109
-
110
-
111
-
112
-
113
-
114
-
115
-
116
-
117
-
118
-
119
-
120
-
121
-
122
-
123
-
124
-
125
-
126
-
127
-
128
-
129
-
130
-
131
-
132
-
133
-
134
-
135
-
136
-
137
-
138
-
139
-
140
-
141
-
142
-
143
-
144
-
145
-
146
-
147
-
148
-
149
-
150
-
151
-
152
-
153
-
154
-
155
-
156
-
157
-
158
-
159
-
160
-
161
-
162
-
163
-
164
-
165
-
166
-
167
-
168
-
169
-
170
-
171
-
172
-
173
-
174
-
175
-
176
-
177
-
178
-
179
-
180
-
181
-
182
-
183
-
184
-
185
-
186
-
187
-
188
-
189
-
190
-
191
-
192
-
193
-
194
-
195
-
196
-
197
-
198
-
199
-
200
-
201
-
202
-
203
-
204
-
205
-
206
-
207
-
208
-
209
-
210
-
211
-
212
-
213
-
214
-
215
-
216
-
217
-
218
-
219
-
220
-
221
-
222
-
223
-
224
-
225
-
226
-
227
-
228
-
229
-
230
-
231
-
232
-
233
-
234
-
235
-
236
-
237
-
238
-
239
-
240
-
241
-
242
-
243
-
244
-
245
-
246
-
247
-
248
-
249
-
250
-
251
-
252
-
253
-
254
-
255
-
256
-
257
-
258
-
259
-
260
 |
 |