Canon imagePROGRAF iPF760 Basic Guide - Page 115
Paper not aligned with right guide., Cannot detect papr, Paper cutting failed., Loose, Skew Check Lv.
 |
View all Canon imagePROGRAF iPF760 manuals
Add to My Manuals
Save this manual to your list of manuals |
Page 115 highlights
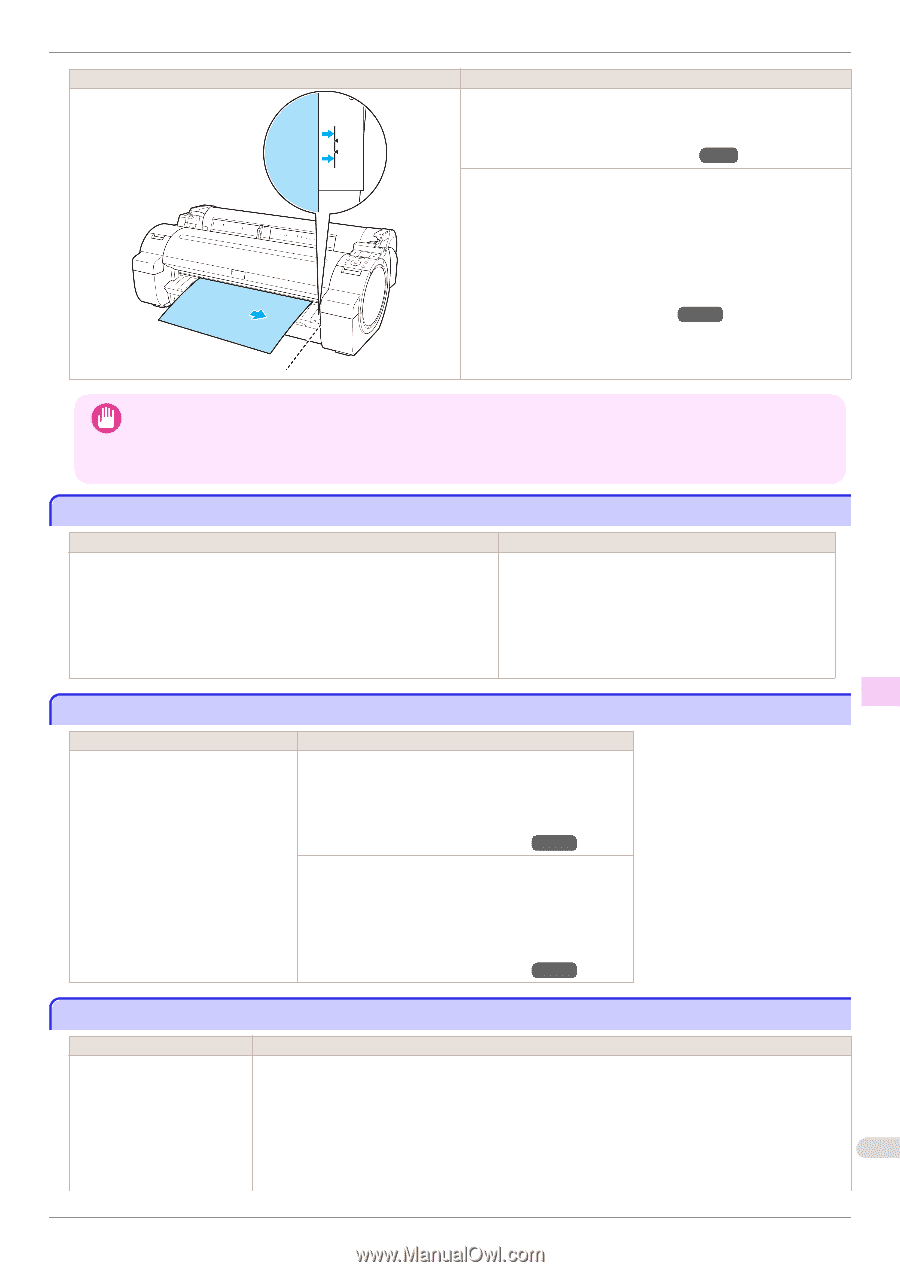
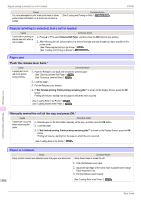
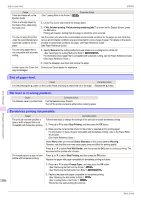
iPF760 Cause Paper not aligned with right guide. Corrective Action If this error recurs after you reload the roll, remove the Roll Holder from the printer, push the roll firmly in until it touches the Roll Holder flange, and reload the Roll Holder in the printer. (See "Attaching the Roll Holder to Rolls.") →P.9 Follow these step to reload a sheet. 1. Push the Release Lever back. 2. Pull out the sheet. 3. Pull the Release Lever forward. 4. Reload the sheet, aligning it with the guide on the right. (See "Loading Sheets in the Printer.") →P.18 • To disable this message (if it is displayed repeatedly despite reloading paper, for example), choose Off or Loose in the Skew Check Lv. setting of the printer menu. However, this may cause jams and printing problems because paper may Important be askew when printed. Also, the Platen may become soiled, which may soil the back of the next document when it is printed. Paper not aligned with right guide. Cause Corrective Action When paper was loaded, it was not aligned with the guide on the right side. Follow these step to reload a sheet. 1. Push the Release Lever back. 2. Pull out the sheet. 3. Pull the Release Lever forward. 4. Reload the sheet, aligning it with the guide on the right. Error Message Messages regarding paper Cannot detect papr Cause Corrective Action The paper has come out of the printer. Follow these step to reload a sheet. 1. Remove the paper and press the OK button. 2. Reload the sheet, aligning it with the guide on the right. (See "Loading Sheets in the Printer.") →P.18 Follow these step to reload a sheet. 1. Push the Release Lever back and remove the paper. 2. Pull the Release Lever forward. 3. Reload the sheet, aligning it with the guide on the right. (See "Loading Sheets in the Printer.") →P.18 Paper cutting failed. Cause There are sheets left on the Ejection Guide. Corrective Action 1. Push the Release Lever back and remove the paper. 2. Load the paper. 3. Pull the Release Lever forward. 4. If "Not finished printing. Finish printing remaining jobs?" is shown on the Display Screen, press 115 the OK button. Printing will resume, starting from the page on which the error occurred. Basic Guide
-
 1
1 -
2
-
3
-
4
-
5
-
6
-
7
-
8
-
9
-
10
-
11
-
12
-
13
-
14
-
15
-
16
-
17
-
18
-
19
-
20
-
21
-
22
-
23
-
24
-
25
-
26
-
27
-
28
-
29
-
30
-
31
-
32
-
33
-
34
-
35
-
36
-
37
-
38
-
39
-
40
-
41
-
42
-
43
-
44
-
45
-
46
-
47
-
48
-
49
-
50
-
51
-
52
-
53
-
54
-
55
-
56
-
57
-
58
-
59
-
60
-
61
-
62
-
63
-
64
-
65
-
66
-
67
-
68
-
69
-
70
-
71
-
72
-
73
-
74
-
75
-
76
-
77
-
78
-
79
-
80
-
81
-
82
-
83
-
84
-
85
-
86
-
87
-
88
-
89
-
90
-
91
-
92
-
93
-
94
-
95
-
96
-
97
-
98
-
99
-
100
-
101
-
102
-
103
-
104
-
105
-
106
-
107
-
108
-
109
-
 110
110 -
 111
111 -
 112
112 -
 113
113 -
 114
114 -
 115
115 -
 116
116 -
 117
117 -
 118
118 -
 119
119 -
 120
120 -
121
-
122
-
123
-
124
-
125
-
126
-
127
-
128
-
129
-
130
-
131
-
132
 |
 |