Dell PowerEdge 4100 Service Manual - Page 45
Keylocks on Computer's Back Panel
 |
View all Dell PowerEdge 4100 manuals
Add to My Manuals
Save this manual to your list of manuals |
Page 45 highlights
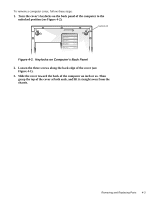
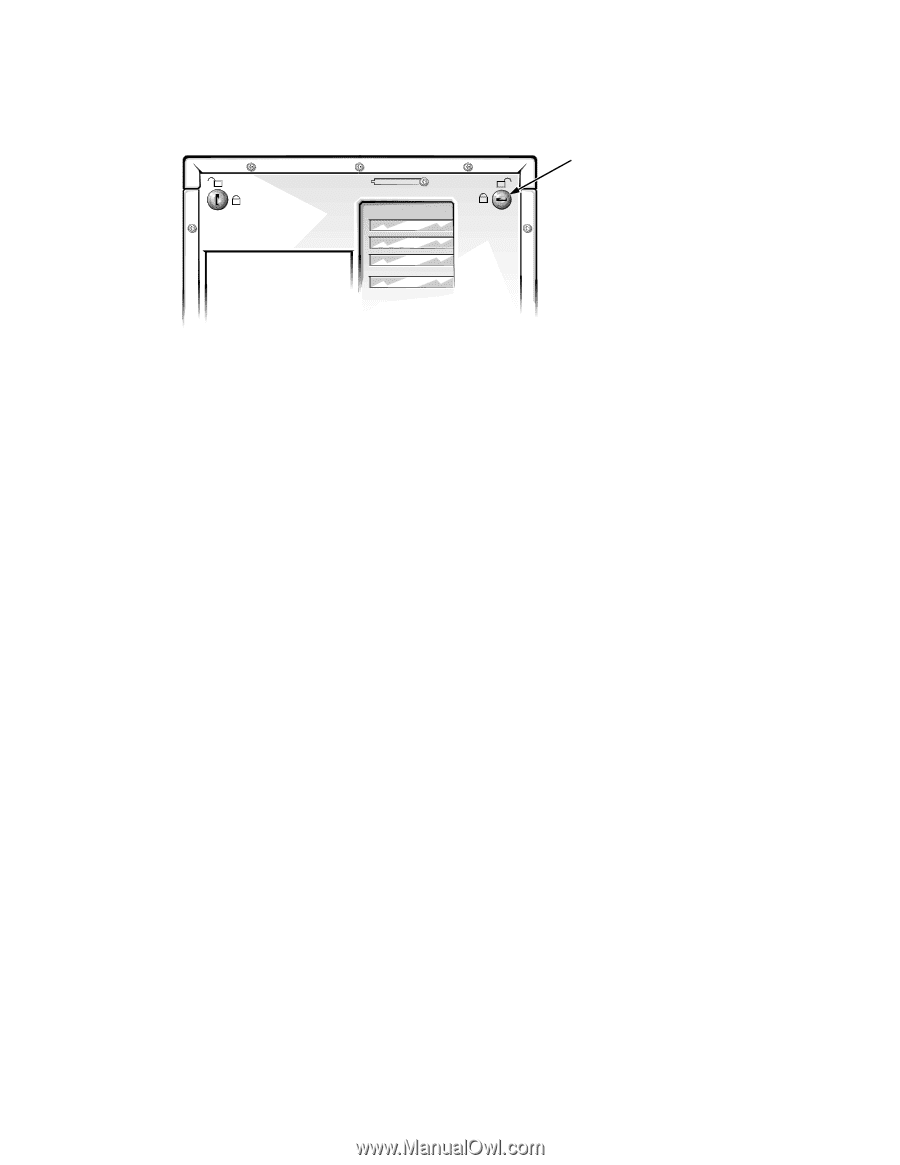
To remove a computer cover, follow these steps: 1. Turn the cover's keylocks on the back panel of the computer to the unlocked position (see Figure 4-2). keylock (2) Figure 4-2. Keylocks on Computer's Back Panel 2. Loosen the three screws along the back edge of the cover (see Figure 4-1). 3. Slide the cover toward the back of the computer an inch or so. Then grasp the top of the cover at both ends, and lift it straight away from the chassis. Removing and Replacing Parts 4-3
-
 1
1 -
2
-
3
-
4
-
5
-
6
-
7
-
8
-
9
-
10
-
11
-
12
-
13
-
14
-
15
-
16
-
17
-
18
-
19
-
20
-
21
-
22
-
23
-
24
-
25
-
26
-
27
-
28
-
29
-
30
-
31
-
32
-
33
-
34
-
35
-
36
-
37
-
38
-
39
-
 40
40 -
 41
41 -
 42
42 -
 43
43 -
 44
44 -
 45
45 -
 46
46 -
 47
47 -
 48
48 -
 49
49 -
 50
50 -
51
-
52
-
53
-
54
-
55
-
56
-
57
-
58
-
59
-
60
-
61
-
62
-
63
-
64
-
65
-
66
-
67
-
68
-
69
-
70
-
71
-
72
-
73
-
74
-
75
-
76
-
77
-
78
-
79
-
80
-
81
-
82
 |
 |
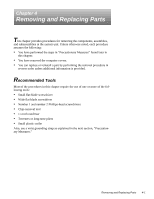
Removing and Replacing Parts
4-3
To remove a computer cover, follow these steps:
1.
Turn the cover’s keylocks on the back panel of the computer to the
unlocked position
(see Figure 4-2)
.
Figure 4-2.
Keylocks on Computer’s Back Panel
2.
Loosen the three screws along the back edge of the cover (see
Figure 4-1).
3.
Slide the cover toward the back of the computer an inch or so. Then
grasp the top of the cover at both ends, and lift it straight away from the
chassis.
keylock (2)