Epson 4900 Users Guide - Page 122
Running Cleaning Cycles, printer's control panel is not on or flashing.
 |
View all Epson 4900 manuals
Add to My Manuals
Save this manual to your list of manuals |
Page 122 highlights
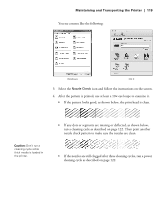
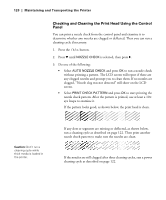
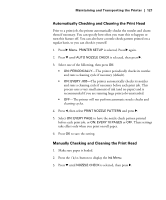
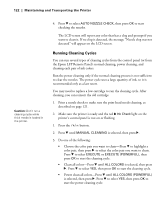
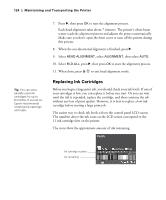
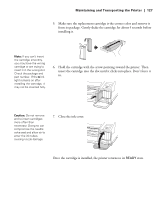
122 | Maintaining and Transporting the Printer Caution: Don't run a cleaning cycle while thick media is loaded in the printer. 4. Press d to select AUTO NOZZLE CHECK, then press OK to start checking the nozzles. The LCD screen will report any color that has a clog and prompt if you want to clean it. If no clog is detected, the message "Nozzle clog was not detected" will appear on the LCD screen. Running Cleaning Cycles You can run several types of cleaning cycles from the control panel (or from the Epson LFP Remote Panel): normal cleaning, power cleaning, and cleaning each pair of ink colors. Run the power cleaning only if the normal cleaning process is not sufficient to clear the nozzles. The power cycle uses a large quantity of ink, so it is recommended only as a last resort. You may need to replace a low cartridge to run the cleaning cycle. After cleaning, you can reinsert the old cartridge. 1. Print a nozzle check to make sure the print head needs cleaning, as described on page 121. 2. Make sure the printer is ready and the red B Ink Check light on the printer's control panel is not on or flashing. 1. Press the button. 2. Press d until MANUAL CLEANING is selected, then press r. 3. Do one of the following: • Choose the color pair you want to clean-Press d to highlight a color pair, then press r to select the color pair you want to clean. Press d to select EXECUTE or EXECUTE (POWERFUL), then press OK to start the cleaning cycle. • Clean all colors-Press d until ALL COLORS is selected, then press r. Press d to select YES, then press OK to start the cleaning cycle. • Power clean all colors-Press d until ALL COLORS (POWERFUL) is selected, then press r. Press d to select YES, then press OK to start the power cleaning cycle. 122
-
 1
1 -
2
-
3
-
4
-
5
-
6
-
7
-
8
-
9
-
10
-
11
-
12
-
13
-
14
-
15
-
16
-
17
-
18
-
19
-
20
-
21
-
22
-
23
-
24
-
25
-
26
-
27
-
28
-
29
-
30
-
31
-
32
-
33
-
34
-
35
-
36
-
37
-
38
-
39
-
40
-
41
-
42
-
43
-
44
-
45
-
46
-
47
-
48
-
49
-
50
-
51
-
52
-
53
-
54
-
55
-
56
-
57
-
58
-
59
-
60
-
61
-
62
-
63
-
64
-
65
-
66
-
67
-
68
-
69
-
70
-
71
-
72
-
73
-
74
-
75
-
76
-
77
-
78
-
79
-
80
-
81
-
82
-
83
-
84
-
85
-
86
-
87
-
88
-
89
-
90
-
91
-
92
-
93
-
94
-
95
-
96
-
97
-
98
-
99
-
100
-
101
-
102
-
103
-
104
-
105
-
106
-
107
-
108
-
109
-
110
-
111
-
112
-
113
-
114
-
115
-
116
-
 117
117 -
 118
118 -
 119
119 -
 120
120 -
 121
121 -
 122
122 -
 123
123 -
 124
124 -
 125
125 -
 126
126 -
 127
127 -
128
-
129
-
130
-
131
-
132
-
133
-
134
-
135
-
136
-
137
-
138
-
139
-
140
-
141
-
142
-
143
-
144
-
145
-
146
-
147
-
148
-
149
-
150
-
151
-
152
-
153
-
154
-
155
-
156
-
157
-
158
-
159
-
160
-
161
-
162
-
163
-
164
-
165
-
166
-
167
-
168
-
169
-
170
-
171
-
172
-
173
-
174
 |
 |
