Epson PictureMate Flash - PM 280 Basics - Page 19
Red-Eye Removal, Zoom In, Zoom Out, Display, Print, Red-Eye Reduction
 |
View all Epson PictureMate Flash - PM 280 manuals
Add to My Manuals
Save this manual to your list of manuals |
Page 19 highlights
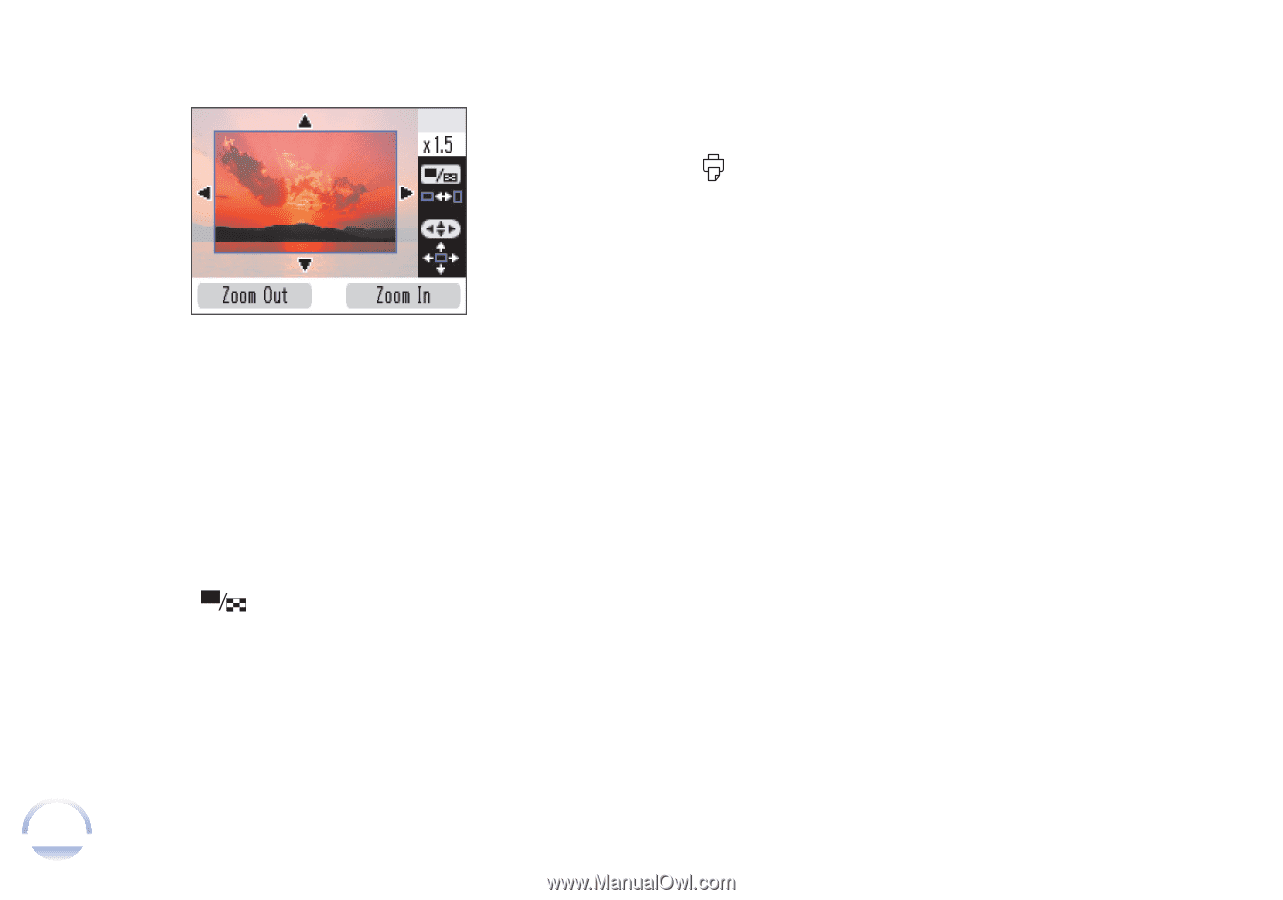
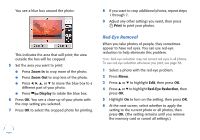
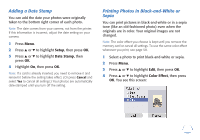
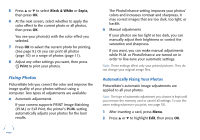
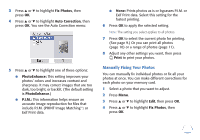
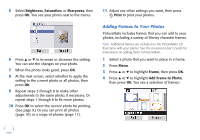
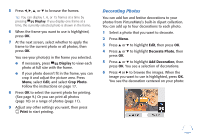
You see a blue box around the photo: This indicates the area that will print; the area outside the box will be cropped. 5 Set the area you want to print: ● Press Zoom In to crop more of the photo. ● Press Zoom Out to crop less of the photo. ● Press l, r, u, or d to move the blue box to a different part of your photo. ● Press Display to rotate the blue box. 6 Press OK. You see a close-up of your photo with the crop setting you selected. 7 Press OK to select the cropped photo for printing. 18 8 If you want to crop additional photos, repeat steps 1 through 7. 9 Adjust any other settings you want, then press Print to print your photos. Red-Eye Removal When you take photos of people, they sometimes appear to have red eyes. You can use red-eye reduction to help eliminate this problem. Note: Red-eye reduction may not correct red eyes in all photos. To use red-eye reduction whenever you print, see page 58. 1 Select a photo with the red-eye problem. 2 Press Menu. 3 Press u or d to highlight Edit, then press OK. 4 Press u or d to highlight Red-Eye Reduction, then press OK. 5 Highlight On to turn on the setting, then press OK. 6 At the next screen, select whether to apply the setting to the current photo or all photos, then press OK. (The setting remains until you remove the memory card or cancel all settings.)
-
 1
1 -
2
-
3
-
4
-
5
-
6
-
7
-
8
-
9
-
10
-
11
-
12
-
13
-
 14
14 -
 15
15 -
 16
16 -
 17
17 -
 18
18 -
 19
19 -
 20
20 -
 21
21 -
 22
22 -
 23
23 -
 24
24 -
25
-
26
-
27
-
28
-
29
-
30
-
31
-
32
-
33
-
34
-
35
-
36
-
37
-
38
-
39
-
40
-
41
-
42
-
43
-
44
-
45
-
46
-
47
-
48
-
49
-
50
-
51
-
52
-
53
-
54
-
55
-
56
-
57
-
58
-
59
-
60
-
61
-
62
-
63
-
64
-
65
-
66
-
67
-
68
-
69
-
70
-
71
-
72
-
73
-
74
-
75
-
76
-
77
-
78
-
79
-
80
-
81
-
82
-
83
-
84
-
85
-
86
-
87
-
88
-
89
-
90
-
91
 |
 |