Epson PictureMate Flash - PM 280 Basics - Page 63
Aligning the Print Head, Maintenance, Head Alignment, Print
 |
View all Epson PictureMate Flash - PM 280 manuals
Add to My Manuals
Save this manual to your list of manuals |
Page 63 highlights
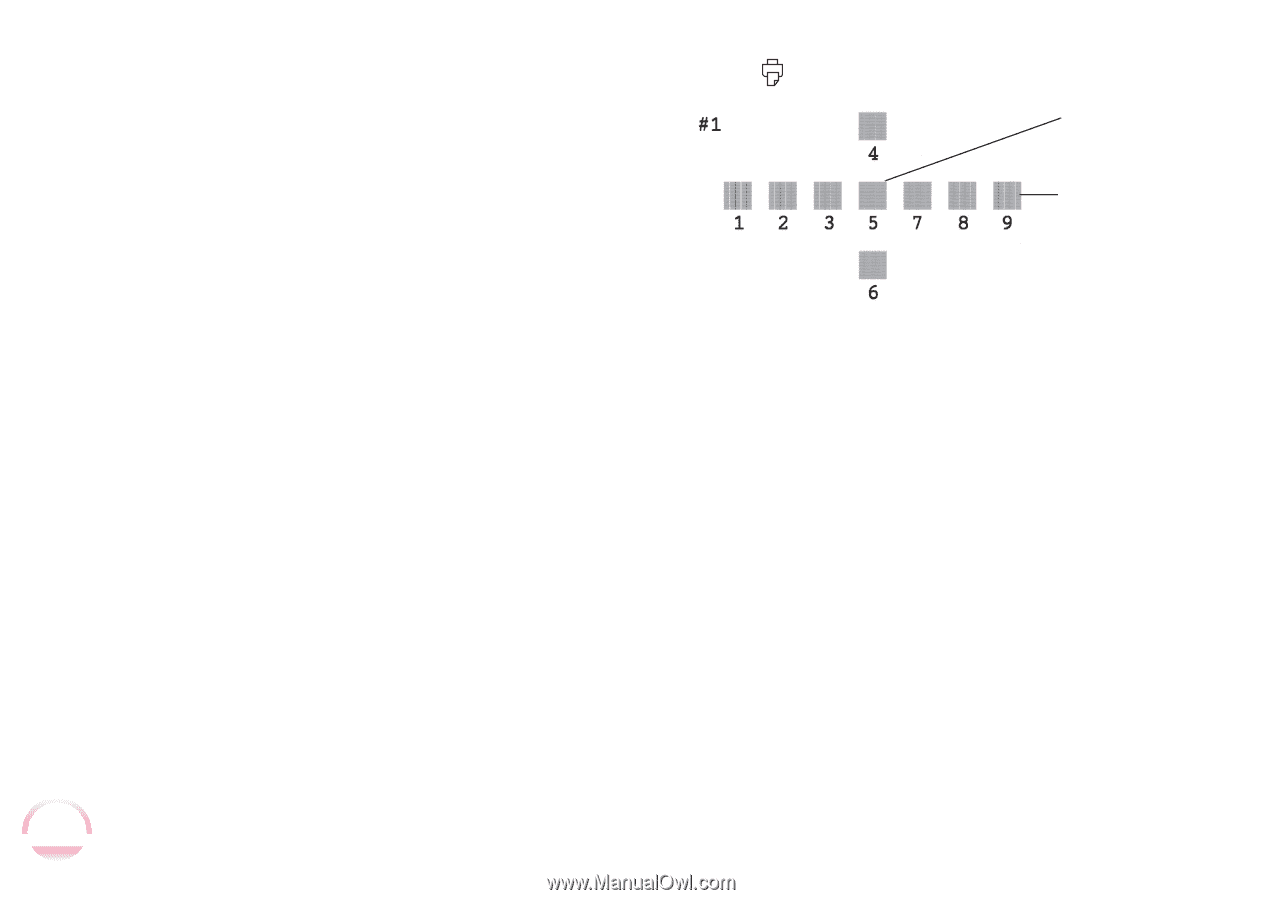
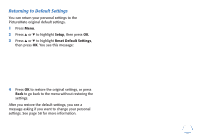
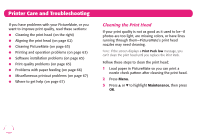
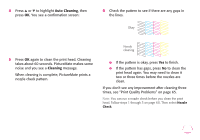
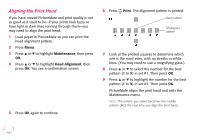
Aligning the Print Head If you have moved PictureMate and print quality is not as good as it used to be-if your prints look fuzzy or have light or dark lines running through them-you may need to align the print head. 1 Load paper in PictureMate so you can print the head alignment pattern. 2 Press Menu. 3 Press u or d to highlight Maintenance, then press OK. 4 Press u or d to highlight Head Alignment, then press OK. You see a confirmation screen: 5 Press OK again to continue. 6 Press Print. The alignment pattern is printed: Best pattern Misaligned pattern 7 Look at the printed squares to determine which one is the most even, with no streaks or white lines. (You may need to use a magnifying glass.) 8 Press u or d to select the number for the best pattern (1 to 9) in set #1. Then press OK. 9 Press u or d to highlight the number for the best pattern (1 to 9) in set #2. Then press OK. PictureMate aligns the print head and exits the Maintenance menu. Note: The pattern you select becomes the middle pattern (#5) the next time you align the print head. 62
-
 1
1 -
2
-
3
-
4
-
5
-
6
-
7
-
8
-
9
-
10
-
11
-
12
-
13
-
14
-
15
-
16
-
17
-
18
-
19
-
20
-
21
-
22
-
23
-
24
-
25
-
26
-
27
-
28
-
29
-
30
-
31
-
32
-
33
-
34
-
35
-
36
-
37
-
38
-
39
-
40
-
41
-
42
-
43
-
44
-
45
-
46
-
47
-
48
-
49
-
50
-
51
-
52
-
53
-
54
-
55
-
56
-
57
-
 58
58 -
 59
59 -
 60
60 -
 61
61 -
 62
62 -
 63
63 -
 64
64 -
 65
65 -
 66
66 -
 67
67 -
 68
68 -
69
-
70
-
71
-
72
-
73
-
74
-
75
-
76
-
77
-
78
-
79
-
80
-
81
-
82
-
83
-
84
-
85
-
86
-
87
-
88
-
89
-
90
-
91
 |
 |