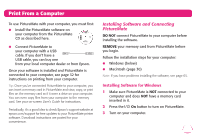
Epson PictureMate Flash - PM 280 Basics - Page 23
Adding Frames to Your Photos, Brightness, Saturation, Sharpness, Print, Frame, Add Frame to Photo
 |
View all Epson PictureMate Flash - PM 280 manuals
Add to My Manuals
Save this manual to your list of manuals |
Page 23 highlights
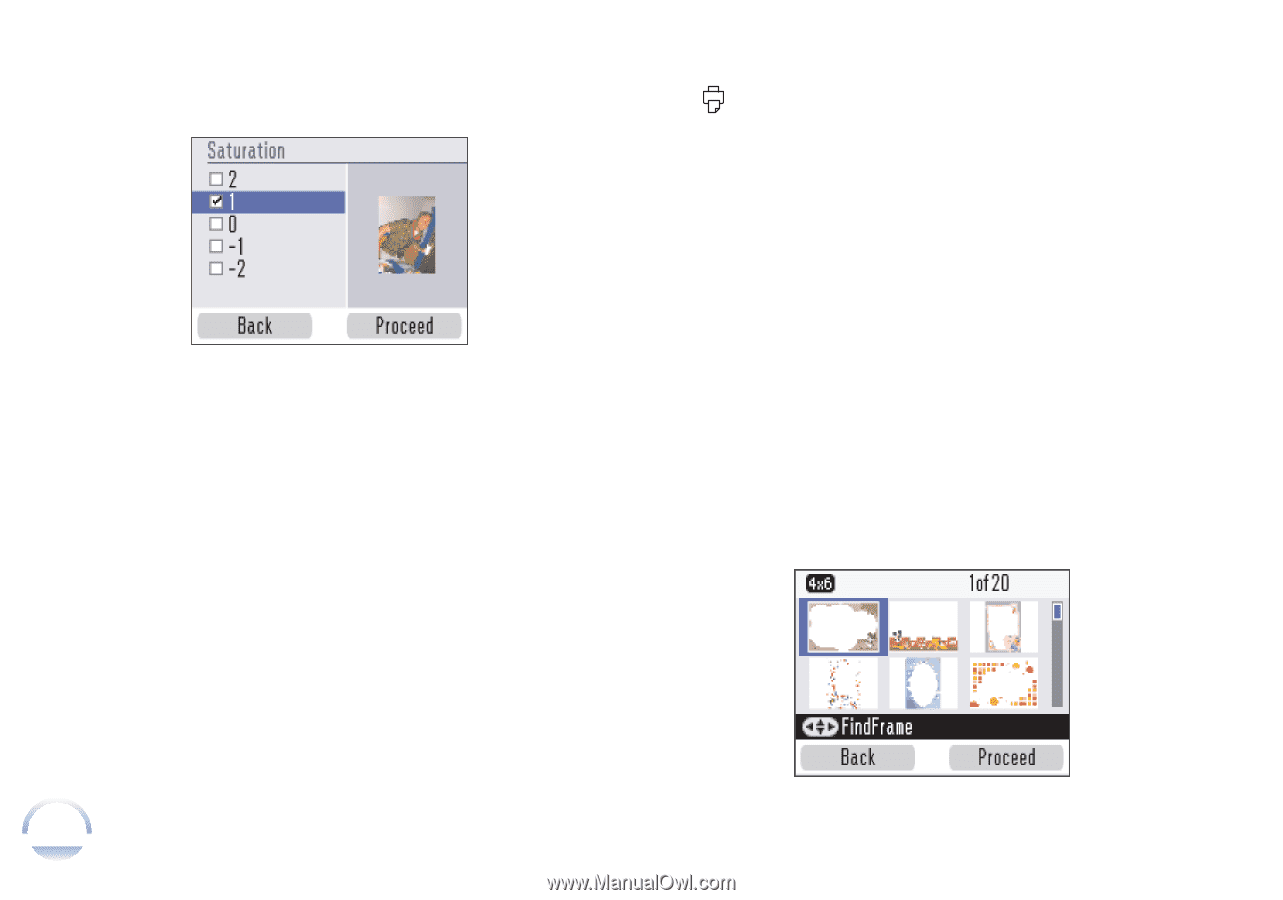
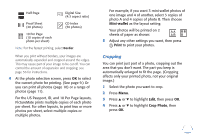
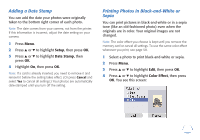
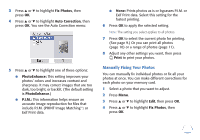
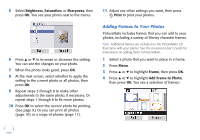
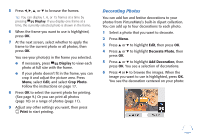
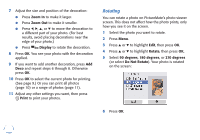
5 Select Brightness, Saturation, or Sharpness, then press OK. You see your photo next to the menu: 6 Press u or d to increase or decrease the setting. You can see the changes on your photo. 7 When the photo looks good, press OK. 8 At the next screen, select whether to apply the setting to the current photo or all photos, then press OK. 9 Repeat steps 3 through 8 to make other adjustments to the same photo, if necessary. Or repeat steps 1 through 8 to fix more photos. 10 Press OK to select the current photo for printing. (See page 9.) Or you can print all photos (page 10) or a range of photos (page 11). 11 Adjust any other settings you want, then press Print to print your photos. Adding Frames to Your Photos PictureMate includes frames that you can add to your photos, including a variety of Disney character frames. Note: Additional frames are included on the PictureMate CD that came with your printer. See the on-screen User's Guide for instructions on adding them to PictureMate. 1 Select a photo that you want to place in a frame. 2 Press Menu. 3 Press u or d to highlight Frame, then press OK. 4 Press u or d to highlight Add Frame to Photo, then press OK. You see a selection of frames: 22
-
 1
1 -
2
-
3
-
4
-
5
-
6
-
7
-
8
-
9
-
10
-
11
-
12
-
13
-
14
-
15
-
16
-
17
-
 18
18 -
 19
19 -
 20
20 -
 21
21 -
 22
22 -
 23
23 -
 24
24 -
 25
25 -
 26
26 -
 27
27 -
 28
28 -
29
-
30
-
31
-
32
-
33
-
34
-
35
-
36
-
37
-
38
-
39
-
40
-
41
-
42
-
43
-
44
-
45
-
46
-
47
-
48
-
49
-
50
-
51
-
52
-
53
-
54
-
55
-
56
-
57
-
58
-
59
-
60
-
61
-
62
-
63
-
64
-
65
-
66
-
67
-
68
-
69
-
70
-
71
-
72
-
73
-
74
-
75
-
76
-
77
-
78
-
79
-
80
-
81
-
82
-
83
-
84
-
85
-
86
-
87
-
88
-
89
-
90
-
91
 |
 |