HP EX475 HP MediaSmart Server - Installation and Troubleshooting Guide - Page 28
Task 3 of 6: Con Remote Access, User Accounts Setup, Con Windows Home Server Settings - using on windows 7
 |
UPC - 883585222643
View all HP EX475 manuals
Add to My Manuals
Save this manual to your list of manuals |
Page 28 highlights
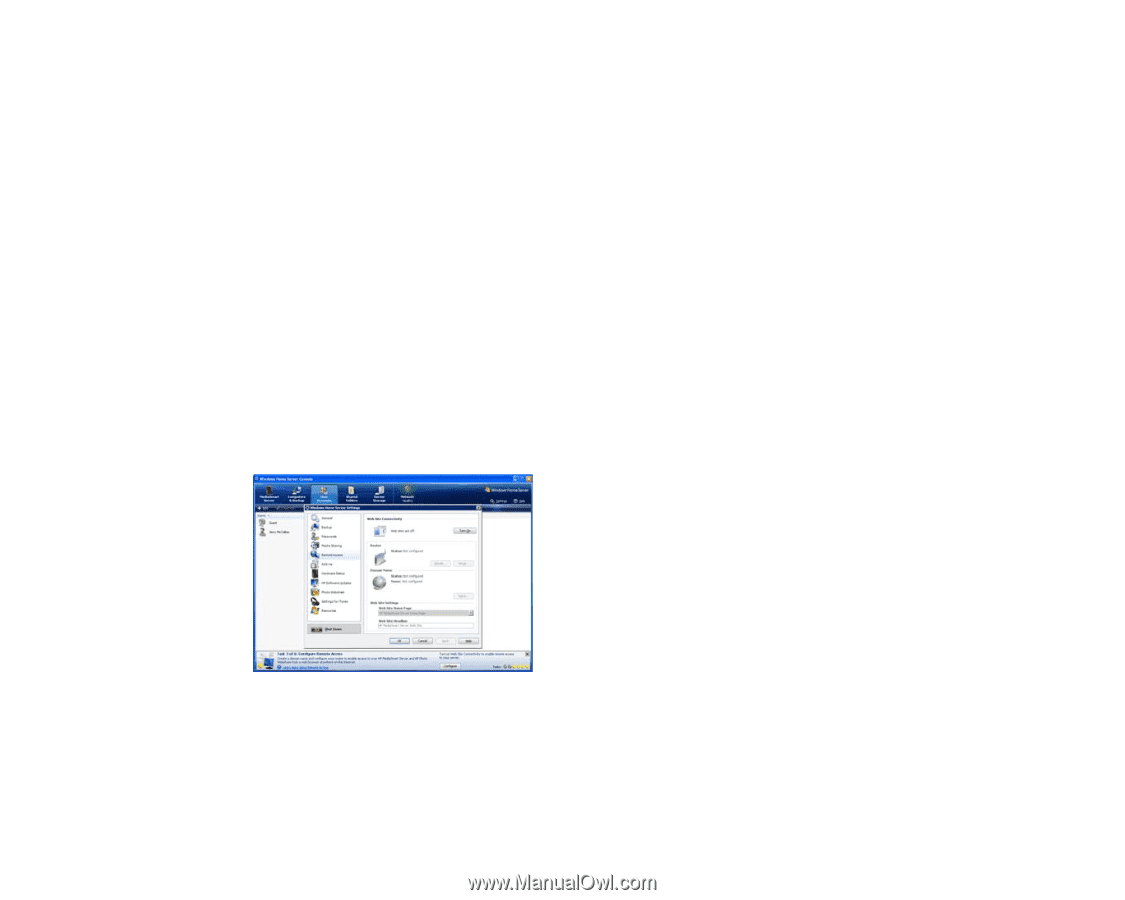
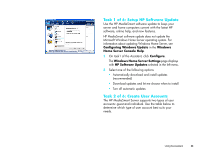
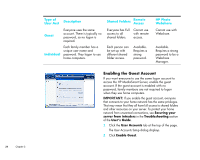
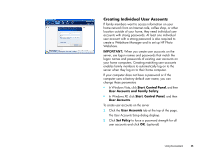
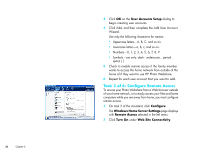
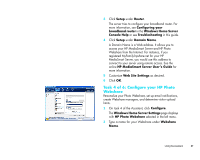
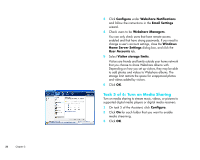
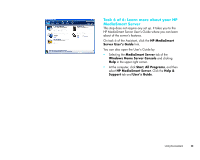
26 Chapter 3 3 Click OK on the User Accounts Setup dialog to begin creating user accounts. 4 Click Add, and then complete the Add User Account Wizard. Use only the following characters for names: • Uppercase letters-A, B, C, and so on. • Lowercase letters-a, b, c, and so on. • Numbers-0, 1, 2, 3, 4, 5, 6, 7, 8, 9 • Symbols-use only: dash - underscore _ period . space [ ] 5 Check to enable remote access if the family member wants to access the home network from outside of the home of if they want to use HP Photo Webshare. 6 Repeat for each user account that you want to add. Task 3 of 6: Configure Remote Access To access your Photo Webshare from a Web browser outside of your home network, or to easily access your files and home computers while you are away from home, you must configure remote access. 1 On task 3 of the Assistant, click Configure. The Windows Home Server Settings page displays with Remote Access selected in the left menu. 2 Click Turn On under Web Site Connectivity.
-
 1
1 -
2
-
3
-
4
-
5
-
6
-
7
-
8
-
9
-
10
-
11
-
12
-
13
-
14
-
15
-
16
-
17
-
18
-
19
-
20
-
21
-
22
-
 23
23 -
 24
24 -
 25
25 -
 26
26 -
 27
27 -
 28
28 -
 29
29 -
 30
30 -
 31
31 -
 32
32 -
 33
33 -
34
-
35
-
36
-
37
-
38
-
39
-
40
-
41
-
42
-
43
-
44
-
45
-
46
-
47
-
48
-
49
-
50
-
51
-
52
-
53
-
54
-
55
-
56
-
57
-
58
-
59
-
60
-
61
-
62
-
63
-
64
-
65
-
66
-
67
-
68
-
69
-
70
-
71
-
72
-
73
-
74
 |
 |