HP Pavilion 900 HP Pavilion Desktop PCs - DVDRW - (English) Technical Support - Page 42
Installing the Software
 |
View all HP Pavilion 900 manuals
Add to My Manuals
Save this manual to your list of manuals |
Page 42 highlights
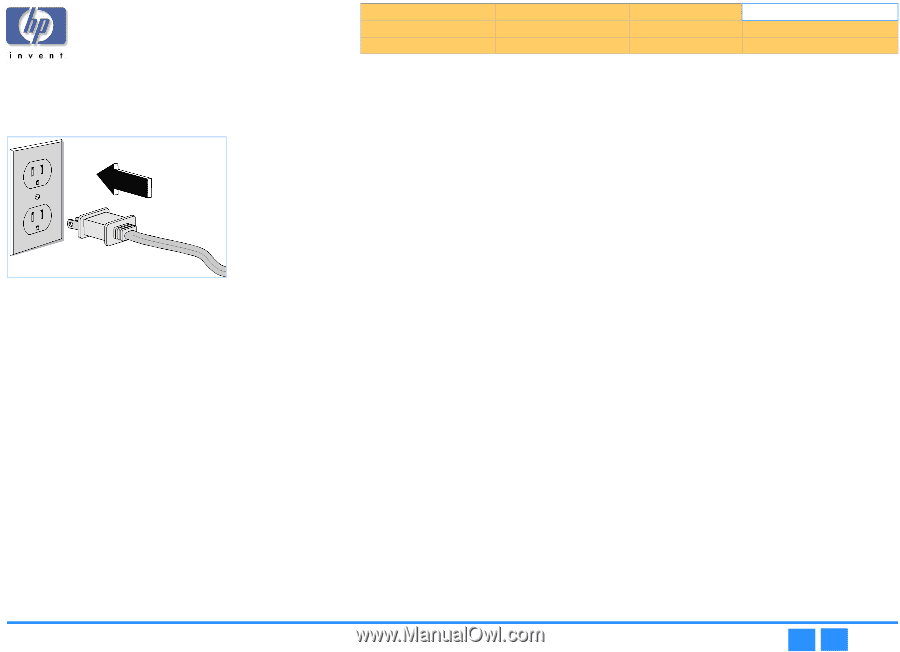
Product Information Drive Operation Troubleshooting Drive Specifications Tips and Techniques Warranty and Support Interfaces Software Release Notes Installation and Configuration Maintenance Discontinued Products Restarting the Computer 1. Replace the case on the computer. 2. Connect the computer and all attached devices to power. Figure 26 Connect the Computer to Power 3. Turn on the computer. The installation software will verify that the HP drive is correctly installed. 4. Press the Load/Eject button to make sure the drive is receiving power by opening and closing the tray. Installing the Software 1. Follow the instructions on the screens to install the HP software applications. The following applications are installed using an HP-developed custom installation program on Software Disc 1: I HP MyDVD (described on page 72) I PowerDVD (described on page 78) I HP RecordNow 3.0 (described on page 53) I HP DLA 2.5 (described on page 65) I HP Simple Backup (described on page 75) NOTE: No hardware drivers need to be installed. The hp dvd-writer drive uses the operating system's IDE drivers. 2. When the Setup Complete screen appears, select Yes to restart the computer, then click Finish. 3. After the computer has been restarted, the hp dvd-writer Product Registration screen appears . Vendor Software Installation After the user has finished installing the HP drive and restarted their computer, they must insert the additional software installation CDs to invoke the vendors' install programs. hp dvd-writer dvd100i Technical Support Solutions Guide 10/25/01 Installing the Software ⇐ ⇒ 42
-
 1
1 -
2
-
3
-
4
-
5
-
6
-
7
-
8
-
9
-
10
-
11
-
12
-
13
-
14
-
15
-
16
-
17
-
18
-
19
-
20
-
21
-
22
-
23
-
24
-
25
-
26
-
27
-
28
-
29
-
30
-
31
-
32
-
33
-
34
-
35
-
36
-
 37
37 -
 38
38 -
 39
39 -
 40
40 -
 41
41 -
 42
42 -
 43
43 -
 44
44 -
 45
45 -
 46
46 -
 47
47 -
48
-
49
-
50
-
51
-
52
-
53
-
54
-
55
-
56
-
57
-
58
-
59
-
60
-
61
-
62
-
63
-
64
-
65
-
66
-
67
-
68
-
69
-
70
-
71
-
72
-
73
-
74
-
75
-
76
-
77
-
78
-
79
-
80
-
81
-
82
-
83
-
84
-
85
-
86
-
87
-
88
-
89
-
90
-
91
-
92
-
93
-
94
-
95
-
96
-
97
-
98
-
99
-
100
-
101
-
102
-
103
-
104
 |
 |