HP Pavilion a400 HP Pavilion Destkop PCs - (English) Users Guide PAV NA/CTO 59 - Page 134
ddr dimms, installing a memory module
 |
View all HP Pavilion a400 manuals
Add to My Manuals
Save this manual to your list of manuals |
Page 134 highlights
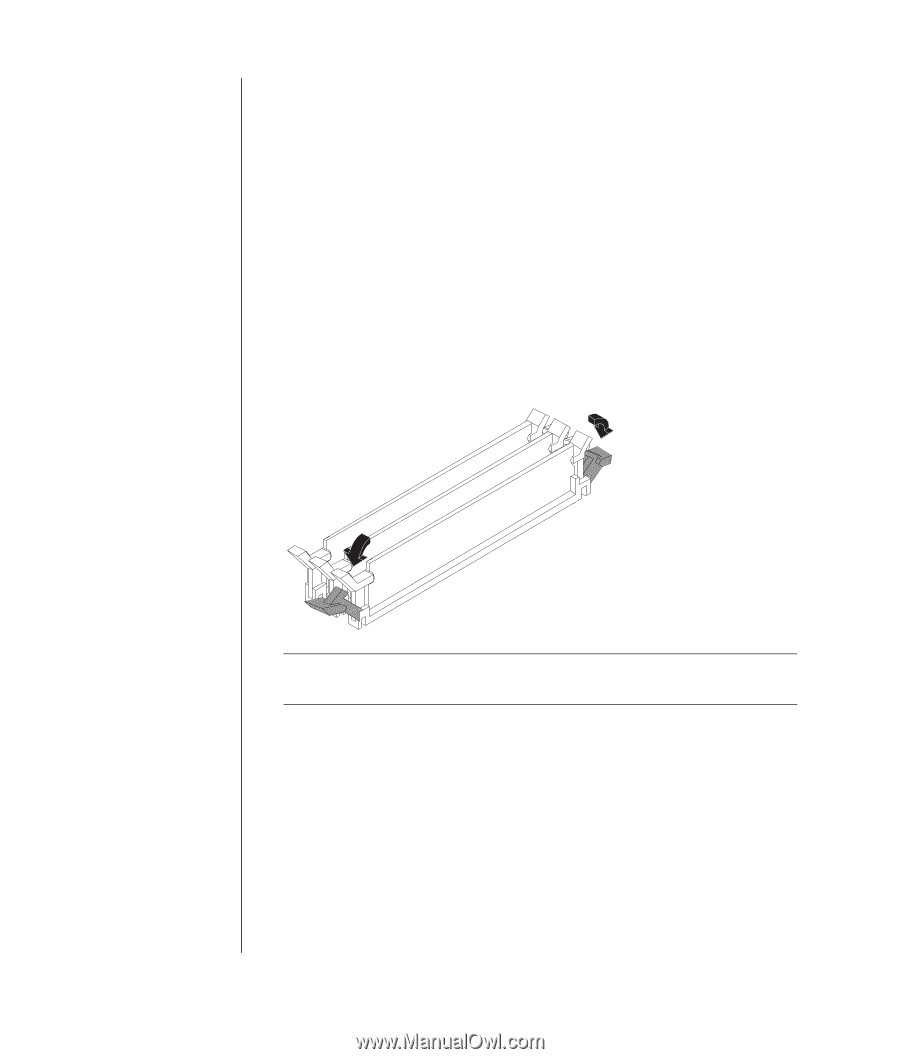
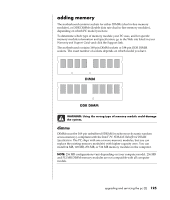
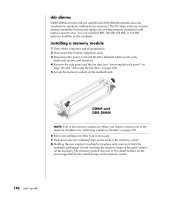
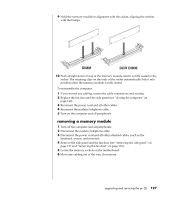
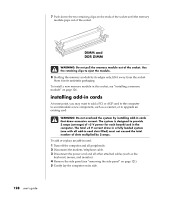
ddr dimms DDR DIMMs must be 184-pin unbuffered DDR SDRAM (double data rate synchronous dynamic random access memory). The PC ships with one or more memory modules, but you can replace the existing memory module(s) with higher-capacity ones. You can install 64 MB, 128 MB, 256 MB, or 512 MB memory modules in the computer. installing a memory module 1 Turn off the computer and all peripherals. 2 Disconnect the modem/telephone cable. 3 Disconnect the power cord and all other attached cables (such as the keyboard, mouse, and monitor). 4 Remove the side panel and the fan duct (see "removing the side panel" on page 121 and "removing the fan duct" on page 122). 5 Locate the memory sockets on the motherboard. DIMM and DDR DIMM NOTE: If all of the memory sockets are filled, you need to remove one of the memory modules (see "removing a memory module" on page 127). 6 Move any cabling out of the way, if necessary. 7 Push down the two retaining clips on the ends of the memory socket. 8 Holding the new memory module by its edges only, remove it from the antistatic packaging. (Avoid touching the memory chips or the gold contacts on the module.) The memory module has one or two small notches on the lower edge that fit into raised bumps in the memory socket. 126 user's guide
-
 1
1 -
2
-
3
-
4
-
5
-
6
-
7
-
8
-
9
-
10
-
11
-
12
-
13
-
14
-
15
-
16
-
17
-
18
-
19
-
20
-
21
-
22
-
23
-
24
-
25
-
26
-
27
-
28
-
29
-
30
-
31
-
32
-
33
-
34
-
35
-
36
-
37
-
38
-
39
-
40
-
41
-
42
-
43
-
44
-
45
-
46
-
47
-
48
-
49
-
50
-
51
-
52
-
53
-
54
-
55
-
56
-
57
-
58
-
59
-
60
-
61
-
62
-
63
-
64
-
65
-
66
-
67
-
68
-
69
-
70
-
71
-
72
-
73
-
74
-
75
-
76
-
77
-
78
-
79
-
80
-
81
-
82
-
83
-
84
-
85
-
86
-
87
-
88
-
89
-
90
-
91
-
92
-
93
-
94
-
95
-
96
-
97
-
98
-
99
-
100
-
101
-
102
-
103
-
104
-
105
-
106
-
107
-
108
-
109
-
110
-
111
-
112
-
113
-
114
-
115
-
116
-
117
-
118
-
119
-
120
-
121
-
122
-
123
-
124
-
125
-
126
-
127
-
128
-
 129
129 -
 130
130 -
 131
131 -
 132
132 -
 133
133 -
 134
134 -
 135
135 -
 136
136 -
 137
137 -
 138
138 -
 139
139 -
140
-
141
-
142
-
143
-
144
-
145
-
146
-
147
-
148
-
149
-
150
-
151
-
152
-
153
-
154
-
155
-
156
-
157
-
158
 |
 |