HP Pavilion a400 HP Pavilion Destkop PCs - (English) Users Guide PAV NA/CTO 59 - Page 135
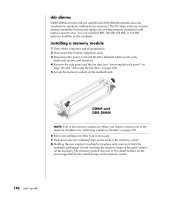
Ddr Dimm
 |
View all HP Pavilion a400 manuals
Add to My Manuals
Save this manual to your list of manuals |
Page 135 highlights
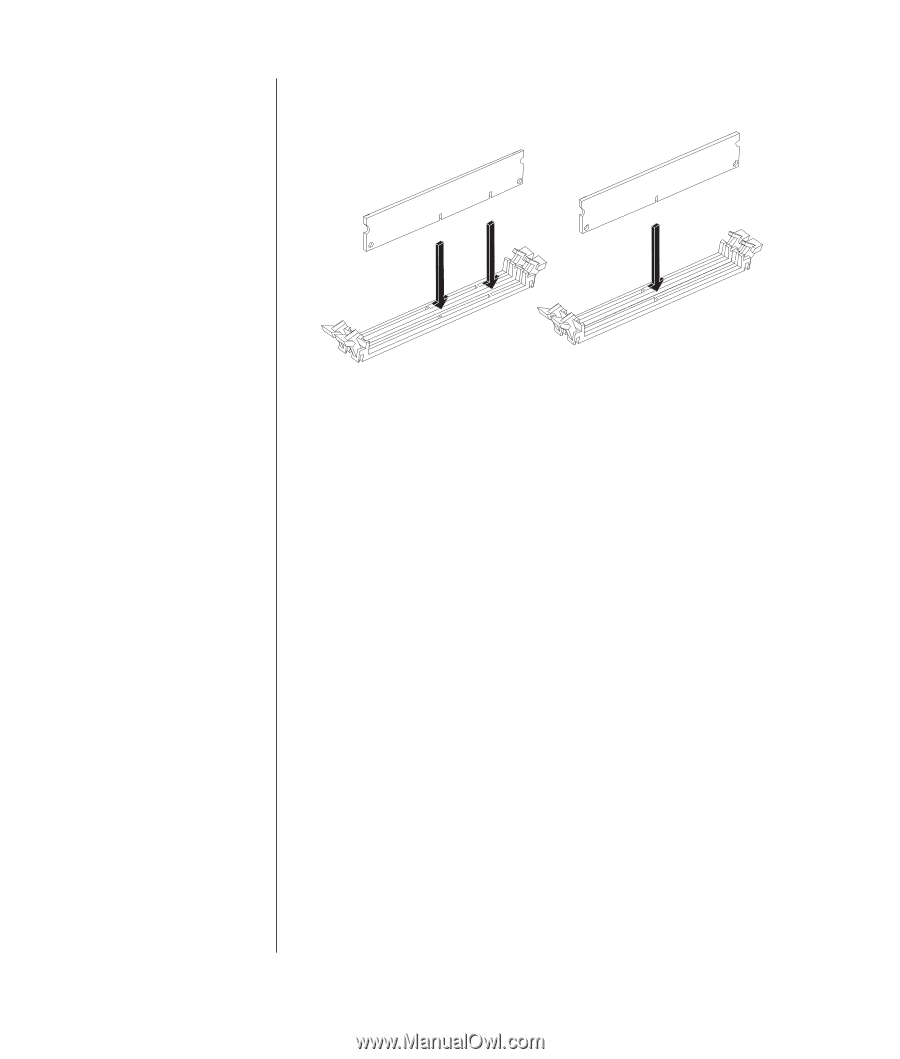
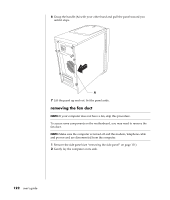
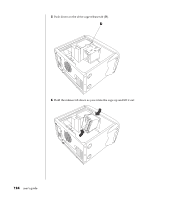
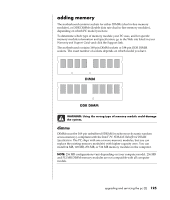
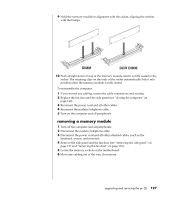
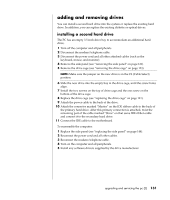
9 Hold the memory module in alignment with the socket, aligning the notches with the bumps. DIMM DDR DIMM 10 Push straight down on top of the memory module until it is fully seated in the socket. The retaining clips on the ends of the socket automatically lock it into position when the memory module is fully seated. To reassemble the computer: 1 If you moved any cabling, restore the cable connections and routing. 2 Replace the fan duct and the side panel (see "closing the computer" on page 140). 3 Reconnect the power cord and all other cables. 4 Reconnect the modem/telephone cable. 5 Turn on the computer and all peripherals. removing a memory module 1 Turn off the computer and all peripherals. 2 Disconnect the modem/telephone cable. 3 Disconnect the power cord and all other attached cables (such as the keyboard, mouse, and monitor). 4 Remove the side panel and the fan duct (see "removing the side panel" on page 121 and "removing the fan duct" on page 122). 5 Locate the memory sockets on the motherboard. 6 Move any cabling out of the way, if necessary. upgrading and servicing the pc (2) 127
-
 1
1 -
2
-
3
-
4
-
5
-
6
-
7
-
8
-
9
-
10
-
11
-
12
-
13
-
14
-
15
-
16
-
17
-
18
-
19
-
20
-
21
-
22
-
23
-
24
-
25
-
26
-
27
-
28
-
29
-
30
-
31
-
32
-
33
-
34
-
35
-
36
-
37
-
38
-
39
-
40
-
41
-
42
-
43
-
44
-
45
-
46
-
47
-
48
-
49
-
50
-
51
-
52
-
53
-
54
-
55
-
56
-
57
-
58
-
59
-
60
-
61
-
62
-
63
-
64
-
65
-
66
-
67
-
68
-
69
-
70
-
71
-
72
-
73
-
74
-
75
-
76
-
77
-
78
-
79
-
80
-
81
-
82
-
83
-
84
-
85
-
86
-
87
-
88
-
89
-
90
-
91
-
92
-
93
-
94
-
95
-
96
-
97
-
98
-
99
-
100
-
101
-
102
-
103
-
104
-
105
-
106
-
107
-
108
-
109
-
110
-
111
-
112
-
113
-
114
-
115
-
116
-
117
-
118
-
119
-
120
-
121
-
122
-
123
-
124
-
125
-
126
-
127
-
128
-
129
-
 130
130 -
 131
131 -
 132
132 -
 133
133 -
 134
134 -
 135
135 -
 136
136 -
 137
137 -
 138
138 -
 139
139 -
 140
140 -
141
-
142
-
143
-
144
-
145
-
146
-
147
-
148
-
149
-
150
-
151
-
152
-
153
-
154
-
155
-
156
-
157
-
158
 |
 |