HP ProLiant DL185 HP Insight Server Migration Software for ProLiant User Guide - Page 102
V2P post-migration tasks, Begin Migration, Cancel, Job Status
 |
View all HP ProLiant DL185 manuals
Add to My Manuals
Save this manual to your list of manuals |
Page 102 highlights
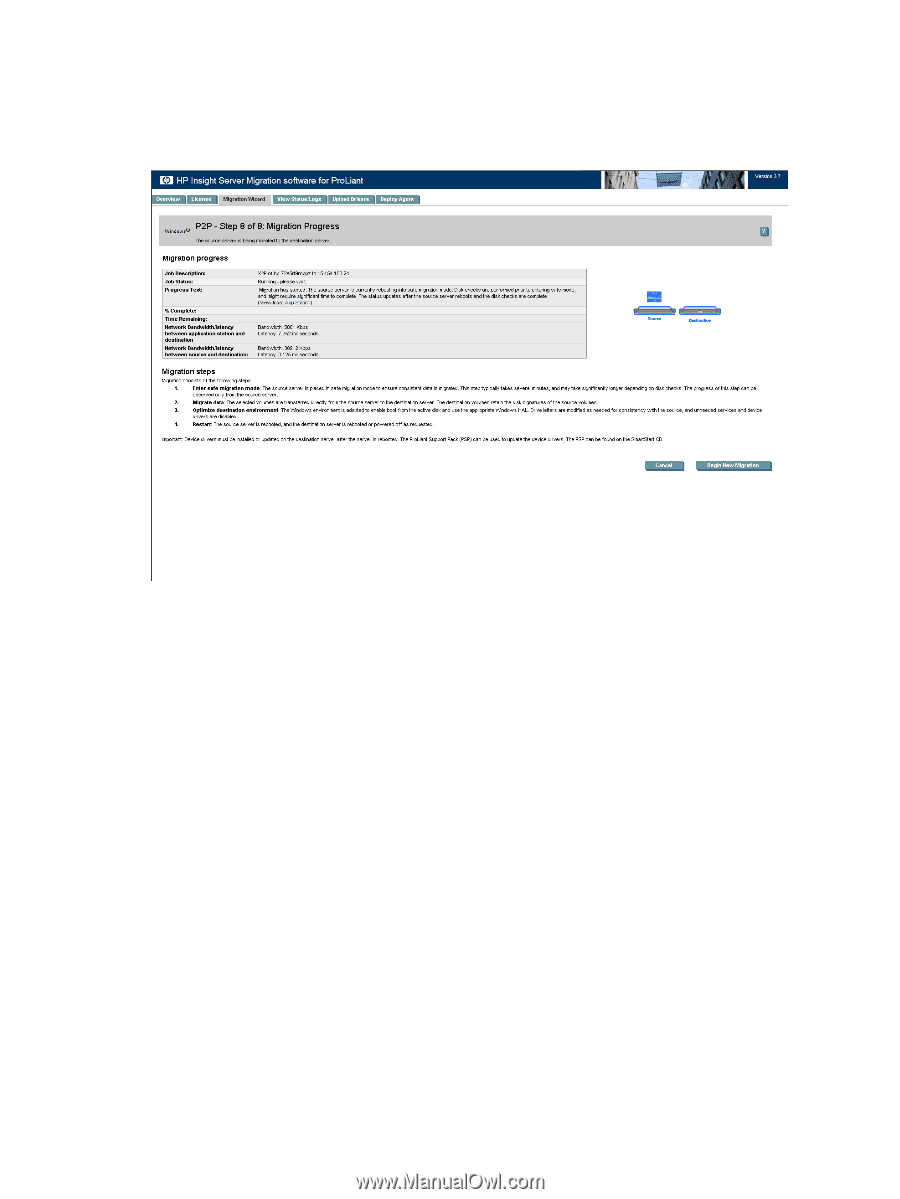
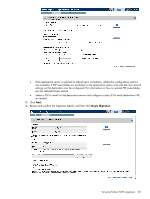
When you click Begin Migration, the SMP Agent performs a final network check. If the network check fails, an error message appears. Fix the network issue, and then to continue the migration process, click Begin Migration again. 15. Review the migration progress details. To cancel the migration, click Cancel. After the entry in the Job Status field indicates the migration has been canceled, reboot the source and destination servers. 16. After the migration is complete, to perform additional migrations, click Begin New Migration. The first screen of the Migration Wizard appears. Additional migrations can be set up at the same time the current migration is performed. V2P post-migration tasks After you complete a V2P migration, perform the following steps: 1. Remove the SMP Boot CD from the CD drive of the physical machine, and then reboot the system. 2. At the boot options menu, do not change the default selection, HP SIM WIN Conversion ProLiant Windows. 3. At each of the Welcome to the Found New Hardware wizard screens, click Cancel. 4. When prompted to reboot the system at the System Settings Change window, click No. 5. Install the latest HP ProLiant Support Pack, which includes ProLiant optimized drivers, utilities, and management agents. To successfully install the ProLiant Support Pack, SNMP service must be installed. To install SNMP service, see your operating system documentation. 6. Check the network connections and reestablish NIC teaming, if necessary. 7. View the Windows event log on the destination server and disable any services or drivers that have failed. 8. To activate a graphical boot process, remove the /bootlog and /sos options from the boot.ini file. These options are automatically inserted during the migration process so that the boot process is logged in detail for onscreen analysis. The active boot entry displayed during boot is highlighted and the original boot.ini entry appears as HP SMP Preserved: [name], where [name] is the operating system. 102 Using SMP for server migration
-
 1
1 -
2
-
3
-
4
-
5
-
6
-
7
-
8
-
9
-
10
-
11
-
12
-
13
-
14
-
15
-
16
-
17
-
18
-
19
-
20
-
21
-
22
-
23
-
24
-
25
-
26
-
27
-
28
-
29
-
30
-
31
-
32
-
33
-
34
-
35
-
36
-
37
-
38
-
39
-
40
-
41
-
42
-
43
-
44
-
45
-
46
-
47
-
48
-
49
-
50
-
51
-
52
-
53
-
54
-
55
-
56
-
57
-
58
-
59
-
60
-
61
-
62
-
63
-
64
-
65
-
66
-
67
-
68
-
69
-
70
-
71
-
72
-
73
-
74
-
75
-
76
-
77
-
78
-
79
-
80
-
81
-
82
-
83
-
84
-
85
-
86
-
87
-
88
-
89
-
90
-
91
-
92
-
93
-
94
-
95
-
96
-
 97
97 -
 98
98 -
 99
99 -
 100
100 -
 101
101 -
 102
102 -
 103
103 -
 104
104 -
 105
105 -
 106
106 -
 107
107 -
108
-
109
-
110
-
111
-
112
-
113
-
114
-
115
-
116
-
117
-
118
-
119
-
120
-
121
-
122
-
123
-
124
-
125
-
126
-
127
-
128
-
129
-
130
-
131
-
132
-
133
-
134
-
135
-
136
-
137
-
138
-
139
-
140
-
141
-
142
-
143
-
144
-
145
-
146
-
147
 |
 |