Pioneer PDP-505HD Owner's Manual - Page 7
How to use this manual - plasma tv
 |
View all Pioneer PDP-505HD manuals
Add to My Manuals
Save this manual to your list of manuals |
Page 7 highlights
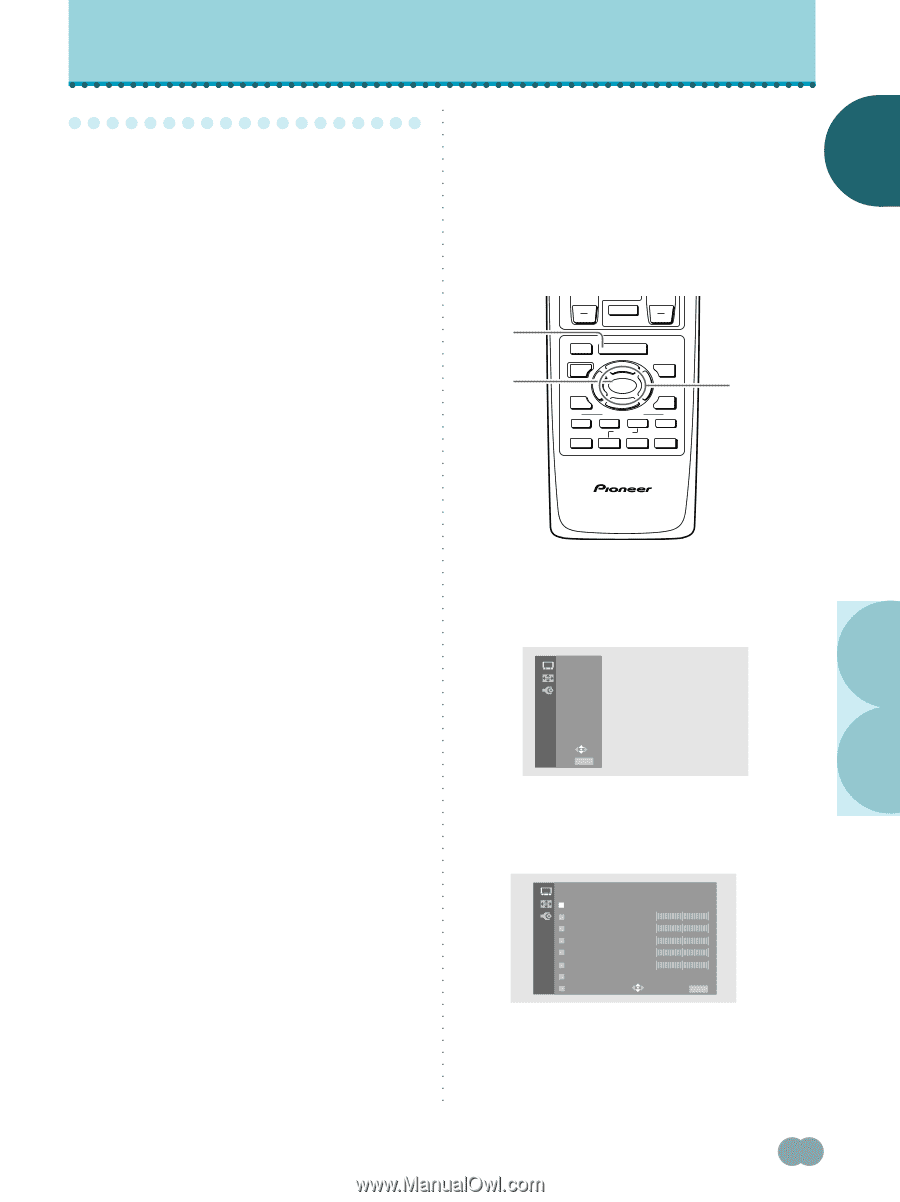
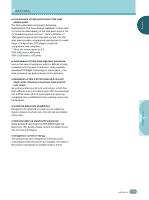
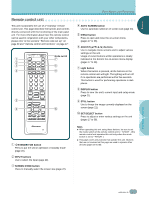
% % ENGLISH BEFORE PROCEEDING H○o○w○to○u○se○ t○hi○s ○ma○n○ua○l This manual is set up to follow the course of actions and operations in the order that would seem most logical for someone setting up this unit. ○ ○ ○ ○ ○ ○ ○ ○ ○ The following example is an actual operation that shows how one might adjust the contrast of the picture. The screens shown at each step are provided as a visual guide to confirm that the procedure is proceeding as it should. Please familiarize yourself with this process before continuing on with the rest of this manual. ○ Once the unit has been taken out of the box, and it has been confirmed that all the parts have been received, it may be beneficial to look over the section "Part Names and Functions" starting on page 6 to become acquainted with the plasma monitor and remote control unit, as their respective buttons and controls will be referred to throughout this manual. For descriptions of the remote control unit buttons used to control other components in your system, refer to the section "Operating Other Devices" starting on page 39. The section "Installation and Connections" starting on page 9 covers all the necessary points regarding installation of the plasma display and connections to a wide variety of components. The section "Setting Up the System" starting on page 17 covers the necessary on-screen menu settings to establish correct linkage between the plasma display and connected components. Depending on the connections made, this section may or not be necessary. The section "Operations" starting on page 20 covers the basic procedures used to operate the plasma display. The section "Display Panel Adjustments" starting on page 28 describes how to use the on-screen menus to make picture quality and screen adjustments. ○ ○ ○ ○ ○ ○ ○ ○ ○ ○ ○ ○ ○ ○ ○ ○ ○ ○ ○ ○ ○ ○ ○ ○ ○ ○ ○ ○ ○ ○ ○ ○ ○ ○ ○ ○ ○ ○ ○ ○ ○ ○ Example) To adjust the contrast of the picture. 1,6 2,3,5 CH VOL MUTING RECEIVER EDIT/ LEARN SOURCE POWER DVD TOP MENU MENU 1 8 TV/SAT/DTV/DVD MENU % SAT/DTV GUIDE SET/ SELECT % FAVORITES 7 3 VCR REC ¶ 4 (SAT)/DTV INFO ¡ ¢ 2,3,4 CU-PDP008 Î PLASMA DISPLAY REMOTE CONTROL UNIT 1 Press MENU to display the menu screen. The menu screen appears. PICTURE SCREEN SET UP . ○ About operations in this manual Operations in this manual are outlined in step by step numbered procedures. Most of the procedures are written in reference to the remote control unit unless the button or control is only present on the main unit. However, if a button or control on the main unit has the same or similar name as that on the remote control unit, that button can be used when performing operations. When using the remote control unit to operate the main unit or to navigate on-screen menus in the procedures prior to page 38, be sure the mode switch is set to "TV/VCR". ○ ○ ○ ○ ○ ○ ○ ○ ○ ○ ○ ○ ○ ○ ○ ○ ○ ○ ○ ○ ○ USE: END: MENU 2 Press 5/∞ to select PICTURE, then press SET/SELECT. The PICTURE adjustment menu screen appears. PICTURE MOD E : S T D CON T RA S T BLACK LVL . COLOR T I NT SHARP OTHER EX I T USE: END: MENU PARTBENFAORMESPARNODCEFEUDINNCGTIONS ○ ○ ○ ○ ○ ○ ○ ○ ○ (continued) En 3
-
 1
1 -
 2
2 -
 3
3 -
 4
4 -
 5
5 -
 6
6 -
 7
7 -
 8
8 -
 9
9 -
 10
10 -
 11
11 -
 12
12 -
13
-
14
-
15
-
16
-
17
-
18
-
19
-
20
-
21
-
22
-
23
-
24
-
25
-
26
-
27
-
28
-
29
-
30
-
31
-
32
-
33
-
34
-
35
-
36
-
37
-
38
-
39
-
40
-
41
-
42
-
43
-
44
-
45
-
46
-
47
-
48
-
49
-
50
-
51
-
52
-
53
-
54
-
55
-
56
-
57
-
58
-
59
-
60
-
61
-
62
-
63
-
64
-
65
-
66
-
67
-
68
-
69
-
70
-
71
-
72
-
73
-
74
-
75
-
76
-
77
-
78
-
79
-
80
-
81
-
82
-
83
-
84
-
85
-
86
-
87
-
88
-
89
-
90
-
91
-
92
-
93
-
94
-
95
-
96
-
97
-
98
-
99
-
100
-
101
-
102
-
103
-
104
-
105
-
106
-
107
-
108
-
109
-
110
-
111
-
112
-
113
-
114
-
115
-
116
-
117
-
118
-
119
-
120
-
121
-
122
 |
 |