RCA HD61LPW42 User Guide & Warranty - Page 69
Audio Menu
 |
UPC - 034909312742
View all RCA HD61LPW42 manuals
Add to My Manuals
Save this manual to your list of manuals |
Page 69 highlights
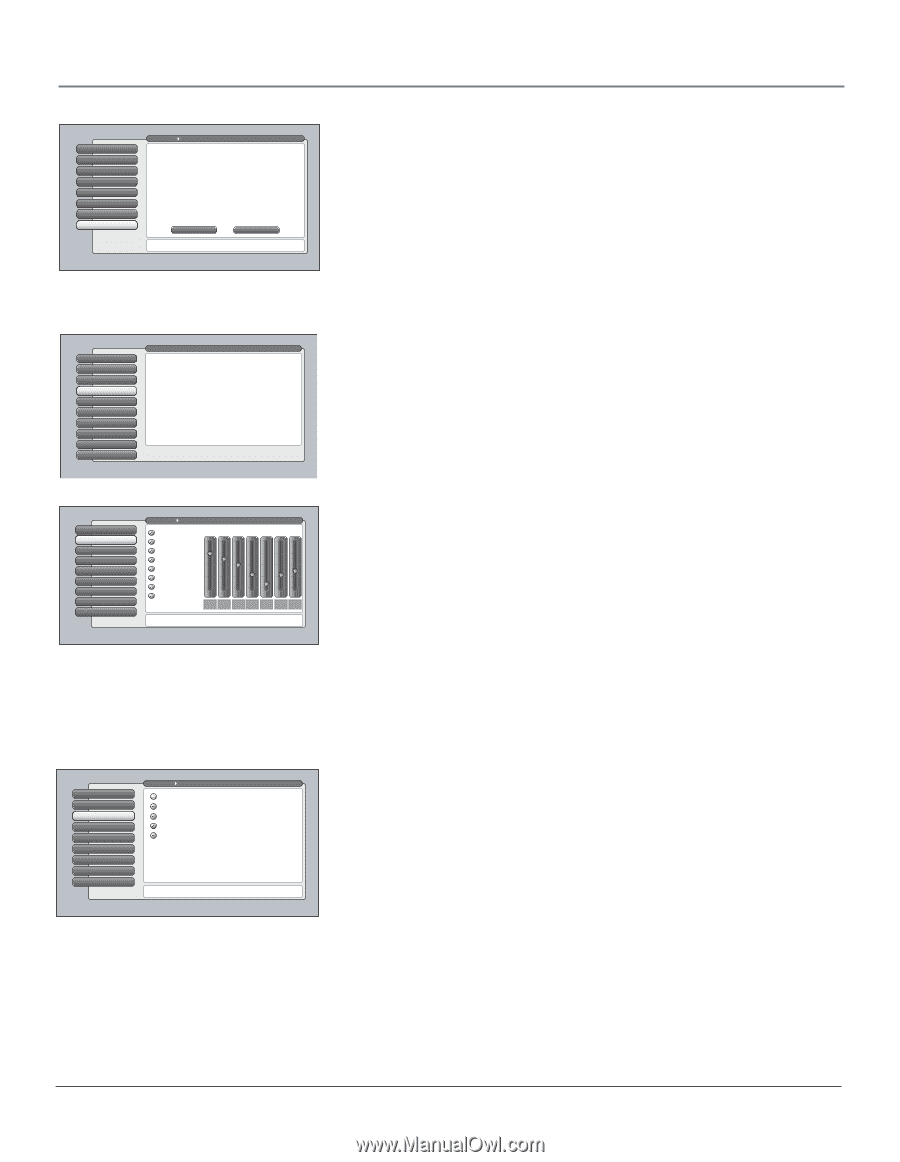
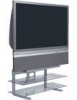
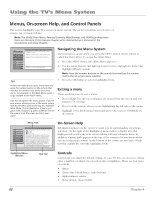
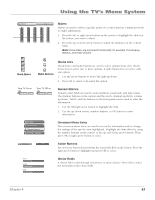
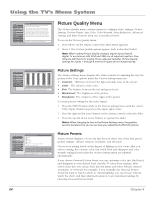
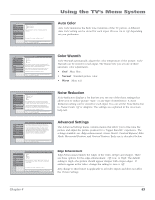
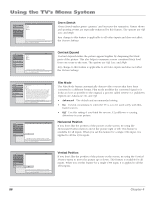
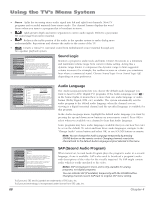
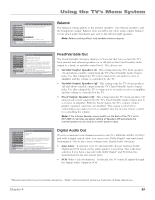
Using the TV's Menu System 0 Go Back 1 Picture Settings 2 Picture Presets 3 Auto Color 4 Color Warmth 5 Noise Reduction 6 Advanced Settings 7 Reset Controls Main Menu Picture Quality Reset Controls will change all Picture Quality settings back to their initial values (except for Horizontal and Vertical Position settings). The settings for digital source inputs (Input 5, digital-TV, DTVLink) operate and are reset as one. The settings for analog-TV from both antennas operate and are reset as one. Inputs 1-4 and the Front Input operate and are reset independently. SVM and Film Mode apply to all inputs and are reset across all inputs. Select "Reset" to continue or select "Cancel". Reset Cancel Press or to point to an option, then press OK to select it. Press to return to the menu. Reset Controls The Reset Controls menu button resets all picture quality controls to their original factory settings (except Horizontal Position and Vertical Position) for the currently tuned input or group of input sources (see on-screen text). 1. Tune to the "input" you would like to reset. 2. Press MENU to access the Main Menu. 3. Select Picture Quality, and then select Reset Controls to set reset the settings for the currently tuned input. 0 Go Back 1 GUIDE Plus+ Menu 2 Picture Quality 3 Audio 4 Time 5 Parental Controls 6 Connections 7 Preferences 8 Assisted Setup 9 Web Browser Main Menu The Audio menu has screens for setting the audio features and for tweaking the sound: •Equalizer Presets: Select a preset or adjust the equalizer. •Audio Processor: Choose the way for programs to sound. •Sound Logic: Turn it on to minimize variations in volume. •Audio Language: Select a default or a current audio track. •SAP: Turn on SAP to hear a different audio track. •Balance: Shift the audio between the left and right speakers. •Fixed/Variable Out: Choose output for an amp or receiver. •Digital Audio Out: Choose either Auto Select or PCM output Press OK or to access the Audio menu. Audio Menu The Audio menu lets you adjust audio output. To access the Audio menu, press MENU on the remote, and then select Audio from the main menu. The following audio items can be adjusted: Graphic Equalizer, Audio Processor, Sound Logic, Audio Language, SAP, Balance, Fixed/Variable Out, and Digital Audio Out. 0 Go Back 1 TEeqxutalhizeerer Presets 2 Audio Processor 3 Sound Logic 4 Audio Language 5 SAP 6 Balance 7 Fixed/Variable Out 8 Digital Audio Out Main Menu Audio Flat Video Equalizer Preset Settings Standard Voice +12 dB Music Music 0 dB Videogame Video Camera Personal -12 dB +6 60 Hz +3 150 Hz 0 -5 400 1 Hz kHz -10 2.5 kHz -5 6.3 kHz -3 15 kHz For each input select a different equalizer preset or create a Personal preset with the equalizer. Press OK to continue. Equalizer Presets You can select one of the seven-band Equalizer Presets or create your own personal preset. The seven-band graphic equalizer lets you adjust the audio frequency settings. The equalizer can only be changed if the Fixed/Variable Audio Output is set to Variable Output. If the Fixed/Variable Audio Output is set to Fixed Output, you cannot make changes to the equalizer and the bands are set to 0dB. However, the graphic equalizer levels for Variable Output are stored in memory in case you switch to Fixed Output then back to Variable Output. Notes: If the internal speakers are used as the center channel audio speaker from an external audio receiver, the graphic equalizer settings do not apply. Equalizer Presets are stored for each input. All other audio feature settings are stored globally across all inputs and not per input. 0 Go Back 1 Equalizer Presets 2 Audio Processor 3 Sound Logic 4 Audio Language 5 SAP 6 Balance 7 Fixed/Variable Out 8 Digital Audio Out Main Menu Audio Mono Stereo SRS SRS FOCUS SRS TruSurround The Audio Processor setting alters the sound of onlyl variable volume outputs but not fixed-volume outputs like the Digital Audio Output or the Record Output. A change in this screen is applied to all inputs. Press or to point to an option, then press OK to select it. Press to return to the menu. Audio Processor The Audio Processor displays a choice list of available audio modes, which control the way the sound comes through your speakers when TV is set to using the Variable Output. The selected setting affects all inputs and antennas. To create the settings: 1. Press the MENU button to access the main menu. 2. Select Audio, and then Audio Processor. Depending on your speaker setup, any combination of the following options appear: • Mono plays the sound in monophonic audio only. This should only be used when receiving broadcasts where distance from the broadcasters makes the stereo signal weak. The channel banner displays the word Mono when you tune to a program that is broadcast in mono. Chapter 4 67
-
 1
1 -
2
-
3
-
4
-
5
-
6
-
7
-
8
-
9
-
10
-
11
-
12
-
13
-
14
-
15
-
16
-
17
-
18
-
19
-
20
-
21
-
22
-
23
-
24
-
25
-
26
-
27
-
28
-
29
-
30
-
31
-
32
-
33
-
34
-
35
-
36
-
37
-
38
-
39
-
40
-
41
-
42
-
43
-
44
-
45
-
46
-
47
-
48
-
49
-
50
-
51
-
52
-
53
-
54
-
55
-
56
-
57
-
58
-
59
-
60
-
61
-
62
-
63
-
 64
64 -
 65
65 -
 66
66 -
 67
67 -
 68
68 -
 69
69 -
 70
70 -
 71
71 -
 72
72 -
 73
73 -
 74
74 -
75
-
76
-
77
-
78
-
79
-
80
-
81
-
82
-
83
-
84
-
85
-
86
-
87
-
88
-
89
-
90
-
91
-
92
-
93
-
94
-
95
-
96
 |
 |