Sony HDR HC9 Operating Guide - Page 61
REC LAMP Recording lamp, DISP OUTPUT Display output, MENU ROTATE, A.SHUT OFF Auto shut off - time lapse recording
 |
UPC - 027242727717
View all Sony HDR HC9 manuals
Add to My Manuals
Save this manual to your list of manuals |
Page 61 highlights
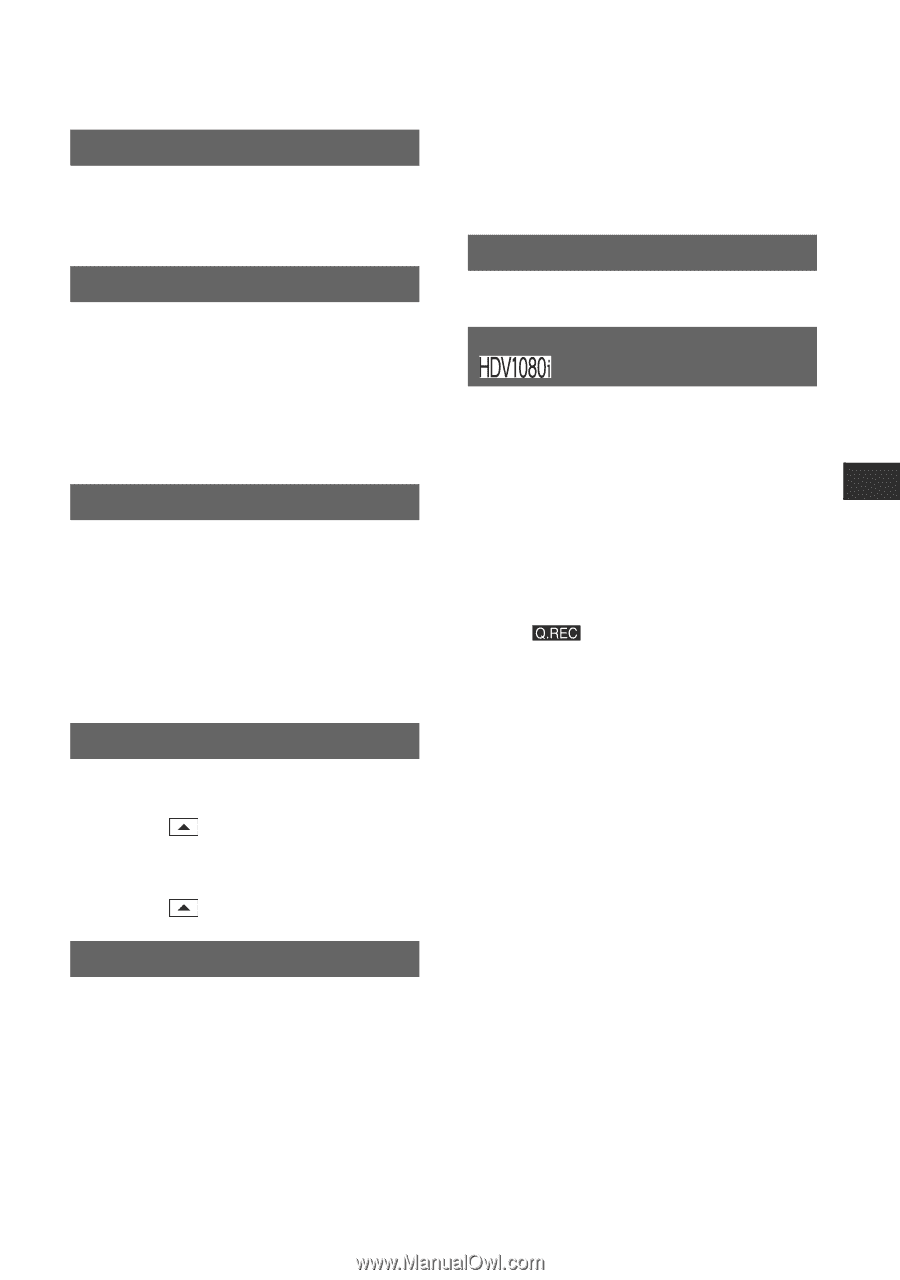
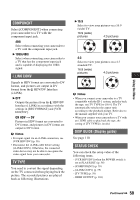
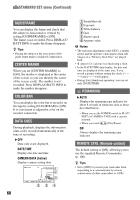
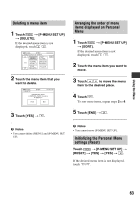
Using the Menu REC LAMP (Recording lamp) The camera recording lamp will not light up during recording when you set this to [OFF] (The default setting is [ON]). BEEP B ON A beeping sound starts when you start/stop recording, or operate the touch panel. OFF Cancels the beeping sound and shutter sound. DISP OUTPUT (Display output) B LCD PANEL Shows displays such as the time code on the LCD screen and in the viewfinder. V-OUT/PANEL Shows displays such as the time code on the TV screen, LCD screen, and in the viewfinder. MENU ROTATE B NORMAL Scrolls the menu items downwards by touching . OPPOSITE Scrolls the menu items upwards by touching . A.SHUT OFF (Auto shut off) B 5min The camcorder is automatically turned off when you do not operate your camcorder for more than approximately 5 minutes. NEVER The camcorder is not automatically turned off. b Notes • When you connect your camcorder to a wall outlet (wall socket), [A.SHUT OFF] is automatically set to [NEVER]. CALIBRATION See page 98. QUICK REC (Quick recording) You can slightly reduce the recording start point time when you start recording by pressing START/STOP. This function is useful to compensate for time lapse at the click of the shutter. B OFF Takes more time to reach the recording start point, but a smooth transition can be recorded. ON ( ) Slightly reduces the time it takes to start recording when you attempt to record right after you switch on the camcorder (set the POWER switch to CAMERA-TAPE from the OFF (CHG) position), or when you attempt to record when the recording stanby mode is canceled. b Notes • If [QUICK REC] is set to [ON], the interval between scenes freezes for a moment (editing on your computer is recommended). z Tips • If the recording standby mode continues more than approximately 3 minutes, the drum will stop rolling, and the standby mode is canceled. This is to protect the tape and to prevent from unnecessarily battery exhausting. 61
-
 1
1 -
2
-
3
-
4
-
5
-
6
-
7
-
8
-
9
-
10
-
11
-
12
-
13
-
14
-
15
-
16
-
17
-
18
-
19
-
20
-
21
-
22
-
23
-
24
-
25
-
26
-
27
-
28
-
29
-
30
-
31
-
32
-
33
-
34
-
35
-
36
-
37
-
38
-
39
-
40
-
41
-
42
-
43
-
44
-
45
-
46
-
47
-
48
-
49
-
50
-
51
-
52
-
53
-
54
-
55
-
 56
56 -
 57
57 -
 58
58 -
 59
59 -
 60
60 -
 61
61 -
 62
62 -
 63
63 -
 64
64 -
 65
65 -
 66
66 -
67
-
68
-
69
-
70
-
71
-
72
-
73
-
74
-
75
-
76
-
77
-
78
-
79
-
80
-
81
-
82
-
83
-
84
-
85
-
86
-
87
-
88
-
89
-
90
-
91
-
92
-
93
-
94
-
95
-
96
-
97
-
98
-
99
-
100
-
101
-
102
-
103
-
104
-
105
-
106
-
107
-
108
-
109
-
110
-
111
-
112
-
113
-
114
-
115
-
116
-
117
-
118
-
119
-
120
-
121
-
122
-
123
-
124
-
125
-
126
-
127
-
128
 |
 |