Toshiba Excite AT205-SP0101M User Guide 1 - Page 24
Top, Bottom, Connecting to a power source
 |
View all Toshiba Excite AT205-SP0101M manuals
Add to My Manuals
Save this manual to your list of manuals |
Page 24 highlights
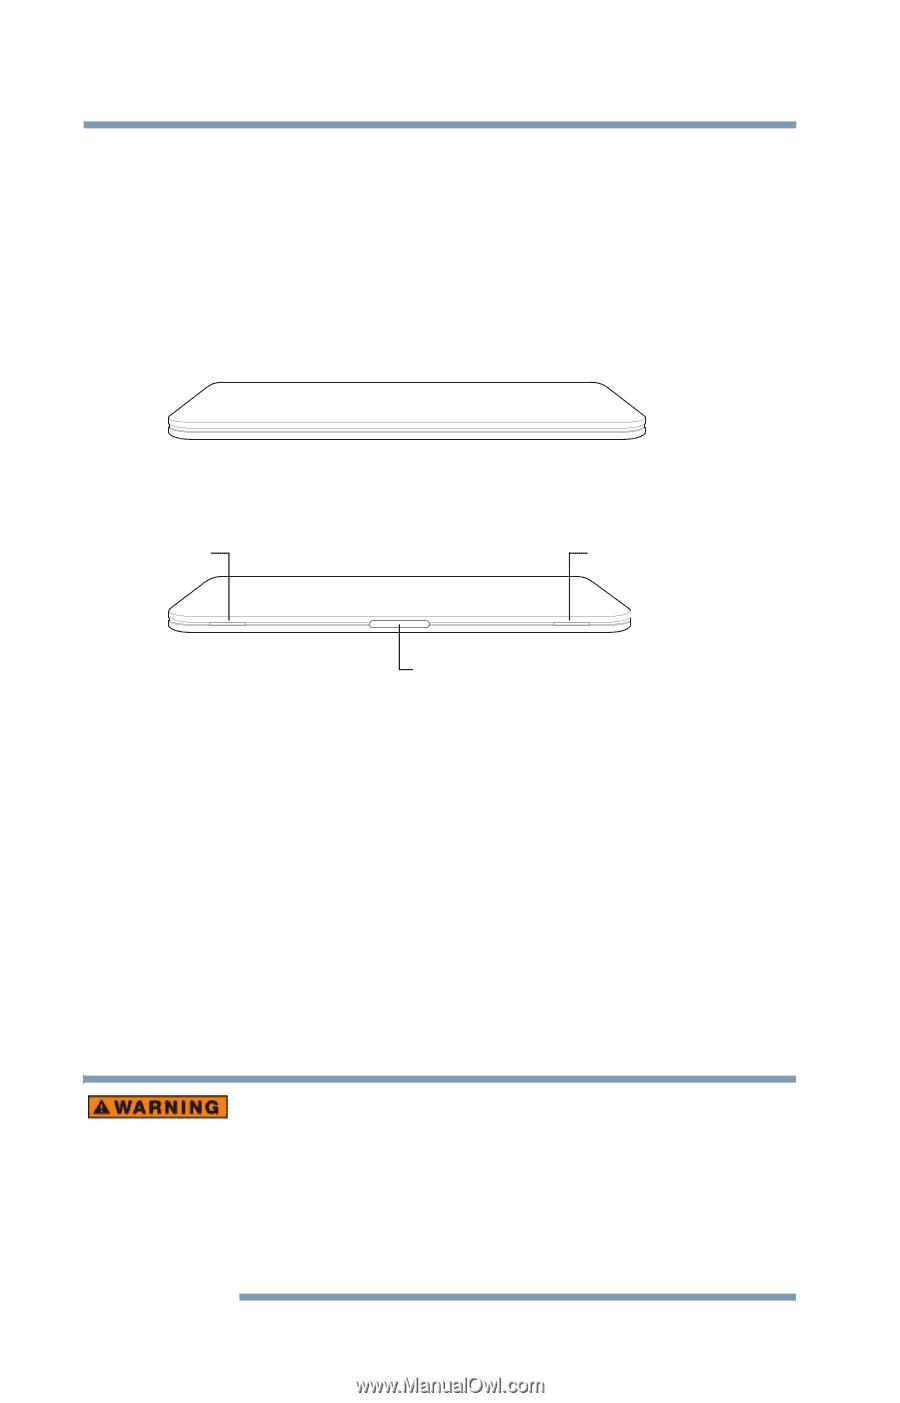
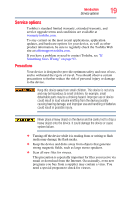
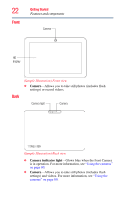
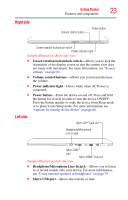
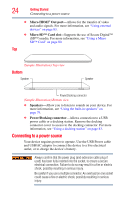
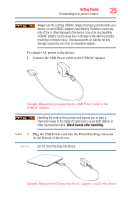
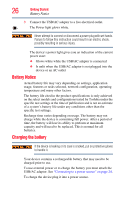
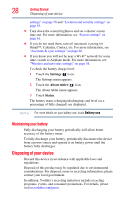
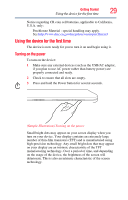
24 Getting Started Connecting to a power source ❖ Micro HDMI® Out port-Allows for the transfer of video and audio signals. For more information, see "Using external devices" on page 83. ❖ Micro SD™ Card slot-Supports the use of Secure Digital™ (SD™) media. For more information, see "Using a Micro SD™ Card" on page 80. Top (Sample Illustration) Top view Bottom Speaker Speaker Power/Docking connector (Sample Illustration) Bottom view ❖ Speakers-Allow you to listen to sounds on your device. For more information, see "Using the built-in speakers" on page 79. ❖ Power/Docking connector-Allows connection to a USB power cable or a docking station. Remove the docking connector cover to access to the docking connector. For more information, see "Using a docking station" on page 83. Connecting to a power source Your device requires power to operate. Use the USB Power cable and USB/AC adaptor to connect the device to a live electrical outlet, or to charge the device's battery. Always confirm that the power plug (and extension cable plug if used) has been fully inserted into the socket, to ensure a secure electrical connection. Failure to do so may result in a fire or electric shock, possibly resulting in serious injury. Be careful if you use a multiple connector. An overload on one socket could cause a fire or electric shock, possibly resulting in serious injury.
-
 1
1 -
2
-
3
-
4
-
5
-
6
-
7
-
8
-
9
-
10
-
11
-
12
-
13
-
14
-
15
-
16
-
17
-
18
-
 19
19 -
 20
20 -
 21
21 -
 22
22 -
 23
23 -
 24
24 -
 25
25 -
 26
26 -
 27
27 -
 28
28 -
 29
29 -
30
-
31
-
32
-
33
-
34
-
35
-
36
-
37
-
38
-
39
-
40
-
41
-
42
-
43
-
44
-
45
-
46
-
47
-
48
-
49
-
50
-
51
-
52
-
53
-
54
-
55
-
56
-
57
-
58
-
59
-
60
-
61
-
62
-
63
-
64
-
65
-
66
-
67
-
68
-
69
-
70
-
71
-
72
-
73
-
74
-
75
-
76
-
77
-
78
-
79
-
80
-
81
-
82
-
83
-
84
-
85
-
86
-
87
-
88
-
89
-
90
-
91
-
92
-
93
-
94
-
95
-
96
-
97
-
98
-
99
-
100
-
101
-
102
-
103
-
104
-
105
-
106
-
107
-
108
-
109
-
110
-
111
-
112
-
113
-
114
-
115
-
116
-
117
 |
 |