Toshiba Excite AT205-SP0101M User Guide 1 - Page 82
Adding optional external devices, Using an external keyboard
 |
View all Toshiba Excite AT205-SP0101M manuals
Add to My Manuals
Save this manual to your list of manuals |
Page 82 highlights
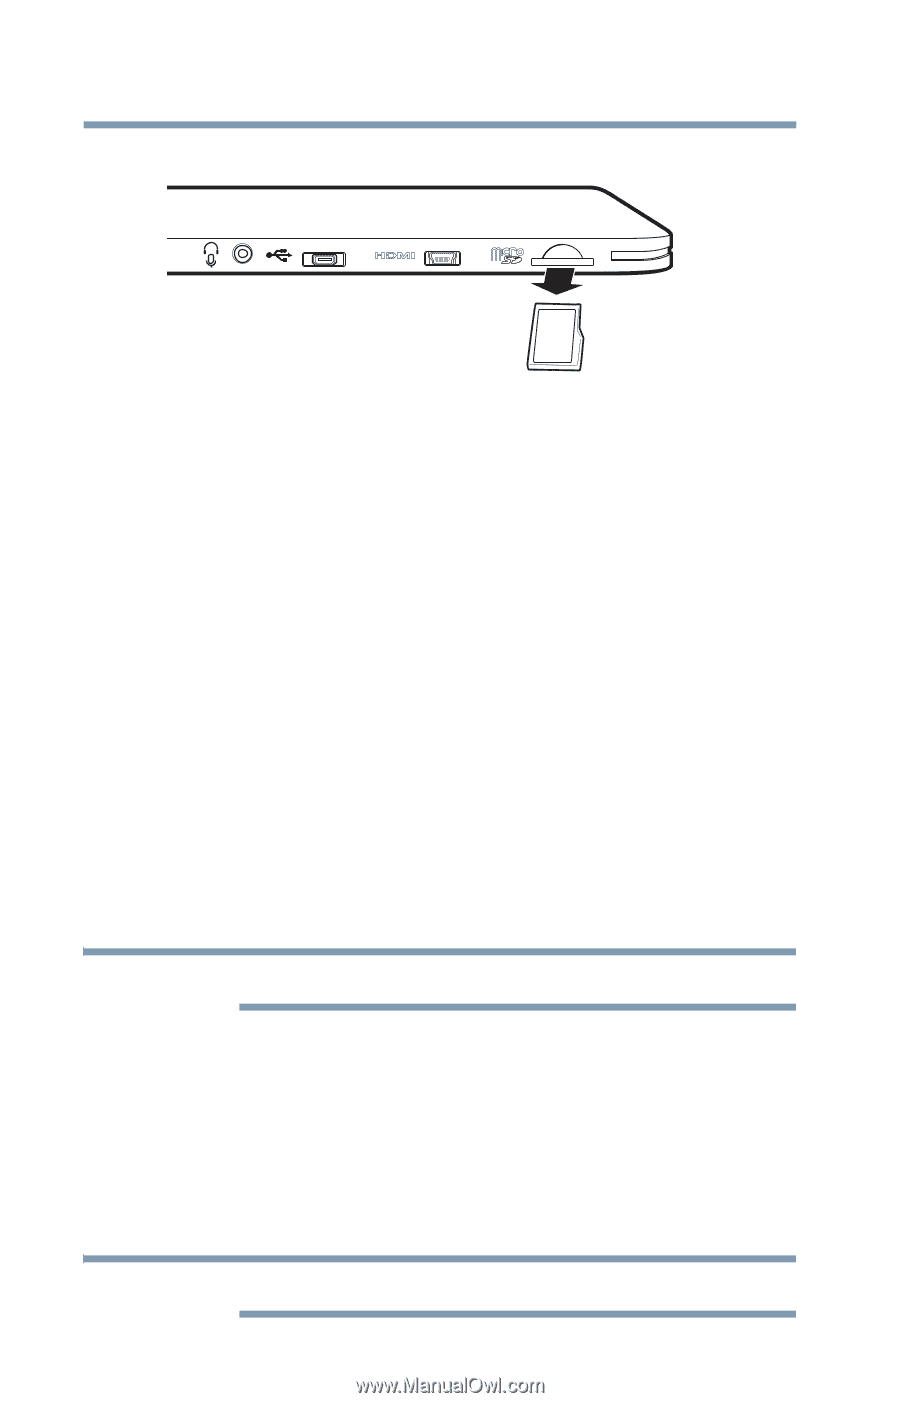
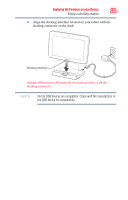
82 Exploring the Features on your Device Adding optional external devices 5 Grasp the card and pull it straight out. (Sample Illustration) Removing memory media Adding optional external devices After starting your device for the first time you may want to: ❖ Connect an external keyboard via the available Bluetooth® settings (see "Using an external keyboard" on page 82 or "Setting up Wi-Fi® and Bluetooth® connections" on page 34) ❖ Connect an external mouse via the available Bluetooth® settings (see "Using an external mouse" on page 82 or "Setting up Wi-Fi® and Bluetooth® connections" on page 34) ❖ Connect an external monitor via the Micro HDMI® Out port (see "Using external devices" on page 83) Using an external keyboard If you prefer to use an external keyboard, you can attach one to your device by pairing a Bluetooth® enabled keyboard using the available Bluetooth® connectivity on your device. For more information, see "Setting up Wi-Fi® and Bluetooth® connections" on page 34 and "Using external devices" on page 83. NOTE Some keyboard functionality may not be supported. Using an external mouse You may want to use an external mouse instead of the device's touch screen. You can attach one to your device by pairing a Bluetooth® enabled mouse using the available Bluetooth® connectivity on you device. For more information, see "Setting up Wi-Fi® and Bluetooth® connections" on page 34 and "Using external devices" on page 83. NOTE Some mouse functionality may not be supported.
-
 1
1 -
2
-
3
-
4
-
5
-
6
-
7
-
8
-
9
-
10
-
11
-
12
-
13
-
14
-
15
-
16
-
17
-
18
-
19
-
20
-
21
-
22
-
23
-
24
-
25
-
26
-
27
-
28
-
29
-
30
-
31
-
32
-
33
-
34
-
35
-
36
-
37
-
38
-
39
-
40
-
41
-
42
-
43
-
44
-
45
-
46
-
47
-
48
-
49
-
50
-
51
-
52
-
53
-
54
-
55
-
56
-
57
-
58
-
59
-
60
-
61
-
62
-
63
-
64
-
65
-
66
-
67
-
68
-
69
-
70
-
71
-
72
-
73
-
74
-
75
-
76
-
 77
77 -
 78
78 -
 79
79 -
 80
80 -
 81
81 -
 82
82 -
 83
83 -
 84
84 -
 85
85 -
 86
86 -
 87
87 -
88
-
89
-
90
-
91
-
92
-
93
-
94
-
95
-
96
-
97
-
98
-
99
-
100
-
101
-
102
-
103
-
104
-
105
-
106
-
107
-
108
-
109
-
110
-
111
-
112
-
113
-
114
-
115
-
116
-
117
 |
 |