Toshiba Excite AT205-SP0101M User Guide 1 - Page 32
Setting the date and time, Sign in to your Google™ Account
 |
View all Toshiba Excite AT205-SP0101M manuals
Add to My Manuals
Save this manual to your list of manuals |
Page 32 highlights
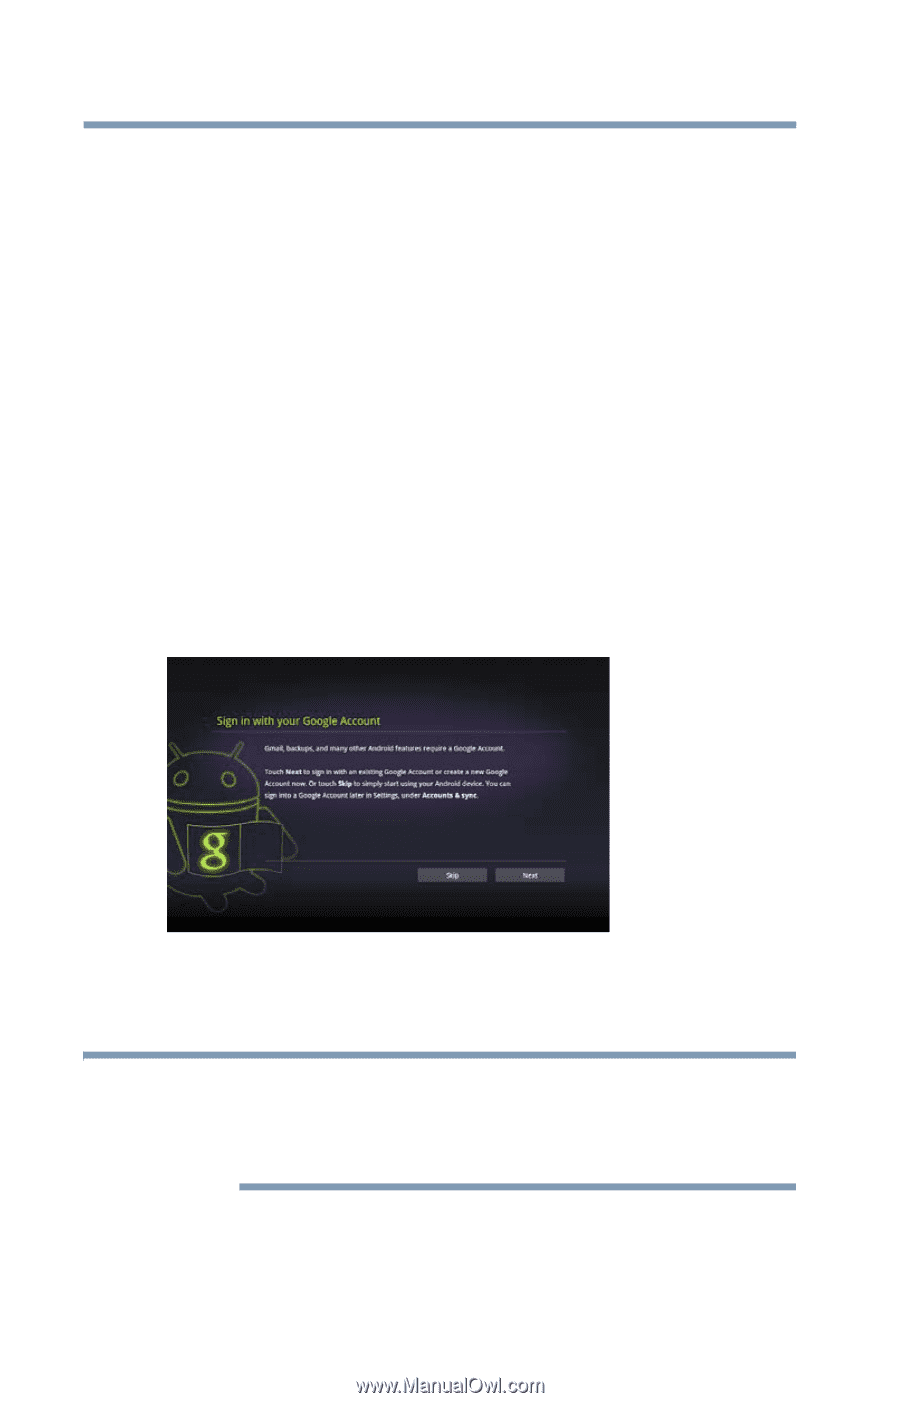
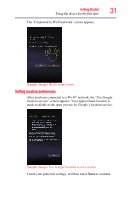
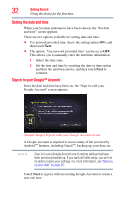
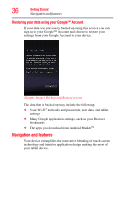
32 Getting Started Using the device for the first time Setting the date and time When your location preferences have been chosen, the "Set date and time" screen appears. There are two options available for setting date and time: ❖ Use network provided time (leave the setting option ON), and then touch Next. ❖ The option, "Use network provided time" can be set to OFF. This allows you to manually enter the date/time information. 1 Select the time zone. 2 Set the date and time by touching the date or time option and then the up/down arrows, and then touch Next to continue. Sign in to your Google™ Account Once the date and time have been set, the "Sign in with your Google Account" screen appears. (Sample Image) Sign in with your Google Account screen A Google Account is required to access many of the powered by AndroidTM features, including GmailTM, backing up your data, etc. NOTE Sign in to your Google Account now to restore settings that have been previously backed up. If you wait until after setup, you will not be able to restore your settings. For more information, see "Backing up your data" on page 35. Touch Next to sign in with an existing Google Account or create a new one now.
-
 1
1 -
2
-
3
-
4
-
5
-
6
-
7
-
8
-
9
-
10
-
11
-
12
-
13
-
14
-
15
-
16
-
17
-
18
-
19
-
20
-
21
-
22
-
23
-
24
-
25
-
26
-
 27
27 -
 28
28 -
 29
29 -
 30
30 -
 31
31 -
 32
32 -
 33
33 -
 34
34 -
 35
35 -
 36
36 -
 37
37 -
38
-
39
-
40
-
41
-
42
-
43
-
44
-
45
-
46
-
47
-
48
-
49
-
50
-
51
-
52
-
53
-
54
-
55
-
56
-
57
-
58
-
59
-
60
-
61
-
62
-
63
-
64
-
65
-
66
-
67
-
68
-
69
-
70
-
71
-
72
-
73
-
74
-
75
-
76
-
77
-
78
-
79
-
80
-
81
-
82
-
83
-
84
-
85
-
86
-
87
-
88
-
89
-
90
-
91
-
92
-
93
-
94
-
95
-
96
-
97
-
98
-
99
-
100
-
101
-
102
-
103
-
104
-
105
-
106
-
107
-
108
-
109
-
110
-
111
-
112
-
113
-
114
-
115
-
116
-
117
 |
 |