Toshiba Satellite 1800-S254 User Guide - Page 54
Connecting the AC adapter, The AC adapter enables you to power the computer from an AC
 |
View all Toshiba Satellite 1800-S254 manuals
Add to My Manuals
Save this manual to your list of manuals |
Page 54 highlights
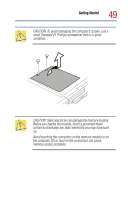
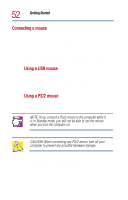
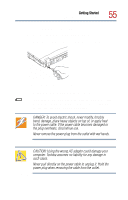
54 Getting Started Setting up your computer The following instructions assume you have a parallel printer, which is the most common type. 1 Connect the printer cable to the printer and to the computer's parallel port. To the computer To the printer Identifying the ends of a parallel printer cable 2 Plug the printer's power cable into a live AC outlet. Refer to your printer documentation for additional configuration steps. Connecting the AC adapter The AC adapter enables you to power the computer from an AC outlet and to charge the computer's batteries. A status light on the AC adapter glows when the device is in use. AC adapter and power cable
-
 1
1 -
2
-
3
-
4
-
5
-
6
-
7
-
8
-
9
-
10
-
11
-
12
-
13
-
14
-
15
-
16
-
17
-
18
-
19
-
20
-
21
-
22
-
23
-
24
-
25
-
26
-
27
-
28
-
29
-
30
-
31
-
32
-
33
-
34
-
35
-
36
-
37
-
38
-
39
-
40
-
41
-
42
-
43
-
44
-
45
-
46
-
47
-
48
-
 49
49 -
 50
50 -
 51
51 -
 52
52 -
 53
53 -
 54
54 -
 55
55 -
 56
56 -
 57
57 -
 58
58 -
 59
59 -
60
-
61
-
62
-
63
-
64
-
65
-
66
-
67
-
68
-
69
-
70
-
71
-
72
-
73
-
74
-
75
-
76
-
77
-
78
-
79
-
80
-
81
-
82
-
83
-
84
-
85
-
86
-
87
-
88
-
89
-
90
-
91
-
92
-
93
-
94
-
95
-
96
-
97
-
98
-
99
-
100
-
101
-
102
-
103
-
104
-
105
-
106
-
107
-
108
-
109
-
110
-
111
-
112
-
113
-
114
-
115
-
116
-
117
-
118
-
119
-
120
-
121
-
122
-
123
-
124
-
125
-
126
-
127
-
128
-
129
-
130
-
131
-
132
-
133
-
134
-
135
-
136
-
137
-
138
-
139
-
140
-
141
-
142
-
143
-
144
-
145
-
146
-
147
-
148
-
149
-
150
-
151
-
152
-
153
-
154
-
155
-
156
-
157
-
158
-
159
-
160
-
161
-
162
-
163
-
164
-
165
-
166
-
167
-
168
-
169
-
170
-
171
-
172
-
173
-
174
-
175
-
176
-
177
-
178
-
179
-
180
-
181
-
182
-
183
-
184
-
185
-
186
-
187
-
188
-
189
-
190
-
191
-
192
-
193
-
194
-
195
-
196
-
197
-
198
-
199
-
200
-
201
-
202
-
203
-
204
-
205
-
206
-
207
-
208
-
209
-
210
-
211
-
212
-
213
-
214
-
215
-
216
-
217
-
218
-
219
-
220
-
221
-
222
-
223
-
224
-
225
-
226
-
227
-
228
-
229
-
230
-
231
-
232
-
233
-
234
-
235
-
236
-
237
-
238
-
239
-
240
-
241
-
242
-
243
-
244
-
245
-
246
-
247
-
248
-
249
-
250
-
251
-
252
-
253
-
254
-
255
-
256
-
257
-
258
-
259
-
260
-
261
 |
 |
54
Getting Started
Setting up your computer
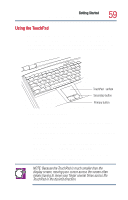
The following instructions assume you have a parallel printer,
which is the most common type.
1
Connect the printer cable to the printer and to the computer’s
parallel port.
Identifying the ends of a parallel printer cable
2
Plug the printer’s power cable into a live AC outlet.
Refer to your printer documentation for additional configuration
steps.
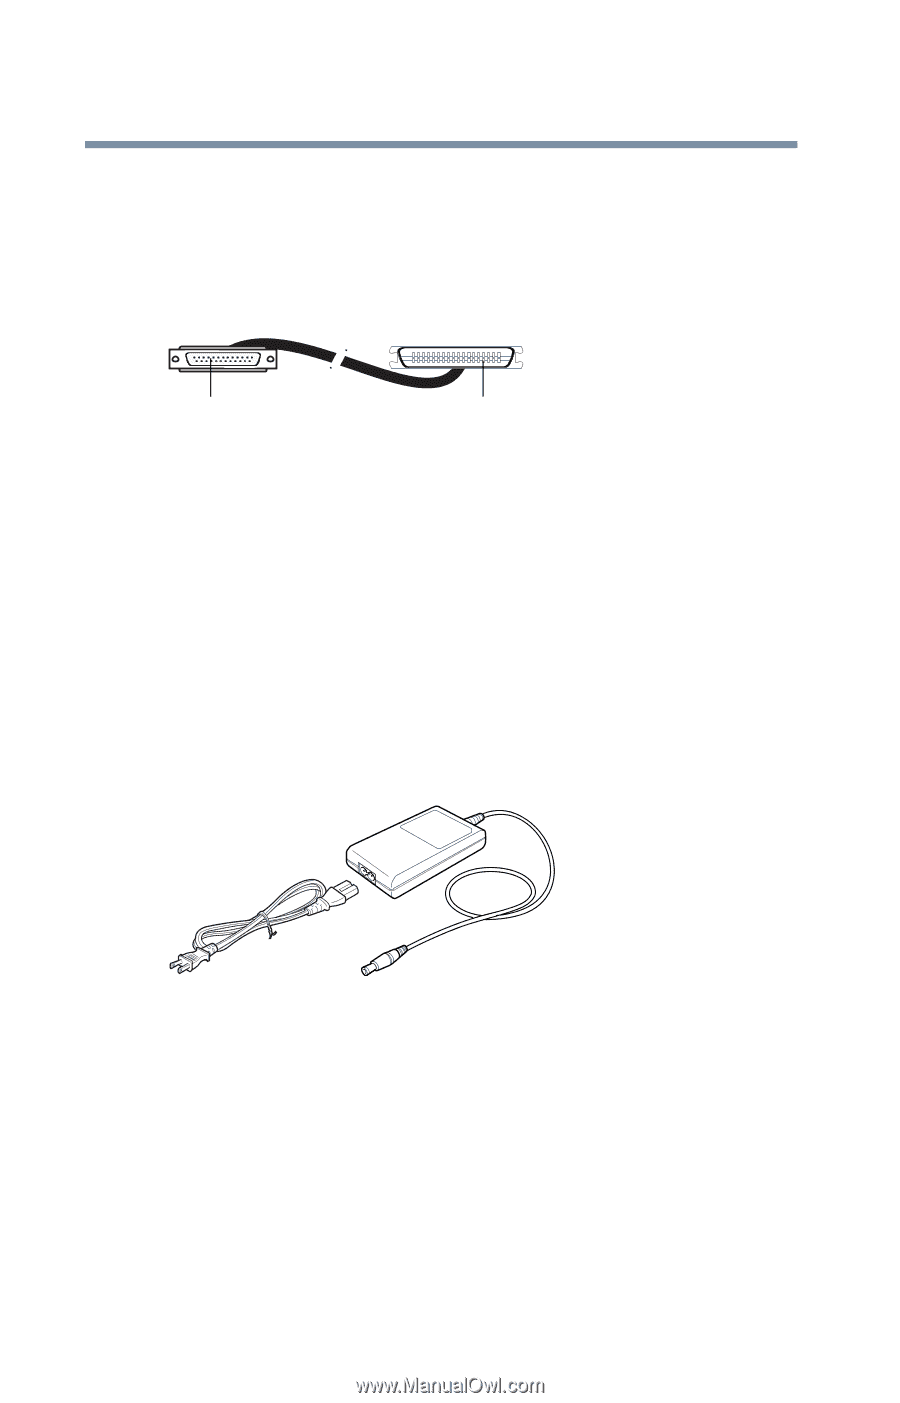
Connecting the AC adapter
The AC adapter enables you to power the computer from an AC
outlet and to charge the computer’s batteries. A status light on the
AC adapter glows when the device is in use.
AC adapter and power cable
To the computer
To the printer