HP P2035 HP LaserJet P2030 Series - Software Technical Reference - Page 100
Set a default printer, Congratulations! Software Installation complete - Other - driver download windows 7
 |
UPC - 884420093985
View all HP P2035 manuals
Add to My Manuals
Save this manual to your list of manuals |
Page 100 highlights
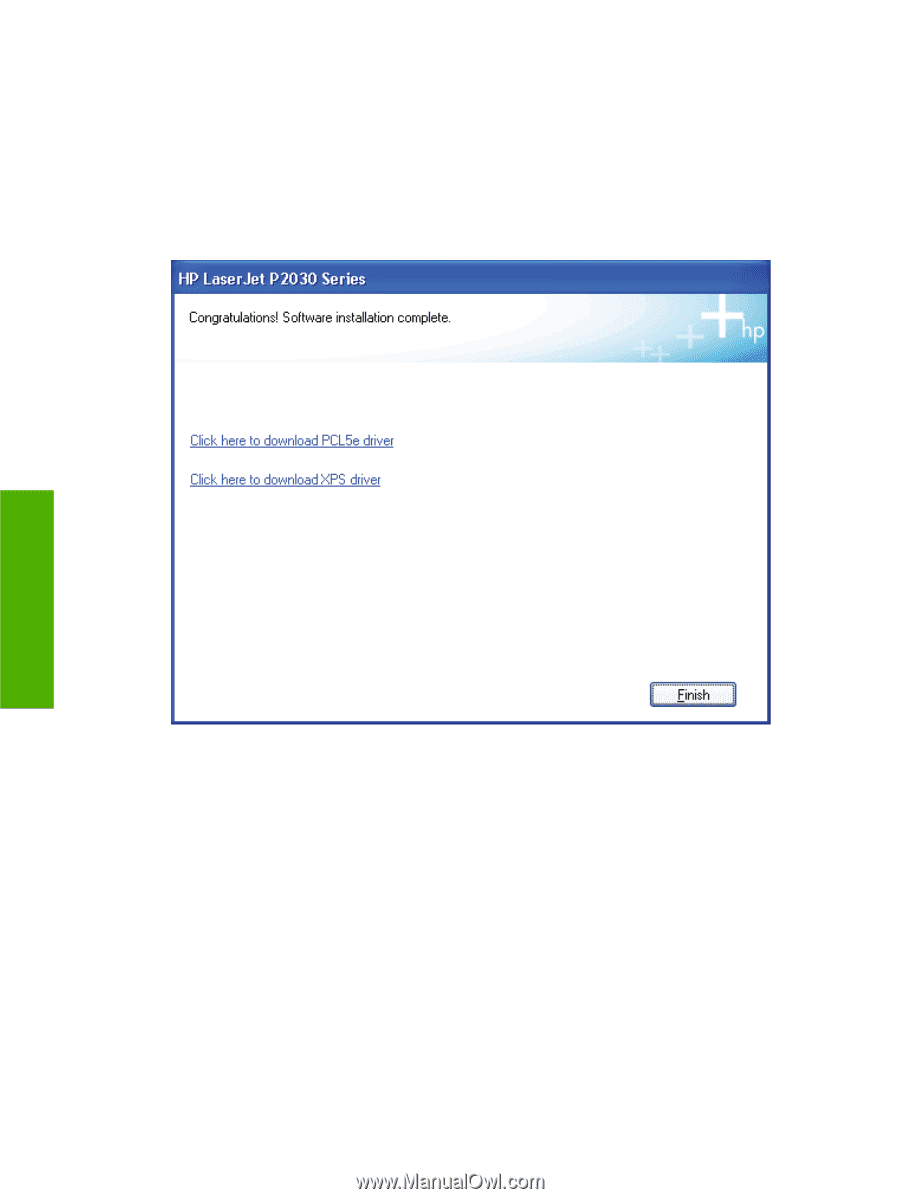
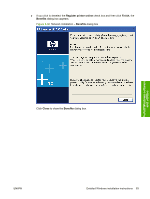
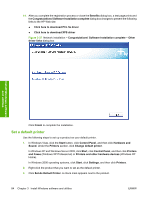
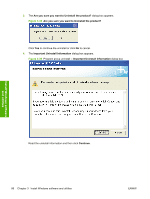
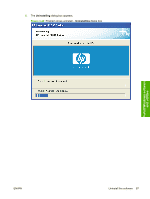
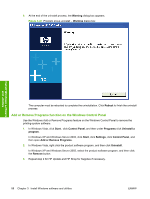
14. After you complete the registration process or close the Benefits dialog box, a test page prints and the Congratulations! Software Installation complete dialog box changes to present the following links to the HP Web site: ● Click here to download PCL 5e driver ● Click here to download XPS driver Figure 3-37 Network installation - Congratulations! Software Installation complete - Other driver links dialog box Install Windows software and utilities Click Finish to complete the installation. Set a default printer Use the following steps to set up a product as your default printer. 1. In Windows Vista, click the Start button, click Control Panel, and then click Hardware and Sound. Under the Printers section, click Change default printer. In Windows XP and Windows Server 2003, click Start, click Control Panel, and then click Printers and Faxes (Windows XP Professional) or Printers and other hardware devices (Windows XP Home). In Windows 2000 operating systems, click Start, click Settings, and then click Printers. 2. Right-click the product that you want to set as the default printer. 3. Click Set As Default Printer. A check mark appears next to the product. 84 Chapter 3 Install Windows software and utilities ENWW
-
 1
1 -
2
-
3
-
4
-
5
-
6
-
7
-
8
-
9
-
10
-
11
-
12
-
13
-
14
-
15
-
16
-
17
-
18
-
19
-
20
-
21
-
22
-
23
-
24
-
25
-
26
-
27
-
28
-
29
-
30
-
31
-
32
-
33
-
34
-
35
-
36
-
37
-
38
-
39
-
40
-
41
-
42
-
43
-
44
-
45
-
46
-
47
-
48
-
49
-
50
-
51
-
52
-
53
-
54
-
55
-
56
-
57
-
58
-
59
-
60
-
61
-
62
-
63
-
64
-
65
-
66
-
67
-
68
-
69
-
70
-
71
-
72
-
73
-
74
-
75
-
76
-
77
-
78
-
79
-
80
-
81
-
82
-
83
-
84
-
85
-
86
-
87
-
88
-
89
-
90
-
91
-
92
-
93
-
94
-
 95
95 -
 96
96 -
 97
97 -
 98
98 -
 99
99 -
 100
100 -
 101
101 -
 102
102 -
 103
103 -
 104
104 -
 105
105 -
106
-
107
-
108
-
109
-
110
-
111
-
112
-
113
-
114
-
115
-
116
-
117
-
118
-
119
-
120
-
121
-
122
-
123
-
124
-
125
-
126
-
127
-
128
-
129
-
130
-
131
-
132
-
133
-
134
-
135
-
136
-
137
-
138
-
139
-
140
-
141
-
142
-
143
-
144
-
145
-
146
-
147
-
148
-
149
-
150
-
151
-
152
-
153
-
154
-
155
-
156
-
157
-
158
-
159
-
160
-
161
-
162
-
163
-
164
-
165
-
166
-
167
-
168
-
169
-
170
-
171
-
172
-
173
-
174
-
175
-
176
 |
 |