Konica Minolta bizhub C364e PageScope Authentication Manager User Manual Versi - Page 28
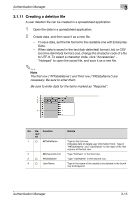
Creating an import file
 |
View all Konica Minolta bizhub C364e manuals
Add to My Manuals
Save this manual to your list of manuals |
Page 28 highlights
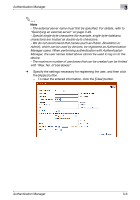
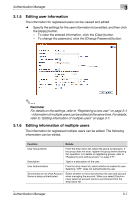
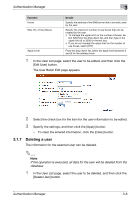
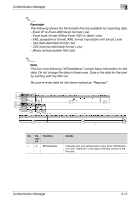
Authentication Manager 3 2 Note Specifying incorrect information in "Password" may import incorrect information. 2 Reminder Clicking the [Start Import] button displays a confirmation message. If a deletion file has been imported, the corresponding users are deleted. Because deleted users cannot be restored, check the contents to be deleted carefully and click the [OK] button. For details on the result page, refer to "Checking the import result" on page 3-16. 3.1.10 Creating an import file A file to be imported can be created in a spreadsheet application. 2 Reminder - You can create an import file by clicking the [Export] button to export a file, then entering the data. For details on editing the exported file in a spreadsheet application, refer to "Editing an exported file" on page 3-32. - When registering IC card information (IC card type and IC card ID) or biometric authentication information (biometric unit No., biometric information device name, biometric information type and biometric information), create an import file with Registration Tool. For details on using Registration Tool, refer to the Help for the application. 1 Open the data in a spreadsheet application. 2 Create data, and then save it as a new file. - To save data, set the file format to the readable one with Enterprise Suite. - When data is saved in the text (tab-delimited) format (.txt) or CSV (comma-delimited) format (.csv), change the character code of a file to UTF-8. To select a character code, click "Accessories" "Notepad" to open the saved file, and save it as a new file. Authentication Manager 3-11
-
 1
1 -
2
-
3
-
4
-
5
-
6
-
7
-
8
-
9
-
10
-
11
-
12
-
13
-
14
-
15
-
16
-
17
-
18
-
19
-
20
-
21
-
22
-
 23
23 -
 24
24 -
 25
25 -
 26
26 -
 27
27 -
 28
28 -
 29
29 -
 30
30 -
 31
31 -
 32
32 -
 33
33 -
34
-
35
-
36
-
37
-
38
-
39
-
40
-
41
-
42
-
43
-
44
-
45
-
46
-
47
-
48
-
49
-
50
-
51
-
52
-
53
-
54
-
55
-
56
-
57
-
58
-
59
-
60
-
61
-
62
-
63
-
64
-
65
-
66
-
67
-
68
-
69
-
70
-
71
-
72
-
73
-
74
-
75
-
76
-
77
-
78
-
79
-
80
-
81
-
82
-
83
-
84
-
85
-
86
-
87
-
88
-
89
-
90
-
91
-
92
-
93
-
94
-
95
-
96
-
97
-
98
-
99
-
100
-
101
-
102
-
103
-
104
-
105
-
106
-
107
-
108
-
109
-
110
-
111
-
112
-
113
-
114
-
115
-
116
-
117
-
118
-
119
-
120
-
121
-
122
-
123
-
124
-
125
-
126
-
127
-
128
-
129
-
130
-
131
-
132
-
133
-
134
-
135
-
136
-
137
-
138
-
139
-
140
-
141
-
142
-
143
-
144
-
145
-
146
-
147
-
148
-
149
-
150
-
151
-
152
-
153
-
154
-
155
-
156
-
157
-
158
-
159
-
160
-
161
-
162
-
163
-
164
-
165
-
166
-
167
-
168
-
169
-
170
-
171
-
172
-
173
-
174
-
175
-
176
-
177
-
178
-
179
-
180
-
181
-
182
-
183
-
184
-
185
-
186
-
187
-
188
 |
 |