Magnavox MWR10D6 Quick Guide - Page 68
Audio setting, Display setting cont'd
 |
View all Magnavox MWR10D6 manuals
Add to My Manuals
Save this manual to your list of manuals |
Page 68 highlights
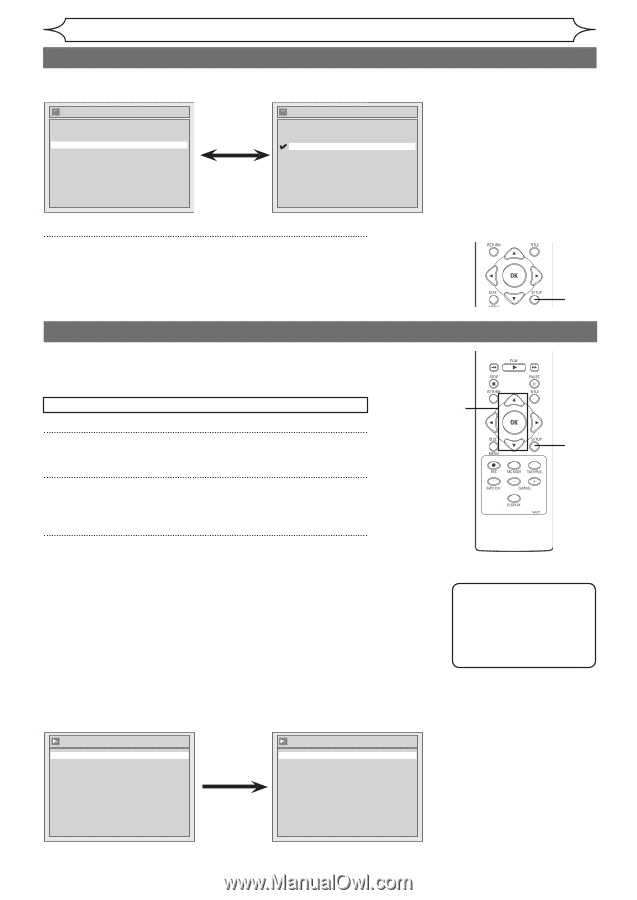
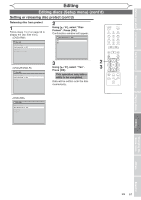
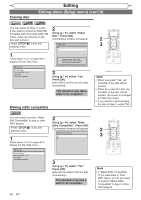
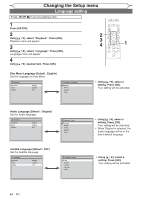
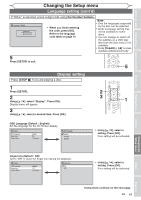
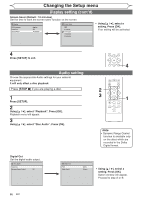
Changing the Setup menu Display setting (cont'd) Screen Saver (Default : 10 minutes) Set the time to work the screen saver function on the screen. Display OSD Language Angle Icon Screen Saver English ON 10 minutes Screen Saver OFF 5 minutes 10 minutes 15 minutes 30 minutes • Using [K / L], select a setting. Press [OK]. Your setting will be activated. 4 Press [SETUP] to exit. Audio setting Choose the appropriate Audio settings for your external equipment. It will only affect a disc playback. Press [STOP C] if you are playing a disc. 1 Press [SETUP]. 2 Using [K / L], select "Playback". Press [OK]. Playback menu will appear. 3 Using [K / L], select "Disc Audio". Press [OK]. 4 2 3 1 Note • Dynamic Range Control function is available only on the discs which are recorded in the Dolby Digital format. Digital Out Set the digital audio output. Disc Audio Digital Out Dynamic Range Control ON Digital Out PCM Dolby Digital 48kHz Stream • Using [K / L], select a setting. Press [OK]. Option window will appear. Proceed to step A or B. 66 EN
-
 1
1 -
2
-
3
-
4
-
5
-
6
-
7
-
8
-
9
-
10
-
11
-
12
-
13
-
14
-
15
-
16
-
17
-
18
-
19
-
20
-
21
-
22
-
23
-
24
-
25
-
26
-
27
-
28
-
29
-
30
-
31
-
32
-
33
-
34
-
35
-
36
-
37
-
38
-
39
-
40
-
41
-
42
-
43
-
44
-
45
-
46
-
47
-
48
-
49
-
50
-
51
-
52
-
53
-
54
-
55
-
56
-
57
-
58
-
59
-
60
-
61
-
62
-
 63
63 -
 64
64 -
 65
65 -
 66
66 -
 67
67 -
 68
68 -
 69
69 -
 70
70 -
 71
71 -
 72
72 -
 73
73 -
74
-
75
-
76
-
77
-
78
-
79
-
80
-
81
-
82
 |
 |