Sony MZ-N1 Operating Instructions - Page 42
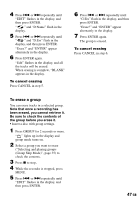
To release a group setting, MENU/ENTER, GROUP, Control key
 |
View all Sony MZ-N1 manuals
Add to My Manuals
Save this manual to your list of manuals |
Page 42 highlights
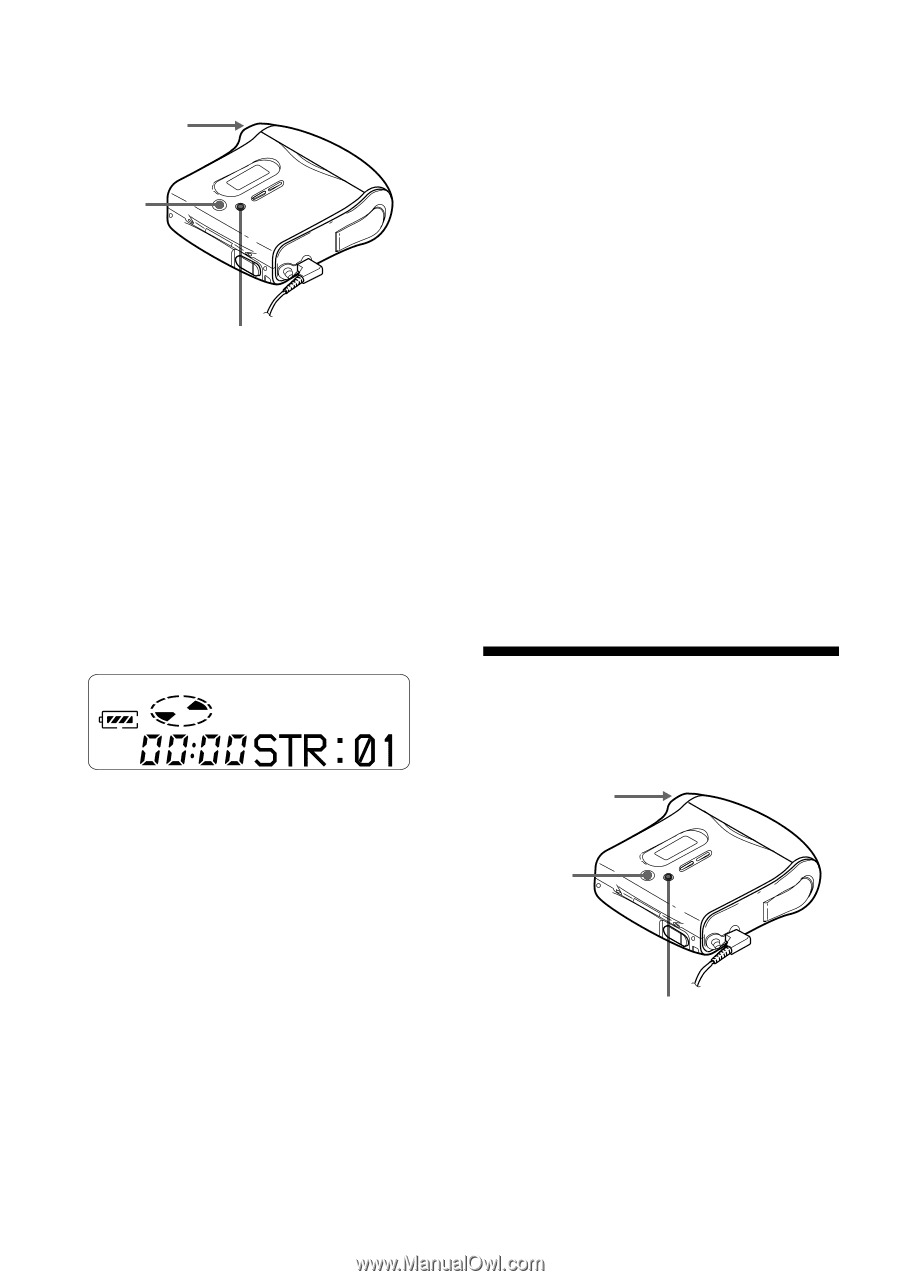
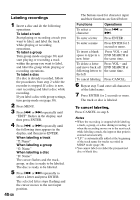
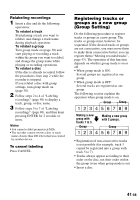
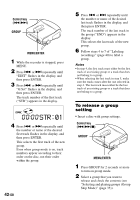
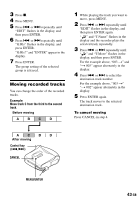
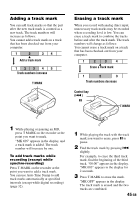
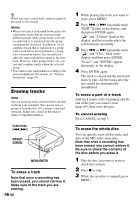
Control key (./>) GROUP MENU/ENTER 1 While the recorder is stopped, press MENU. 2 Press . or > repeatedly until "EDIT" flashes in the display, and then press ENTER. 3 Press . or > repeatedly until "G:Set" flashes in the display, and then press ENTER. The track number of the first track ("STR") appears in the display. 4 Press . or > repeatedly until the number or name of the desired first track flashes in the display, and then press ENTER. This selects the first track of the new group. Even when group mode is on, track numbers appear according to their order on the disc, not their order within the group. 42-GB 5 Press . or > repeatedly until the number or name of the desired last track flashes in the display, and then press ENTER. The track number of the last track in the group ("END") appears in the display. This selects the last track of the new group. 6 Follow steps 4 to 7 of "Labeling recordings" (page 40) to label a group. Notes • In step 4, the first track must either be the first track of an existing group or a track that does not belong to a group. • When selecting the last track in step 5, make sure the track comes after the one selected in step 4. The last track must either be the last track of an existing group or a track that does not belong to a group. To release a group setting • Insert a disc with group settings. Control key (./>/x) GROUP MENU/ENTER 1 Press GROUP for 2 seconds or more to turn on group mode. 2 Select a group that you want to release and check the contents (see "Selecting and playing groups (Group Skip Mode)" (page 35)).
-
 1
1 -
2
-
3
-
4
-
5
-
6
-
7
-
8
-
9
-
10
-
11
-
12
-
13
-
14
-
15
-
16
-
17
-
18
-
19
-
20
-
21
-
22
-
23
-
24
-
25
-
26
-
27
-
28
-
29
-
30
-
31
-
32
-
33
-
34
-
35
-
36
-
 37
37 -
 38
38 -
 39
39 -
 40
40 -
 41
41 -
 42
42 -
 43
43 -
 44
44 -
 45
45 -
 46
46 -
 47
47 -
48
-
49
-
50
-
51
-
52
-
53
-
54
-
55
-
56
-
57
-
58
-
59
-
60
-
61
-
62
-
63
-
64
-
65
-
66
-
67
-
68
-
69
-
70
-
71
-
72
-
73
-
74
-
75
-
76
-
77
-
78
-
79
-
80
-
81
-
82
-
83
-
84
-
85
-
86
-
87
-
88
-
89
-
90
-
91
-
92
-
93
-
94
-
95
-
96
-
97
-
98
-
99
-
100
-
101
-
102
-
103
-
104
-
105
-
106
-
107
-
108
-
109
-
110
-
111
-
112
-
113
-
114
-
115
-
116
-
117
-
118
-
119
-
120
-
121
-
122
-
123
-
124
-
125
-
126
-
127
-
128
-
129
-
130
-
131
-
132
-
133
-
134
-
135
-
136
-
137
-
138
-
139
-
140
-
141
-
142
-
143
-
144
-
145
-
146
-
147
-
148
-
149
-
150
-
151
-
152
-
153
-
154
-
155
-
156
-
157
-
158
-
159
-
160
-
161
-
162
-
163
-
164
-
165
-
166
-
167
-
168
-
169
-
170
-
171
-
172
-
173
-
174
-
175
-
176
-
177
-
178
-
179
-
180
-
181
-
182
-
183
-
184
-
185
-
186
-
187
-
188
-
189
-
190
-
191
-
192
-
193
-
194
-
195
-
196
-
197
-
198
-
199
-
200
-
201
-
202
-
203
-
204
-
205
-
206
-
207
-
208
 |
 |