Canon DC220 DC220 DC230 Instruction Manual - Page 35
Basic Functions - review
 |
UPC - 013803079500
View all Canon DC220 manuals
Add to My Manuals
Save this manual to your list of manuals |
Page 35 highlights
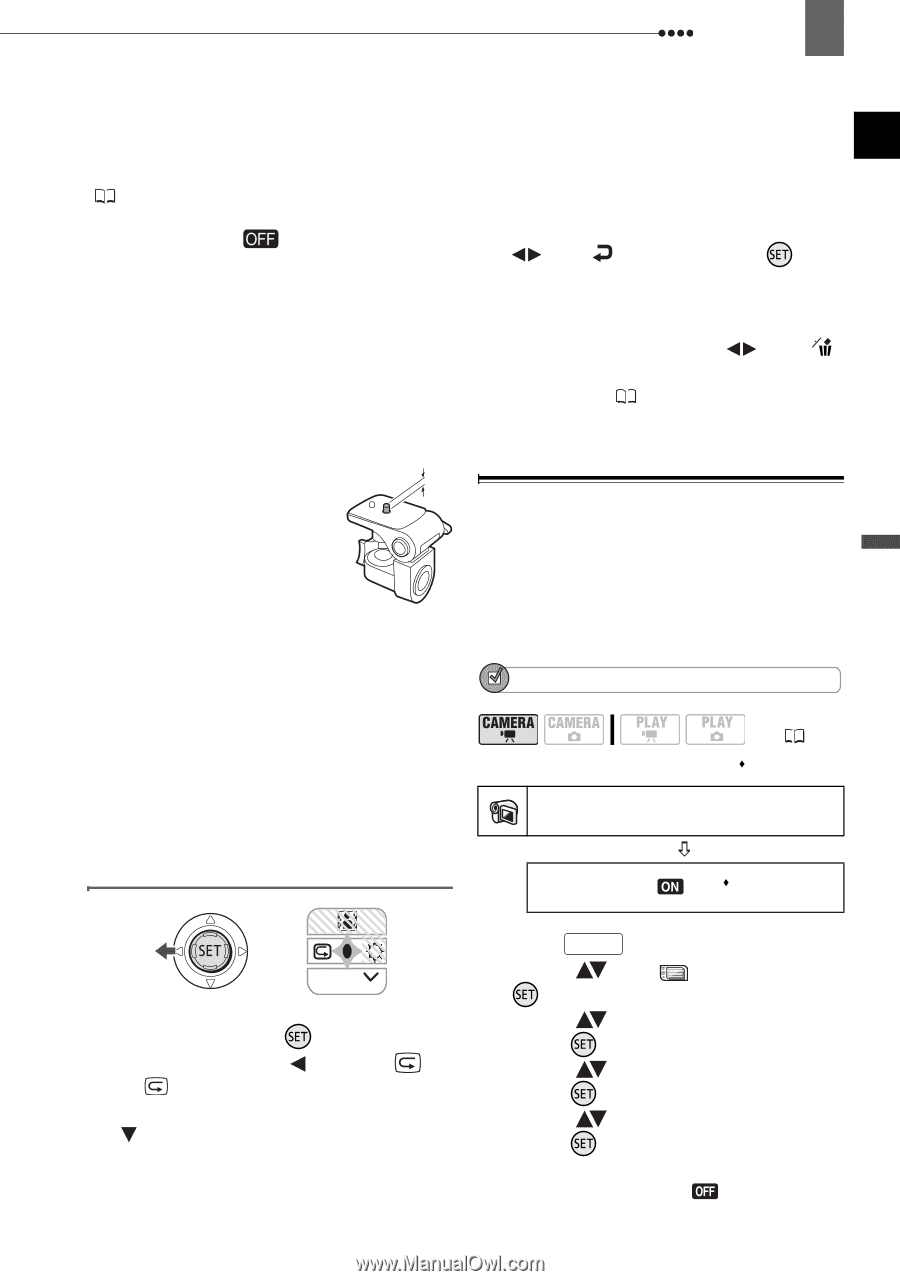
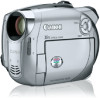
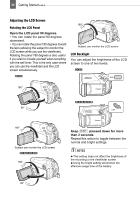
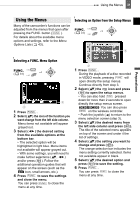
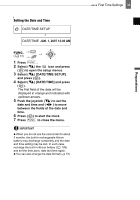
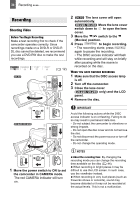
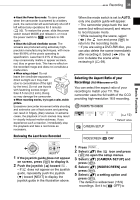
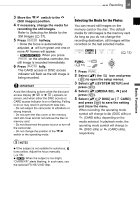
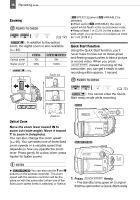
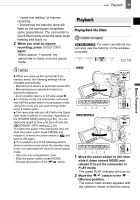
Recording 35 Basic Functions About the Power Save mode: To save power when the camcorder is powered by a battery pack, the camcorder will automatically shut off if left without any operations for 5 minutes ( 50). To restore the power, slide the power switch toward MODE and release it, or move the power switch to and back to ON again. About the LCD and viewfinder screen: The screens are produced using extremely high- precision manufacturing techniques, with more than 99.99% of the pixels operating to specification. Less than 0.01% of the pixels may occasionally misfire or appear as black, red, blue or green dots. This has no effect on the recorded image and does not constitute a malfunction. When using a tripod: Do not leave the viewfinder exposed to direct sunlight as it may melt (due to concentration of the light by the lens). Do not use tripods with fastening screws longer than 5.5 mm (0.2 inch). Doing so may damage the camcorder. When recording movies, try to get a calm, stable picture. Excessive camcorder movement while shooting and extensive use of fast zooms and panning can result in fidgety, jittery scenes. In extreme cases, the playback of such scenes may result in visually induced motion sickness. If you experience such a reaction, immediately stop the playback and take a rest break as necessary. When the mode switch is set to AUTO, only one joystick guide will appear. • The camcorder plays back the last scene (but without sound) and returns to record pause mode. • While reviewing the scene, select ( ) the icon and press ( ) to return to the recording mode. • If you are using a DVD-RW disc, you can also delete the scene immediately after recording it. Select ( ) the icon to delete the scene while reviewing it ( 69). Selecting the Aspect Ratio of your Recordings (16:9 Widescreen or 4:3) You can select the aspect ratio of your recording to match your TV. The camcorder uses the full width of the CCD providing high-resolution 16:9 recording. POINTS TO CHECK CAMERA SETUP ( 12) Default value Reviewing the Last Scene Recorded WIDESCREEN ON NEXT 1 If the joystick guide does not appear on screen, press ( ) to display it. 2 Push the joystick ( ) toward . • If does not appear on the joystick guide, repeatedly push the joystick ( ) toward [NEXT] to display the joystick guide in the illustration above. 1 Press FUNC. . 2 Select ( ) the icon and press ( ) to open the setup menus. 3 Select ( ) [CAMERA SETUP] and press ( ). 4 Select ( ) [WIDESCREEN] and press ( ). 5 Select ( ) a setting option and press ( ). The default is widescreen (16:9) recordings. Set it to [ OFF] to
-
 1
1 -
2
-
3
-
4
-
5
-
6
-
7
-
8
-
9
-
10
-
11
-
12
-
13
-
14
-
15
-
16
-
17
-
18
-
19
-
20
-
21
-
22
-
23
-
24
-
25
-
26
-
27
-
28
-
29
-
 30
30 -
 31
31 -
 32
32 -
 33
33 -
 34
34 -
 35
35 -
 36
36 -
 37
37 -
 38
38 -
 39
39 -
 40
40 -
41
-
42
-
43
-
44
-
45
-
46
-
47
-
48
-
49
-
50
-
51
-
52
-
53
-
54
-
55
-
56
-
57
-
58
-
59
-
60
-
61
-
62
-
63
-
64
-
65
-
66
-
67
-
68
-
69
-
70
-
71
-
72
-
73
-
74
-
75
-
76
-
77
-
78
-
79
-
80
-
81
-
82
-
83
-
84
-
85
-
86
-
87
-
88
-
89
-
90
-
91
-
92
-
93
-
94
-
95
-
96
-
97
-
98
-
99
-
100
-
101
-
102
-
103
-
104
-
105
-
106
-
107
-
108
-
109
-
110
-
111
-
112
-
113
-
114
-
115
-
116
-
117
-
118
-
119
-
120
-
121
-
122
-
123
 |
 |