Canon EOS C300 Instruction Manual - Page 41
Attaching the Handle Unit, Attaching a Shoulder Strap, Adjusting the Grip Belt
 |
View all Canon EOS C300 manuals
Add to My Manuals
Save this manual to your list of manuals |
Page 41 highlights
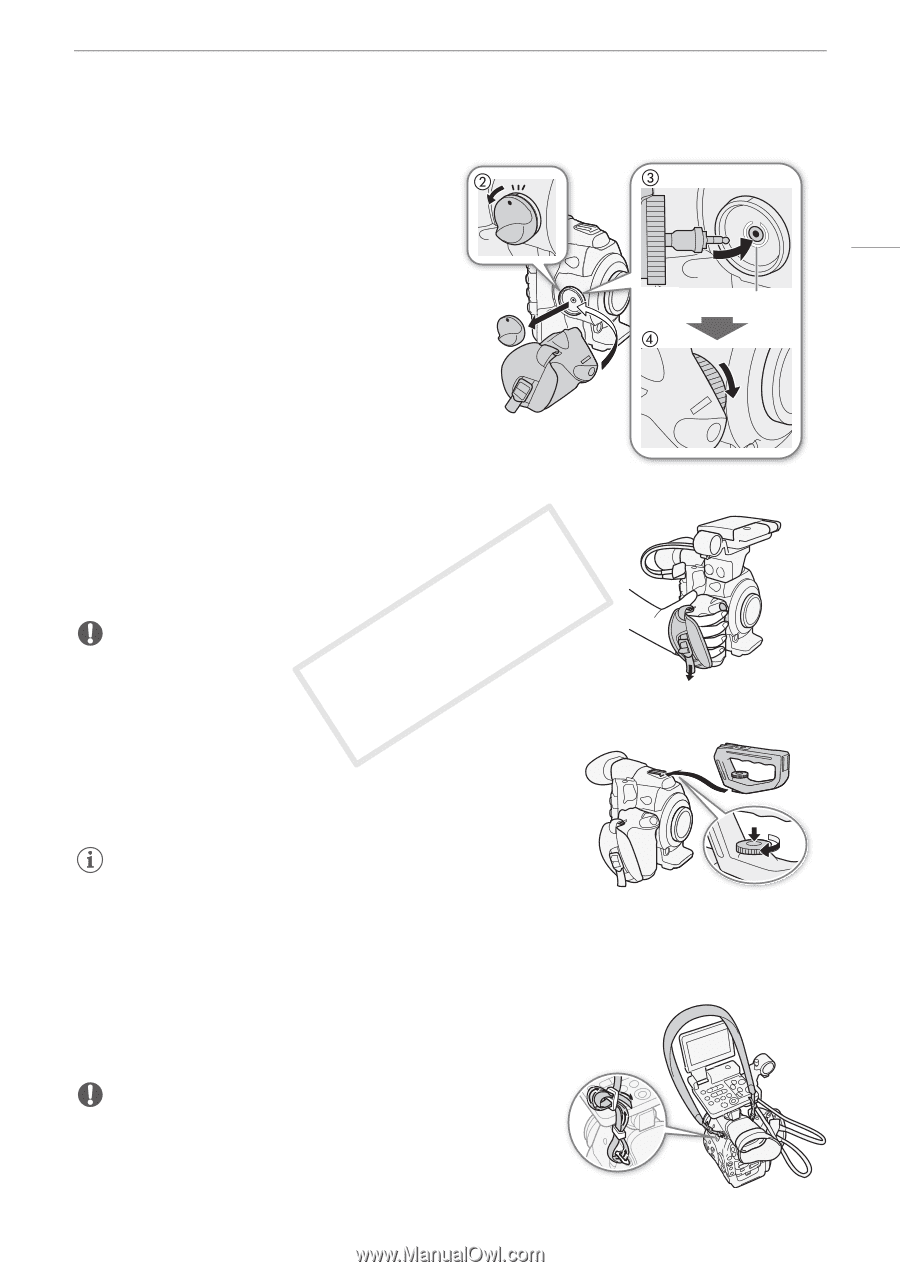
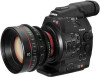
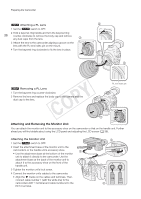
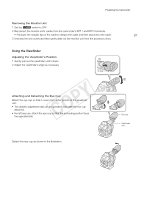
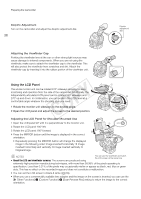
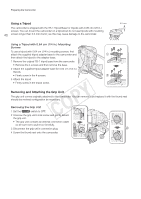
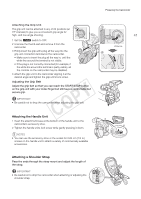
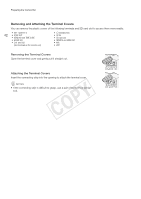
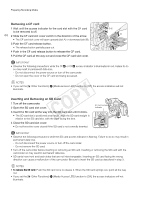
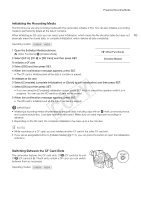
Preparing the Camcorder Attaching the Grip Unit The grip unit can be attached in any of 24 positions (at 15º intervals) to give you a convenient grip angle for high- and low-angle shooting. 1 Set the Q switch to OFF. 2 Unscrew the thumb rest and remove it from the camcorder. 3 Firmly insert the grip unit's plug all the way into the grip unit connection terminal on the camcorder. • Make sure to insert the plug all the way in, until the white line around the terminal is not visible. • If the plug is not correctly connected (for example, if the white line around the terminal is partly visible), all the controls on the camcorder may be disabled. 4 Attach the grip unit to the camcorder aligning it at the desired angle and tighten the grip unit's lock screw. Adjusting the Grip Belt Adjust the grip belt so that you can reach the START/STOP button on the grip unit with your index finger but still have a comfortable but secure grip. IMPORTANT • Be careful not to drop the camcorder when adjusting the grip belt. Attaching the Handle Unit 1 Insert the attachment base at the bottom of the handle unit to the camcorder's accessory shoe. 2 Tighten the handle unit's lock screw while gently pressing it down. NOTES • You can use the accessory shoe or the socket for 0.64 cm (1/4 in.) screws on the handle unit to attach a variety of commercially available accessories. Attaching a Shoulder Strap Pass the ends through the strap mount and adjust the length of the strap. IMPORTANT • Be careful not to drop the camcorder when attaching or adjusting the shoulder strap. 41 White line ቢ ባ
-
 1
1 -
2
-
3
-
4
-
5
-
6
-
7
-
8
-
9
-
10
-
11
-
12
-
13
-
14
-
15
-
16
-
17
-
18
-
19
-
20
-
21
-
22
-
23
-
24
-
25
-
26
-
27
-
28
-
29
-
30
-
31
-
32
-
33
-
34
-
35
-
 36
36 -
 37
37 -
 38
38 -
 39
39 -
 40
40 -
 41
41 -
 42
42 -
 43
43 -
 44
44 -
 45
45 -
 46
46 -
47
-
48
-
49
-
50
-
51
-
52
-
53
-
54
-
55
-
56
-
57
-
58
-
59
-
60
-
61
-
62
-
63
-
64
-
65
-
66
-
67
-
68
-
69
-
70
-
71
-
72
-
73
-
74
-
75
-
76
-
77
-
78
-
79
-
80
-
81
-
82
-
83
-
84
-
85
-
86
-
87
-
88
-
89
-
90
-
91
-
92
-
93
-
94
-
95
-
96
-
97
-
98
-
99
-
100
-
101
-
102
-
103
-
104
-
105
-
106
-
107
-
108
-
109
-
110
-
111
-
112
-
113
-
114
-
115
-
116
-
117
-
118
-
119
-
120
-
121
-
122
-
123
-
124
-
125
-
126
-
127
-
128
-
129
-
130
-
131
-
132
-
133
-
134
-
135
-
136
-
137
-
138
-
139
-
140
-
141
-
142
-
143
-
144
-
145
-
146
-
147
-
148
-
149
-
150
-
151
-
152
-
153
-
154
-
155
-
156
-
157
-
158
-
159
-
160
-
161
-
162
-
163
-
164
-
165
-
166
-
167
-
168
-
169
-
170
-
171
-
172
-
173
-
174
-
175
-
176
-
177
-
178
-
179
-
180
-
181
-
182
-
183
-
184
-
185
-
186
-
187
-
188
-
189
-
190
-
191
-
192
-
193
-
194
-
195
-
196
-
197
-
198
-
199
-
200
-
201
-
202
 |
 |