Canon REALiS LCOS WUX10 Mark II D Multimedia Projector WUX10 MarkII Users Manu - Page 97
Prohibiting the Projector Operation, Setting up the Remote Control Channel
 |
View all Canon REALiS LCOS WUX10 Mark II D manuals
Add to My Manuals
Save this manual to your list of manuals |
Page 97 highlights
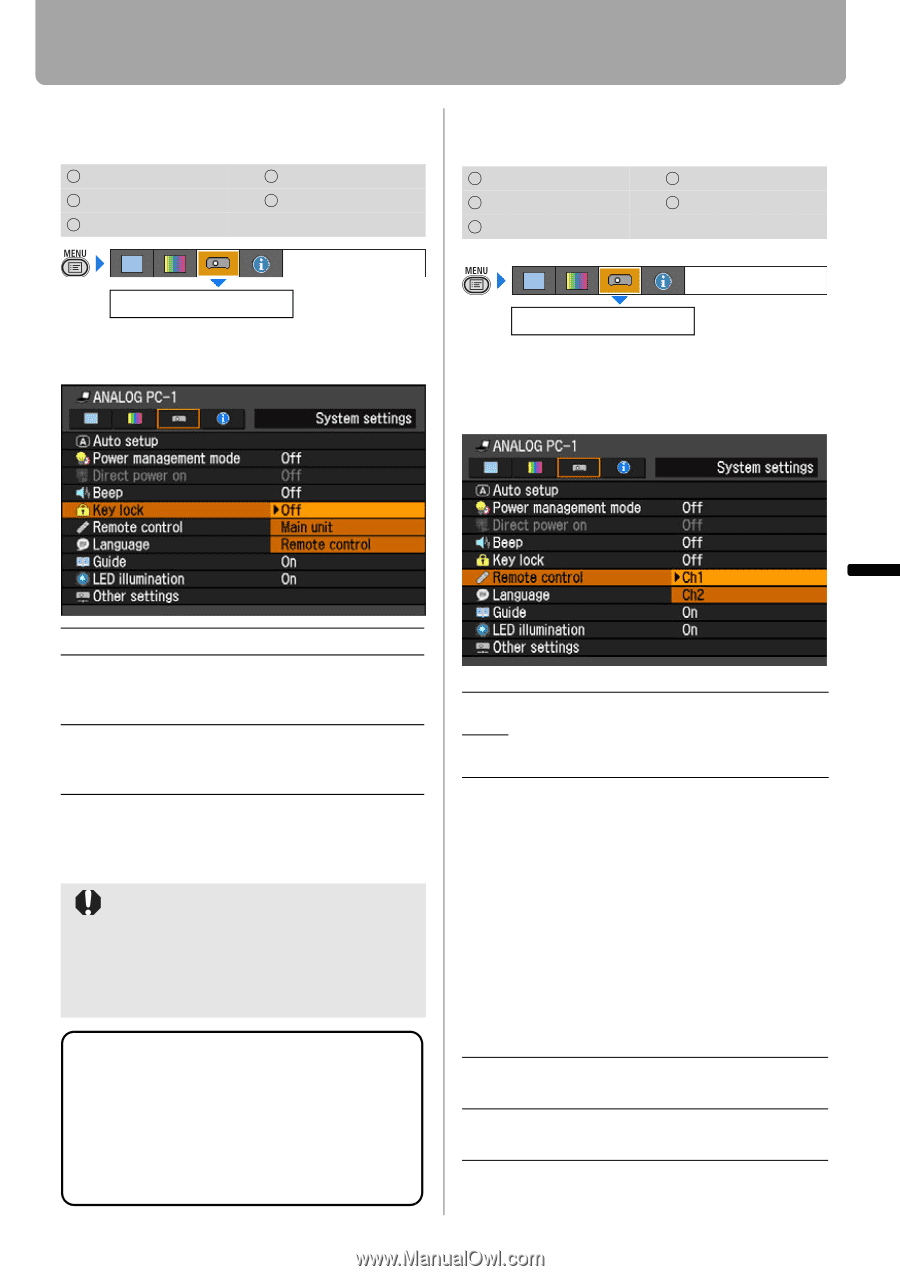
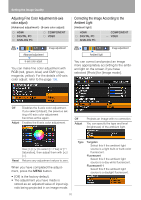
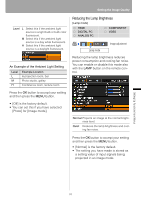
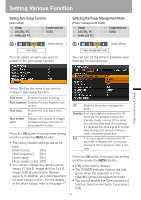
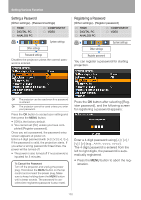
Setting Various Function Prohibiting the Projector Operation [Key lock] HDMI DIGITAL PC ANALOG PC COMPONENT VIDEO System settings Key lock You can prohibit the operation of the projector from either the top control or remote control. Setting up the Remote Control Channel [Remote control] HDMI DIGITAL PC ANALOG PC COMPONENT VIDEO Remote control System settings You can set different channels to different remote controls, if you use two projectors at the same time. Setting Up Functions from Menus < Off Main unit Remote control Disables the key lock. Prohibit the operation from the main unit. Use the remote control. Prohibit the operation from the remote control. Use the main unit. Press the OK button to accept your setting and then press the MENU button. • [Off] is the factory default. The key lock function becomes effective from the moment the OK button is pressed after selecting [Main unit] or [Remote control]. Be sure to press the OK button on the top control or remote control which is not locked. To Unlock Key Lock Function Turn off the projector and unplug the power plug. Hold down the OK button on the top control and connect the power plug. Make sure to keep holding down the OK button until a beep sounds. The key lock is unlocked. Ch1 Select the channel of the remote control used for this projector, and press the OK Ch2 button. Press the OK button to accept your setting and then press the MENU button. • The factory defaults is [Ch1] for both projector and remote control. • After changing the channel on the menu, be sure to change the channel of the remote control, too. Selecting a Channel on the Remote Control You can change the channel on the remote control as follows: Ch1 Press the OK button and [ ] for 3 seconds at the same time. Ch2 Press the OK button and [>] for 3 seconds at the same time. 97
-
 1
1 -
2
-
3
-
4
-
5
-
6
-
7
-
8
-
9
-
10
-
11
-
12
-
13
-
14
-
15
-
16
-
17
-
18
-
19
-
20
-
21
-
22
-
23
-
24
-
25
-
26
-
27
-
28
-
29
-
30
-
31
-
32
-
33
-
34
-
35
-
36
-
37
-
38
-
39
-
40
-
41
-
42
-
43
-
44
-
45
-
46
-
47
-
48
-
49
-
50
-
51
-
52
-
53
-
54
-
55
-
56
-
57
-
58
-
59
-
60
-
61
-
62
-
63
-
64
-
65
-
66
-
67
-
68
-
69
-
70
-
71
-
72
-
73
-
74
-
75
-
76
-
77
-
78
-
79
-
80
-
81
-
82
-
83
-
84
-
85
-
86
-
87
-
88
-
89
-
90
-
91
-
 92
92 -
 93
93 -
 94
94 -
 95
95 -
 96
96 -
 97
97 -
 98
98 -
 99
99 -
 100
100 -
 101
101 -
 102
102 -
103
-
104
-
105
-
106
-
107
-
108
-
109
-
110
-
111
-
112
-
113
-
114
-
115
-
116
-
117
-
118
-
119
-
120
-
121
-
122
-
123
-
124
-
125
-
126
-
127
-
128
-
129
-
130
-
131
-
132
-
133
-
134
-
135
-
136
-
137
-
138
-
139
-
140
-
141
-
142
-
143
-
144
-
145
-
146
 |
 |