Dell IP4700 Service Guide - Page 70
If the active LED is on steadily, press the latch and slowly pull
 |
View all Dell IP4700 manuals
Add to My Manuals
Save this manual to your list of manuals |
Page 70 highlights
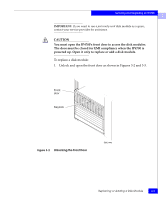
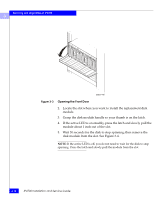
Servicing and Upgrading an IP4700 3 EMC1446 Figure 3-3 Opening the Front Door 2. Locate the slot where you want to install the replacement disk module. 3. Grasp the disk module handle so your thumb is on the latch. 4. If the active LED is on steadily, press the latch and slowly pull the module about 1 inch out of the slot. 5. Wait 30 seconds for the disk to stop spinning; then remove the disk module from the slot. See Figure 3-4. NOTE: If the active LED is off, you do not need to wait for the disk to stop spinning. Press the latch and slowly pull the module from the slot. 3-10 IP4700 Installation and Service Guide
-
 1
1 -
2
-
3
-
4
-
5
-
6
-
7
-
8
-
9
-
10
-
11
-
12
-
13
-
14
-
15
-
16
-
17
-
18
-
19
-
20
-
21
-
22
-
23
-
24
-
25
-
26
-
27
-
28
-
29
-
30
-
31
-
32
-
33
-
34
-
35
-
36
-
37
-
38
-
39
-
40
-
41
-
42
-
43
-
44
-
45
-
46
-
47
-
48
-
49
-
50
-
51
-
52
-
53
-
54
-
55
-
56
-
57
-
58
-
59
-
60
-
61
-
62
-
63
-
64
-
 65
65 -
 66
66 -
 67
67 -
 68
68 -
 69
69 -
 70
70 -
 71
71 -
 72
72 -
 73
73 -
 74
74 -
 75
75 -
76
-
77
-
78
-
79
-
80
-
81
-
82
-
83
-
84
-
85
-
86
-
87
-
88
-
89
-
90
-
91
-
92
-
93
-
94
-
95
-
96
-
97
-
98
-
99
-
100
-
101
-
102
-
103
-
104
-
105
-
106
-
107
-
108
-
109
-
110
-
111
-
112
-
113
-
114
-
115
-
116
-
117
-
118
-
119
-
120
-
121
-
122
-
123
-
124
-
125
-
126
 |
 |
3
3-10
IP4700 Installation and Service Guide
Servicing and Upgrading an IP4700
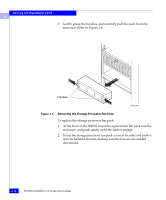
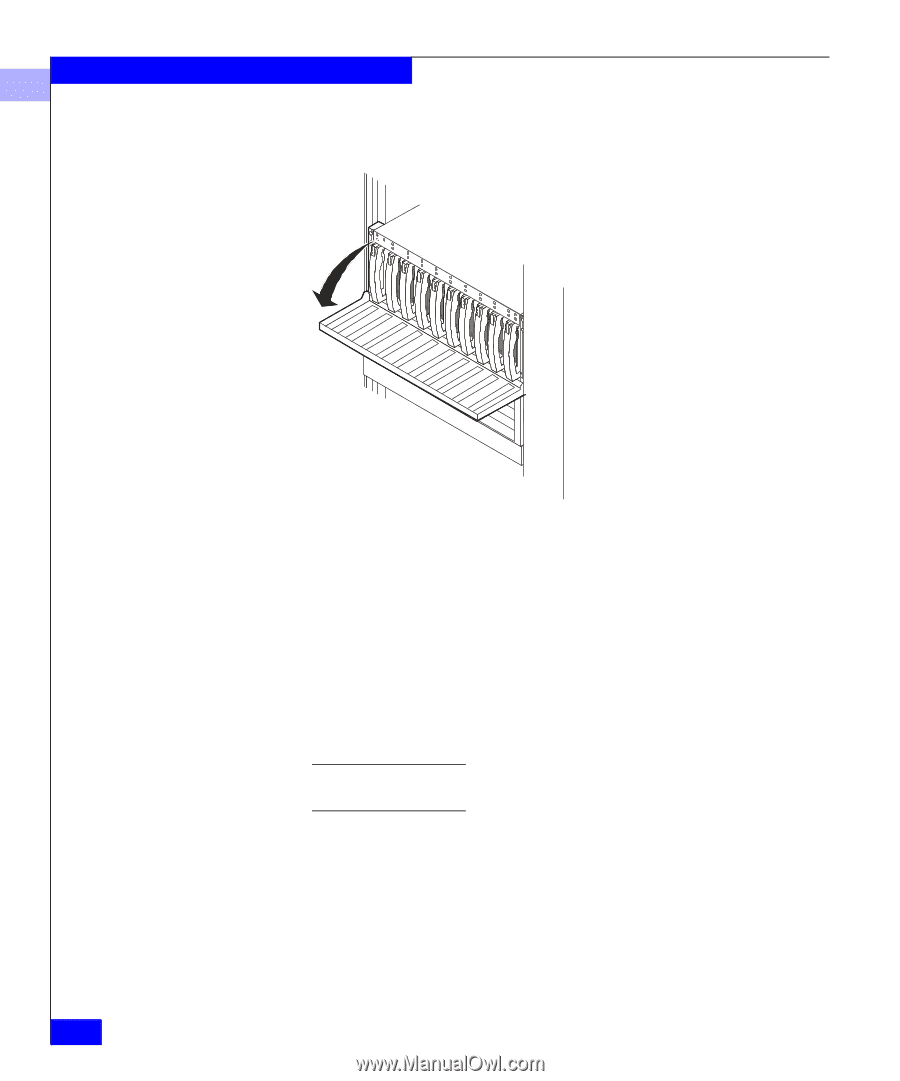
Figure 3-3
Opening the Front Door
2.
Locate the slot where you want to install the replacement disk
module.
3.
Grasp the disk module handle so your thumb is on the latch.
4.
If the active LED is on steadily, press the latch and slowly pull the
module about 1 inch out of the slot.
5.
Wait 30 seconds for the disk to stop spinning; then remove the
disk module from the slot. See Figure 3-4.
NOTE:
If the active LED is off, you do not need to wait for the disk to stop
spinning. Press the latch and slowly pull the module from the slot.
EMC1446