Epson Stylus Photo R300M User Manual - Page 27
Selecting the Correct Paper Type, Photos on Cropping and Sizing Your Photos
 |
View all Epson Stylus Photo R300M manuals
Add to My Manuals
Save this manual to your list of manuals |
Page 27 highlights
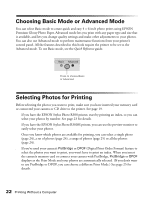
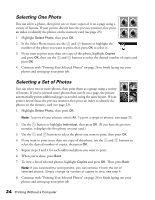
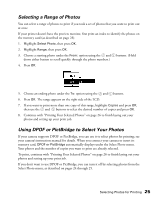
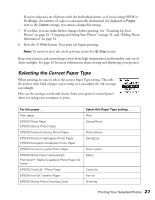
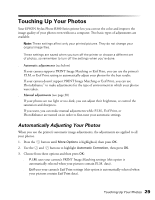
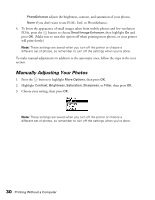
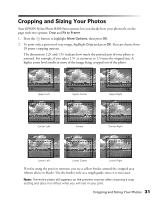
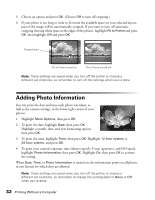
If you've selected a set of photos with the Individual option, or if you're using DPOF or PictBridge, the number of copies is automatically determined (it's displayed as Pages next to the Copies setting); you cannot change this setting. 7. If you like, you can make further changes before printing. See "Touching Up Your Photos" on page 29, "Cropping and Sizing Your Photos" on page 31, and "Adding Photo Information" on page 32. 8. Press the Print button. Your print job begins printing. Note: To cancel a print job while printing, press the Stop button. Keep your pictures and unused paper away from high temperatures and humidity and out of direct sunlight. See page 16 for more information about storing and displaying your pictures. Selecting the Correct Paper Type When printing, be sure to select the correct Paper Type setting. This tells the printer what kind of paper you're using so it can adjust the ink coverage accordingly. Here are the settings you should choose from your printer's control panel when not using your computer to print: For this paper . . . Plain paper EPSON Photo Paper EPSON Glossy Photo Paper EPSON Premium Glossy Photo Paper EPSON Premium Semigloss Photo Paper EPSON Semigloss Scrapbook Photo Paper EPSON Premium Luster Photo Paper EPSON Matte Paper Heavyweight PremierArtTM Matte Scrapbook Photo Paper for Epson EPSON ColorLifeTM Photo Paper EPSON Iron-On Transfer Paper EPSON Glossy Photo Greeting Cards Select this Paper Type setting . . . Plain GlossyPhoto Prem.Glossy Semigloss Prem.Luster Matte ColorLife Iron-on Greeting Printing Your Selected Photos 27
-
 1
1 -
2
-
3
-
4
-
5
-
6
-
7
-
8
-
9
-
10
-
11
-
12
-
13
-
14
-
15
-
16
-
17
-
18
-
19
-
20
-
21
-
 22
22 -
 23
23 -
 24
24 -
 25
25 -
 26
26 -
 27
27 -
 28
28 -
 29
29 -
 30
30 -
 31
31 -
 32
32 -
33
-
34
-
35
-
36
-
37
-
38
-
39
-
40
-
41
-
42
-
43
-
44
-
45
-
46
-
47
-
48
-
49
-
50
-
51
-
52
-
53
-
54
-
55
-
56
-
57
-
58
-
59
-
60
-
61
-
62
-
63
-
64
-
65
-
66
-
67
-
68
-
69
-
70
-
71
-
72
-
73
-
74
-
75
-
76
-
77
-
78
-
79
-
80
-
81
-
82
-
83
-
84
-
85
-
86
-
87
-
88
-
89
-
90
-
91
-
92
-
93
-
94
-
95
-
96
-
97
-
98
-
99
-
100
-
101
-
102
-
103
-
104
-
105
-
106
-
107
-
108
-
109
-
110
-
111
-
112
-
113
-
114
-
115
-
116
-
117
-
118
-
119
-
120
-
121
-
122
-
123
-
124
 |
 |