Epson Stylus Photo R300M User Manual - Page 92
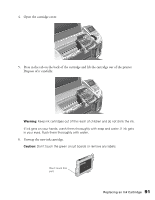
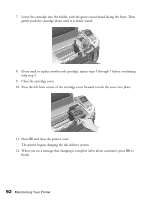
Press the left front corner of the cartridge cover forward to lock the cover into place.
 |
View all Epson Stylus Photo R300M manuals
Add to My Manuals
Save this manual to your list of manuals |
Page 92 highlights
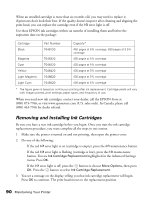
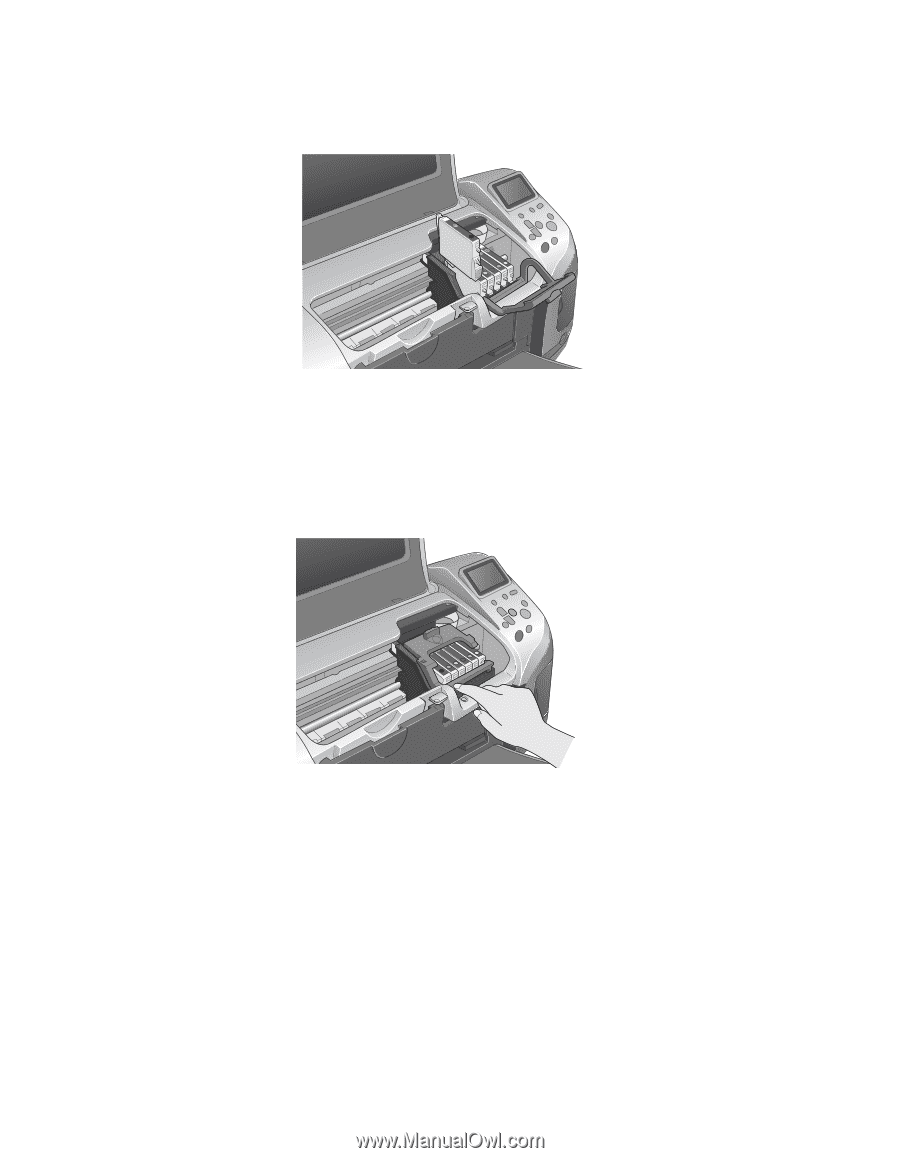
7. Lower the cartridge into the holder, with the green circuit board facing the front. Then gently push the cartridge down until it is firmly seated. 8. If you need to replace another ink cartridge, repeat steps 5 through 7 before continuing with step 9. 9. Close the cartridge cover. 10. Press the left front corner of the cartridge cover forward to lock the cover into place. 11. Press OK and close the printer cover. The printer begins charging the ink delivery system. 12. When you see a message that charging is complete (after about a minute), press OK to finish. 92 Maintaining Your Printer
-
 1
1 -
2
-
3
-
4
-
5
-
6
-
7
-
8
-
9
-
10
-
11
-
12
-
13
-
14
-
15
-
16
-
17
-
18
-
19
-
20
-
21
-
22
-
23
-
24
-
25
-
26
-
27
-
28
-
29
-
30
-
31
-
32
-
33
-
34
-
35
-
36
-
37
-
38
-
39
-
40
-
41
-
42
-
43
-
44
-
45
-
46
-
47
-
48
-
49
-
50
-
51
-
52
-
53
-
54
-
55
-
56
-
57
-
58
-
59
-
60
-
61
-
62
-
63
-
64
-
65
-
66
-
67
-
68
-
69
-
70
-
71
-
72
-
73
-
74
-
75
-
76
-
77
-
78
-
79
-
80
-
81
-
82
-
83
-
84
-
85
-
86
-
 87
87 -
 88
88 -
 89
89 -
 90
90 -
 91
91 -
 92
92 -
 93
93 -
 94
94 -
 95
95 -
 96
96 -
 97
97 -
98
-
99
-
100
-
101
-
102
-
103
-
104
-
105
-
106
-
107
-
108
-
109
-
110
-
111
-
112
-
113
-
114
-
115
-
116
-
117
-
118
-
119
-
120
-
121
-
122
-
123
-
124
 |
 |
92
Maintaining Your Printer
7.
Lower the cartridge into the holder, with the green circuit board facing the front. Then
gently push the cartridge down until it is firmly seated.
8.
If you need to replace another ink cartridge, repeat steps 5 through 7 before continuing
with step 9.
9.
Close the cartridge cover.
10.
Press the left front corner of the cartridge cover forward to lock the cover into place.
11. Press
OK
and close the printer cover.
The printer begins charging the ink delivery system.
12.
When you see a message that charging is complete (after about a minute), press
OK
to
finish.