Konica Minolta ProJet 160 Cube3 User Guide - Page 85
PRINT PAD CALIBRATION, Auto Level
 |
View all Konica Minolta ProJet 160 manuals
Add to My Manuals
Save this manual to your list of manuals |
Page 85 highlights
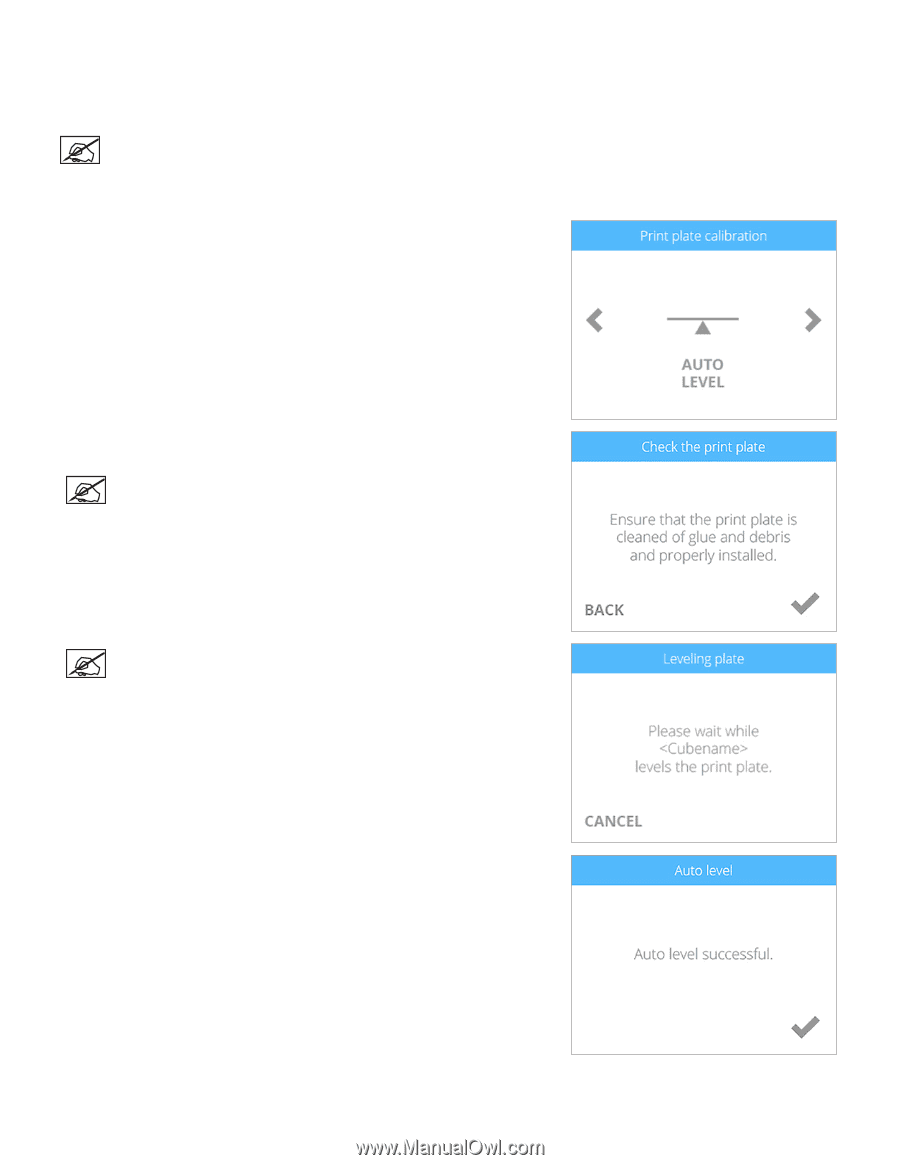
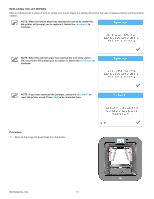
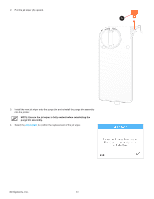
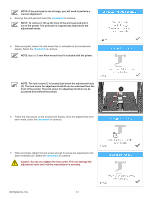
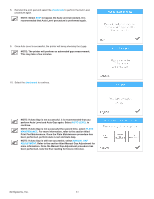
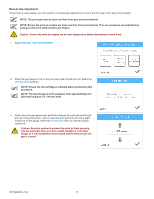
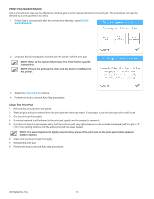
PRINT PAD CALIBRATION Print pad calibration is performed at the factory but should be performed routinely to ensure quality printing. The printer may occasionally prompt you to perform the Auto Level and Auto Gap procedures. If your creations are not printing as expected, check the level of the print pad. Once Auto Level has been performed, perform the Auto Gap procedure. NOTE: Auto Level should always be performed before the Auto Gap procedure. Auto Level 1. Navigate to the Print Plate Calibration screen and select AUTO LEVEL. 2. Clean the print pad thoroughly removing all glue and debris. Select the checkmark to continue. NOTE: The surface of the print pad must be completely clean. NOTE: The Auto Level procedure will begin. 3. Once the Auto Level procedure has completed, select the checkmark to verify the Z-Gap (Step 8). If the print pad is out of range, continue with the procedure. 3D Systems, Inc. 81
-
 1
1 -
2
-
3
-
4
-
5
-
6
-
7
-
8
-
9
-
10
-
11
-
12
-
13
-
14
-
15
-
16
-
17
-
18
-
19
-
20
-
21
-
22
-
23
-
24
-
25
-
26
-
27
-
28
-
29
-
30
-
31
-
32
-
33
-
34
-
35
-
36
-
37
-
38
-
39
-
40
-
41
-
42
-
43
-
44
-
45
-
46
-
47
-
48
-
49
-
50
-
51
-
52
-
53
-
54
-
55
-
56
-
57
-
58
-
59
-
60
-
61
-
62
-
63
-
64
-
65
-
66
-
67
-
68
-
69
-
70
-
71
-
72
-
73
-
74
-
75
-
76
-
77
-
78
-
79
-
 80
80 -
 81
81 -
 82
82 -
 83
83 -
 84
84 -
 85
85 -
 86
86 -
 87
87 -
 88
88 -
 89
89 -
 90
90 -
91
-
92
-
93
-
94
-
95
-
96
-
97
-
98
-
99
-
100
-
101
-
102
 |
 |