Konica Minolta ProJet 160 Cube3 User Guide - Page 90
PRINT PAD MAINTENANCE, Clean The Print Pad
 |
View all Konica Minolta ProJet 160 manuals
Add to My Manuals
Save this manual to your list of manuals |
Page 90 highlights
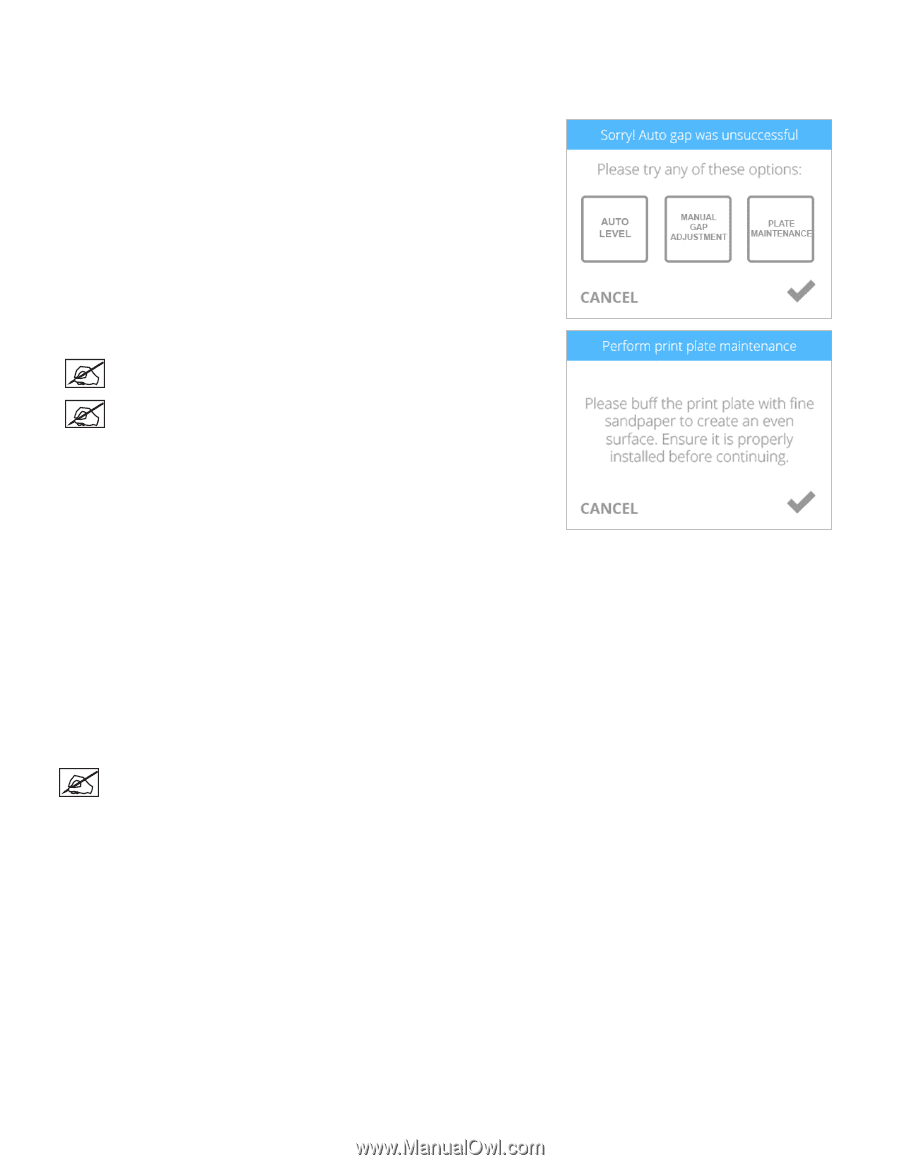
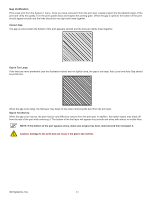
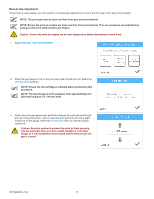
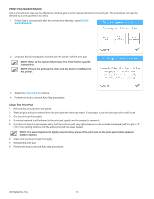
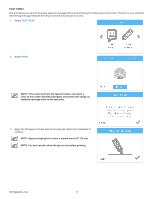
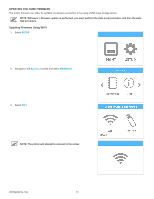
PRINT PAD MAINTENANCE Auto Level and Auto Gap can be affected by residual glue or print material adhered to the print pad. The procedures can also be affected by a print pad that is too shiny. 1. If Auto Gap is unsuccessful after two consecutive attempts, select PLATE MAINTENANCE. 2. Using the fine-grit sandpaper included with the printer, buff the print pad. NOTE: Refer to the section titled Clean The Print Pad for specific instructions. NOTE: Ensure the print pad is clean and dry before installing it in the printer. 3. Select the checkmark to continue. 4. Perform the Auto Level and Auto Gap procedures. Clean The Print Pad 1. Remove the print pad from the printer. 2. Wash all glue and print material from the print pad with warm tap water. If necessary, scrub the print pad with a soft brush. 3. Dry the print pad thoroughly. 4. If residual material is still adhered to the print pad, gently use the scraper to remove it. 5. If portions of the print pad appear shiny, buff the surface (with very light pressure on the included sandpaper) left-to-right in .5" (12.7 mm) swirling motions until the entire print pad has been treated. NOTE: It is most important to lightly sand all shiny areas of the print pad so the print pad surface appears matte in texture. 6. Clean and dry the print pad thoroughly. 7. Reinstall the print pad. 8. Perform the Auto Level and Auto Gap procedures. 3D Systems, Inc. 86
-
 1
1 -
2
-
3
-
4
-
5
-
6
-
7
-
8
-
9
-
10
-
11
-
12
-
13
-
14
-
15
-
16
-
17
-
18
-
19
-
20
-
21
-
22
-
23
-
24
-
25
-
26
-
27
-
28
-
29
-
30
-
31
-
32
-
33
-
34
-
35
-
36
-
37
-
38
-
39
-
40
-
41
-
42
-
43
-
44
-
45
-
46
-
47
-
48
-
49
-
50
-
51
-
52
-
53
-
54
-
55
-
56
-
57
-
58
-
59
-
60
-
61
-
62
-
63
-
64
-
65
-
66
-
67
-
68
-
69
-
70
-
71
-
72
-
73
-
74
-
75
-
76
-
77
-
78
-
79
-
80
-
81
-
82
-
83
-
84
-
 85
85 -
 86
86 -
 87
87 -
 88
88 -
 89
89 -
 90
90 -
 91
91 -
 92
92 -
 93
93 -
 94
94 -
 95
95 -
96
-
97
-
98
-
99
-
100
-
101
-
102
 |
 |