Konica Minolta bizhub C654 bizhub C654/C754 Network Fax Operations User Guide - Page 36
Registering Header Position
 |
View all Konica Minolta bizhub C654 manuals
Add to My Manuals
Save this manual to your list of manuals |
Page 36 highlights
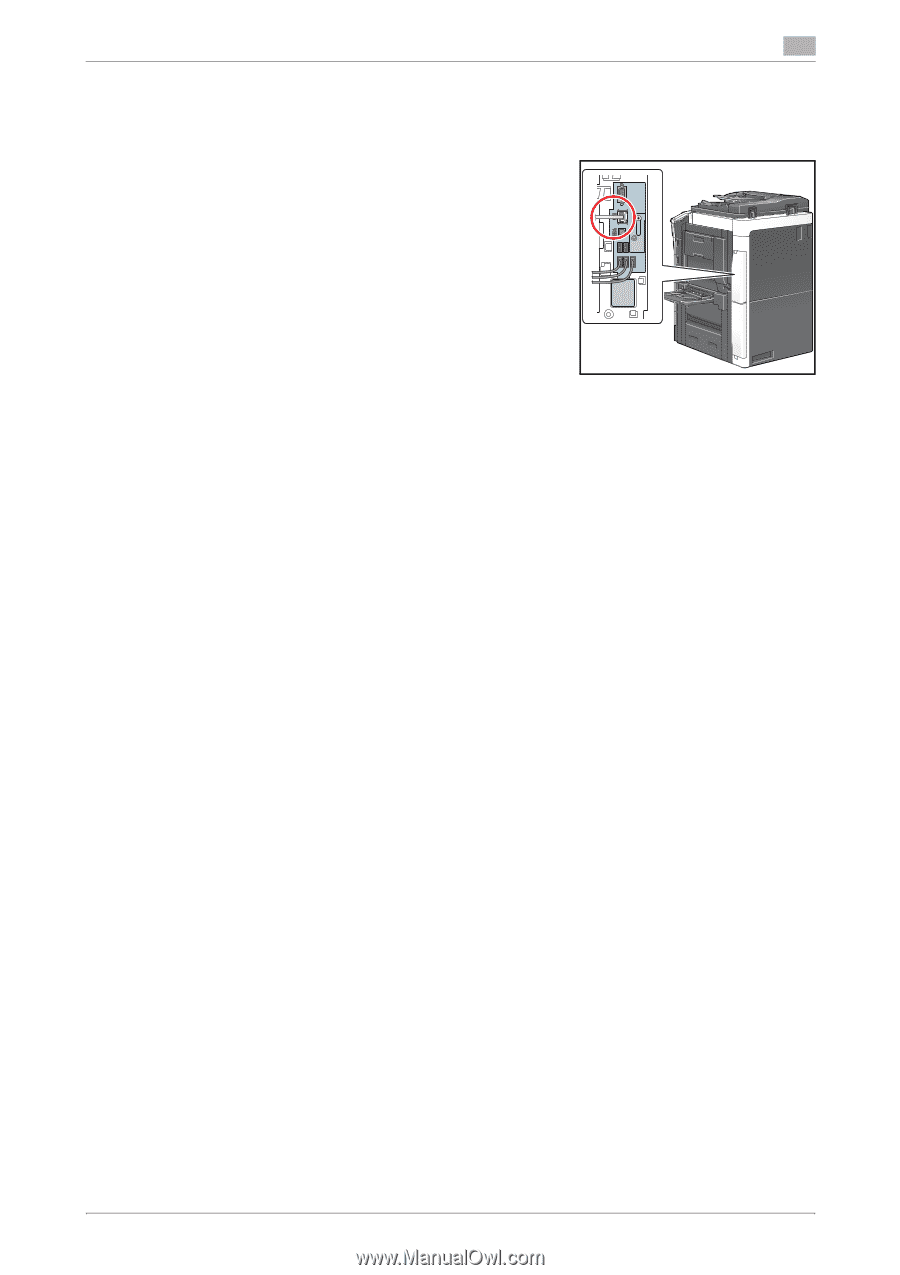
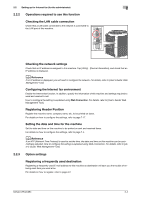
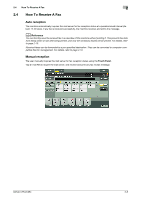
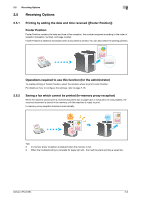
2.2 Setting up for Internet fax (for the administrator) 2 2.2.2 Operations required to use this function Checking the LAN cable connection Check that a LAN cable connected to the network is connected to the LAN port of this machine. Checking the network settings Check that an IP address is assigned to this machine. Tap [Utility] - [Device Information], and check that an IP address is displayed. d Reference If no IP address is displayed, you will need to configure the network. For details, refer to [User's Guide: Web Management Tool]. Configuring the Internet fax environment Enable the Internet fax function. In addition, specify the information of this machine and settings required to send and receive E-mail. How to configure the setting is explained using Web Connection. For details, refer to [User's Guide: Web Management Tool]. Registering Header Position Register the machine name, company name, etc. to be printed on faxes. For details on how to configure the settings, refer to page 7-17. Setting the date and time for the machine Set the date and time on this machine to be printed on sent and received faxes. For details on how to configure the settings, refer to page 7-4. d Reference If an NTP (Network Time Protocol) is used to set the time, the date and time on this machine can be automatically adjusted. How to configure the setting is explained using Web Connection. For details, refer to [User's Guide: Web Management Tool]. 2.2.3 Option settings Registering a frequently used destination Registering a frequently-used E-mail address to this machine as destination will save you the trouble of entering each time you send a fax. For details on how to register, refer to page 4-2. bizhub C754/C654 2-4
-
 1
1 -
2
-
3
-
4
-
5
-
6
-
7
-
8
-
9
-
10
-
11
-
12
-
13
-
14
-
15
-
16
-
17
-
18
-
19
-
20
-
21
-
22
-
23
-
24
-
25
-
26
-
27
-
28
-
29
-
30
-
 31
31 -
 32
32 -
 33
33 -
 34
34 -
 35
35 -
 36
36 -
 37
37 -
 38
38 -
 39
39 -
 40
40 -
 41
41 -
42
-
43
-
44
-
45
-
46
-
47
-
48
-
49
-
50
-
51
-
52
-
53
-
54
-
55
-
56
-
57
-
58
-
59
-
60
-
61
-
62
-
63
-
64
-
65
-
66
-
67
-
68
-
69
-
70
-
71
-
72
-
73
-
74
-
75
-
76
-
77
-
78
-
79
-
80
-
81
-
82
-
83
-
84
-
85
-
86
-
87
-
88
-
89
-
90
-
91
-
92
-
93
-
94
-
95
-
96
-
97
-
98
-
99
-
100
-
101
-
102
-
103
-
104
-
105
-
106
-
107
-
108
-
109
-
110
-
111
-
112
-
113
-
114
-
115
-
116
-
117
-
118
-
119
-
120
-
121
-
122
-
123
-
124
-
125
-
126
-
127
-
128
-
129
-
130
-
131
-
132
-
133
-
134
-
135
-
136
-
137
-
138
 |
 |