Netgear C7000-1AZNAS User Manual - Page 16
Perform a Speed Test, Connect Your Modem Router to a Router After Installation and Activation
 |
View all Netgear C7000-1AZNAS manuals
Add to My Manuals
Save this manual to your list of manuals |
Page 16 highlights
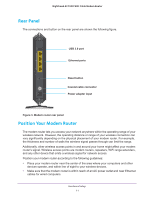
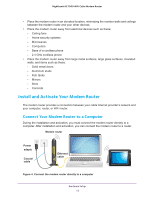
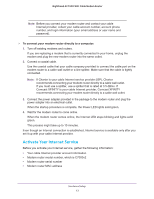
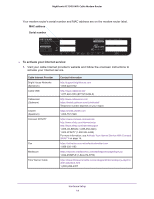
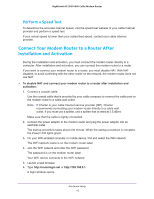
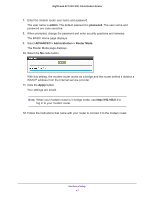
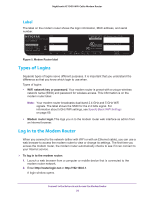
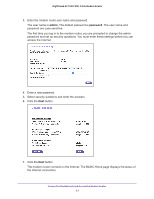
Nighthawk AC1900 WiFi Cable Modem Router Perform a Speed Test To determine the accurate Internet speed, visit the speed test website of your cable Internet provider and perform a speed test. If your actual speed is lower than your subscribed speed, contact your cable Internet provider. Connect Your Modem Router to a Router After Installation and Activation During the installation and activation, you must connect the modem router directly to a computer. After installation and activation, you can connect the modem router to a router. If you want to connect your modem router to a router, you must disable NAT. With NAT disabled, to avoid conflicting with the other router on the network, the modem router does not use NAT. To disable NAT and connect your modem router to a router after installation and activation: 1. Connect a coaxial cable. Use the coaxial cable that is provided by your cable company to connect the cable port on the modem router to a cable wall outlet. Note: If Charter is your cable Internet service provider (ISP), Charter recommends connecting your modem router directly to a cable wall outlet. If you must use a splitter, use a splitter that is rated at 3.5 dBmv. Make sure that the cable is tightly connected. 2. Connect the power adapter to the modem router and plug the power adapter into an electrical outlet. The startup procedure takes about one minute. When the startup procedure is complete, the Power LED lights green. 3. On your WiFi-enabled computer or mobile device, find and select the WiFi network. The WiFi network name is on the modem router label. 4. Join the WiFi network and enter the WiFi password. The password is on the modem router label. Your WiFi device connects to the WiFi network. 5. Launch a web browser. 6. Type http://routerlogin.net or http://192.168.0.1. A login window opens. Hardware Setup 16
-
 1
1 -
2
-
3
-
4
-
5
-
6
-
7
-
8
-
9
-
10
-
 11
11 -
 12
12 -
 13
13 -
 14
14 -
 15
15 -
 16
16 -
 17
17 -
 18
18 -
 19
19 -
 20
20 -
 21
21 -
22
-
23
-
24
-
25
-
26
-
27
-
28
-
29
-
30
-
31
-
32
-
33
-
34
-
35
-
36
-
37
-
38
-
39
-
40
-
41
-
42
-
43
-
44
-
45
-
46
-
47
-
48
-
49
-
50
-
51
-
52
-
53
-
54
-
55
-
56
-
57
-
58
-
59
-
60
-
61
-
62
-
63
-
64
-
65
-
66
-
67
-
68
-
69
-
70
-
71
-
72
-
73
-
74
-
75
-
76
-
77
-
78
-
79
-
80
-
81
-
82
-
83
-
84
-
85
-
86
-
87
-
88
-
89
-
90
-
91
-
92
-
93
-
94
-
95
-
96
-
97
-
98
-
99
-
100
-
101
-
102
-
103
-
104
-
105
-
106
-
107
-
108
-
109
-
110
-
111
-
112
-
113
-
114
-
115
-
116
 |
 |
